
Beyond Repair: Mending As A Masterclass In Self Sufficiency

Rejecting Disposability The Mindset Shift
You want to feel like you have your life together without actually changing your spending habits. The real mechanism isn’t about saving money or being noble. It’s about regaining agency over objects you already own. When you mend a shirt instead of replacing it, you’re reversing a learned helplessness. You stop being a consumer who discards and become someone who decides what stays in their life.
Most people frame mending as a loss: time spent fixing instead of earning. That’s incomplete. Economics calls this “sunk cost fallacy,” but clothing repair uses the inverse principle. Every stitch you place increases your ownership stake in the garment. The running stitch, the workhorse of mending, operates on this same principle: each pass through the fabric locks you deeper into the object’s survival. You stop seeing clothes as disposable when your hands have repaired them twice.
The Hidden Cost Of New Clothes

Common advice says buying cheap replacements saves money. It doesn’t. The cost isn’t the price tag. The cost is the cognitive load of constant replacement decisions, the storage space for new inventory, and the time invested in shopping. One pair of jeans you mend repeatedly costs less in total friction than cycling through five cheap pairs.
The garment industry depends on your belief that new equals better. Mending exposes this lie through direct experience. When you execute a backstitch on a seam, you’re not just fixing fabric. You’re proving that an object’s utility extends far beyond its original purchase moment. This is why mending threatens the consumption model: it demonstrates that your clothes can last indefinitely if you refuse to abandon them at the first sign of wear.

The Mend Manifesto: Visible Mending Vs. The Invisible Cover Up

Imperfection Signals Competence, Not Weakness
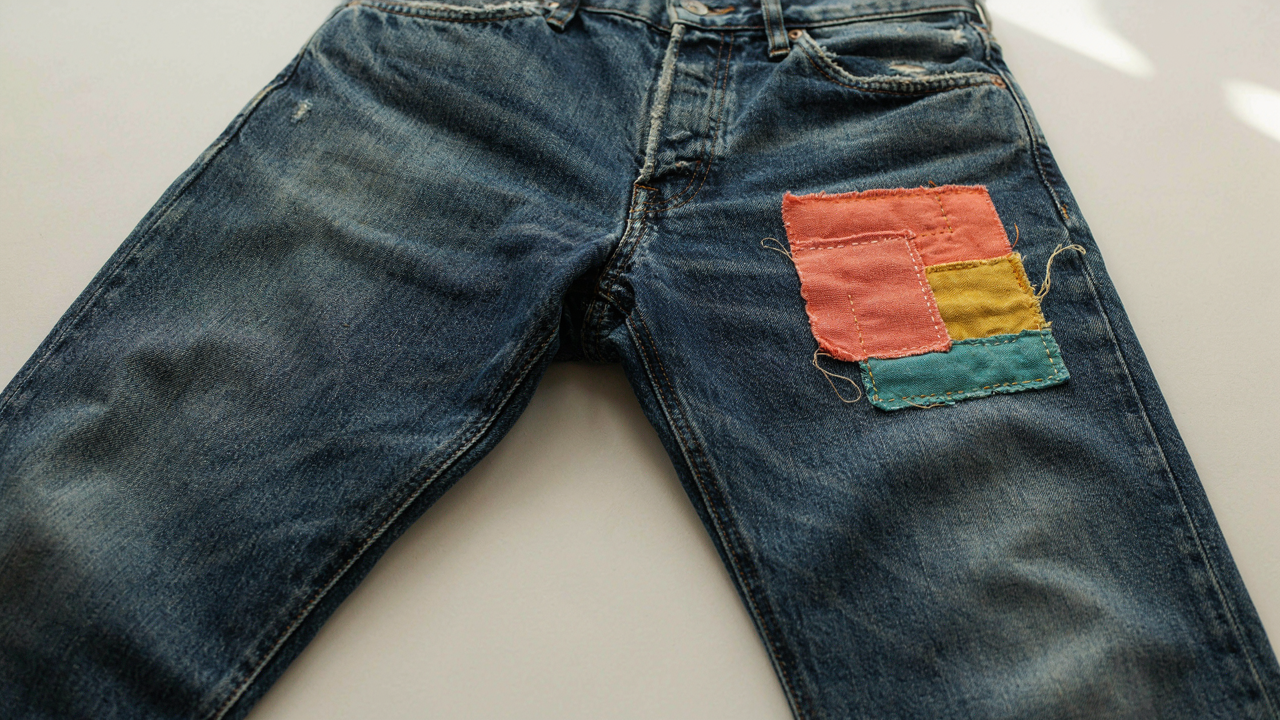
You’re afraid invisible mending makes you look poor, so you want a technique that hides the damage entirely. The real mechanism is the opposite: visible mending signals you value the object enough to repair it deliberately, which reads as wealth and restraint to anyone paying attention. A garment with a visible running stitch patch costs nothing in materials but everything in intention.
Invisible mending exists and has its place, but it requires more skill, not less. Techniques like the ladder stitch or slip stitch demand precision and patience because the seam must disappear completely. Visible mending like a straight running stitch, backstitch, or cross stitch patch demands only honesty and a steady hand. The visibility removes the pressure to be perfect.
Stories Live In The Seams
Garments accumulate damage like a body accumulates scars, and the repair is where the narrative actually begins. Japanese boro textiles demonstrate this plainly: heavily patched and darned fabrics became status objects because the mending revealed the garment’s service life, not its failure. Each visible stitch is a decision point, a moment you chose to extend rather than discard.
The mechanism here is psychological durability, not physical durability. When you can see exactly where and how you fixed something, you develop attachment to the object. A blanket with five visible running stitch repairs tells you exactly when you needed it most. That legibility makes the garment feel earned. Document the mend intentionally: use thread color that contrasts, place stitches where light hits them, and repair the same garment multiple times in the same visible style.
The 3 Essential Hand Sewing Stitches For Mending

Running Stitch
You want mending to feel effortless so you actually do it instead of letting clothes pile up. The running stitch is speed disguised as simplicity. It works because you’re threading the needle through fabric multiple times in one motion, covering distance fast. This stitch handles everyday wear: seams that split, hems that drop, small tears on non-stress areas.
The mechanism is straightforward. Push the needle through fabric, pull thread taut, then pierce again a quarter inch forward. Repeat this rhythm without stopping between stitches. The tension between passes holds the fabric together through friction and thread compression. Use this stitch for repairs that don’t carry load, and you’ll finish work in half the time backstitch requires.
Backstitch
Everyone calls backstitch the strongest hand stitch, then abandons it because the advice stops there. Backstitch isn’t just strong because you overlap thread. It’s strong because you’re applying the principle of layering from structural engineering, where redundant load paths prevent single points of failure. Each backstitch creates a second thread line directly over the first, doubling protection at the exact point stress concentrates.
Bring the needle up through fabric, then push it back through the entry point of your last stitch. This overlap is your load path redundancy. You move forward one stitch length, then backstitch to catch that point again. Use this on seams bearing weight, ripped pockets, or any repair where fabric will tear differently if the mend fails. This is non negotiable for high friction areas.
The Seamstress’s Toolkit: Minimalist Gear For Maximum Impact

What Actually Matters In Your Needle Case
You want to feel prepared without buying gear you’ll never touch. The real mechanism is friction. Hand sewing fights friction at every point: thread against fabric, needle against fiber, your fingers against the work. Control friction and your stitches hold. Ignore it and you waste hours fighting the material. Most people buy too much. You need five things, chosen for one job: mending clothes that last.
- Needles (size 7 to 10): Smaller needles for fine fabrics like cotton shirts, larger needles for denim and heavy weave. Match needle size to thread thickness and fabric weight. Sharps and betweens both work for mending.
- Thimble (metal, fitted to your middle finger): Protects the finger that pushes the needle through fabric. Cheap plastic thimbles fail under pressure. Metal thimbles distribute force and last years. Use it every time or your finger becomes the sacrificial part.
- Thread snips or small scissors: Cuts thread cleanly without fraying. Dull scissors crush fiber instead of cutting it, weakening thread at the break point. Keep them sharp and use them only for thread.
- Seam ripper (small curved blade): Removes old stitches without tearing fabric. Essential when you miscalculate stitch placement. One or two passes along the seam line and old thread separates cleanly.
- Pin cushion or scrap fabric: Holds needles and thimble between sessions. Prevents needle dulling and lets you grab exactly what you need without hunting. A folded fabric square works as well as anything else.
You don’t need a sewing machine, fancy thread organizer, or specialty tools. These five items handle 95 percent of mending work. Buy them once and they pay for themselves in the first repair.
Thread: Pick For The Stitch, Not The Aesthetics
Thread selection determines whether your repair survives ten washes or fails on the second. The mechanism is simple: fiber breaks under tension. Cotton thread works for cotton fabric because the fibers have similar stretch properties. Polyester thread on linen creates a mismatch. When the fabric moves, the thread doesn’t move with it, and the connection fails.
Thread strength matters more than color matching. A slightly off-color stitch that doesn’t break is superior to a perfect match that rips in three weeks. For mending, choose polyester thread on synthetic fabrics and durable cotton or linen thread on natural fibers. Thicker thread handles stress better than thin thread, but it becomes visible fast. The trade off is visibility versus durability. Test the thread on a scrap of the same fabric first to confirm the repair will outlast the surrounding material.
Strategic Fabric Repair: Applying Military Tactics To Mending

Read The Damage First
You want to feel like you know what you’re doing before you touch needle to fabric. Here’s the reality: most people stitch first and assess second, which means they reinforce the wrong spots and waste thread on problems that don’t matter. In military reconnaissance, you map the terrain before deploying resources. Hand sewing stitches for mending work the same way. You identify where the fabric actually fails under stress, not where it looks worst visually.
Damage assessment means understanding how the tear or wear will move. A seam failure spreads differently than a hole. Fraying happens at edges, stress concentrates at corners. Examine the damage from both sides of the fabric. Check if the weave is broken or just separated. This tells you whether you’re rejoining threads or replacing structural integrity. The stitch you choose depends entirely on what you’ve discovered here.
Reinforce Before The Break Point
Everyone teaches you to sew over damage, but that’s incomplete thinking. The real work is stopping the damage from expanding before it kills the garment. This is fortification. Stress points in fabric behave like load-bearing walls in structures. They concentrate force and fail first. The running stitch and backstitch handle different mechanical loads. A running stitch distributes tension broadly but breaks easily under sharp force. A backstitch concentrates tension at each knot point, creating multiple failure zones that prevent one break from unraveling the whole repair.
Reinforce the perimeter of damage before stitching through the center. Use small backstitches around the edges of a hole to contain fraying before it spreads further. On seams, stitch parallel to the original seam line, one quarter inch away, before restitch the seam itself. This second line of stitching absorbs stress that would otherwise concentrate on your repair alone. The fabric then fails at the reinforcement, not at your work. Your repair becomes the structure, not a patch bolted onto a failing surface.
Common Fails And How To Fix Them: Debugging Your Mends
When Stitches Won’t Stay Even
You care about this because uneven stitches signal incompetence to anyone who knows what they’re looking at. The real mechanism is tension control, borrowed from physics: tension is the force applied to thread, and your stitches are the visible record of whether that force stayed constant. Most people tighten their grip when tired or distracted, then loosen it without noticing. The fabric puckers because thread pulled too tight compresses the weave, and loose sections leave slack that bunches when you wear the garment.
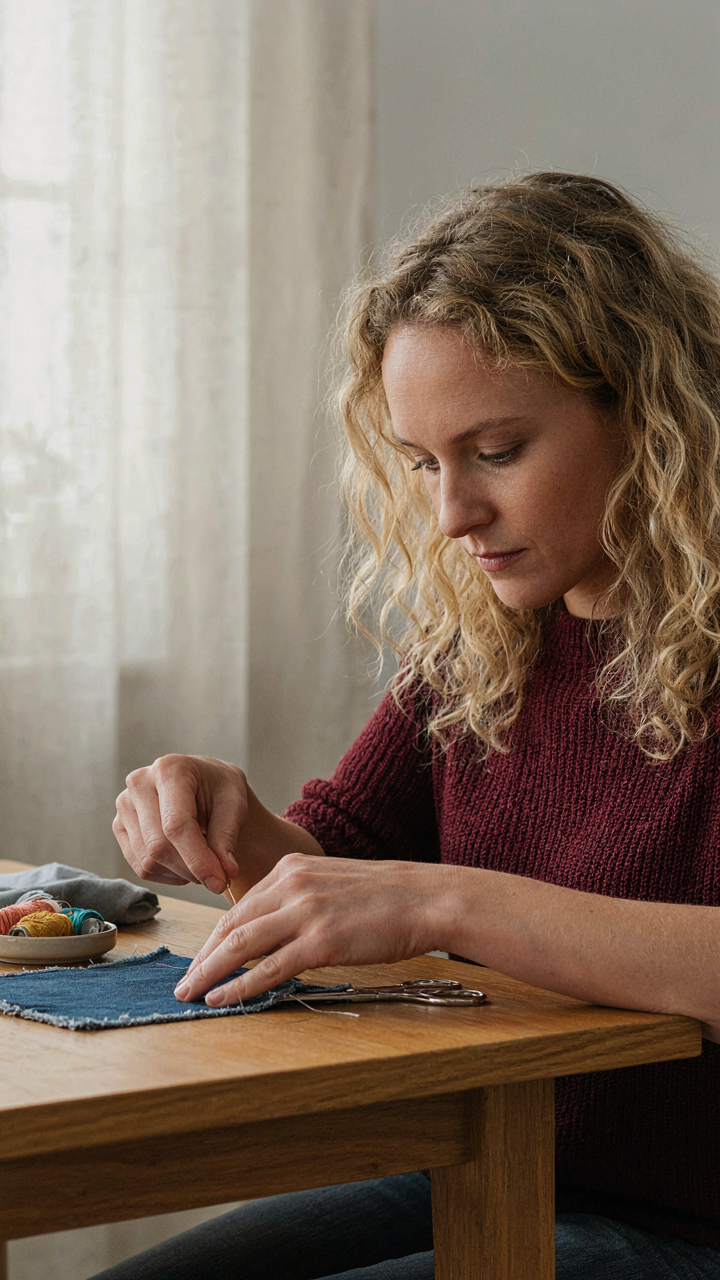
Fix this by anchoring your hand position instead of relying on finger strength. Rest your non-dominant hand’s heel on the table so your fingers move the needle through a predictable arc. Pull thread at a 45-degree angle away from the fabric, not straight up. This removes the guesswork from tension and makes it mechanical. One pass through the fabric should feel identical to the last ten. If puckering happens, you either pulled too hard or skipped fabric layers on some stitches. Rip it out and redo the section with the table anchor active.
Thread That Snaps Mid Stitch
The standard advice is to use shorter thread lengths. That’s incomplete. Thread breaks because friction or a burr catches it, or because you’re using the wrong fiber for the fabric weight. A 24-inch thread through 10 layers of denim experiences more stress than the same thread through linen. Cheap polyester snaps under tension that quality mercerized cotton absorbs. The needle matters too: a burr or slightly bent shaft shreds thread on every pass.
Inspect your needle first by running your thumb across the shaft and eye. Any catch means replace it. For thread, match weight to fabric: thin thread on thin fabric, thick thread on thick. Use 18-inch lengths on heavy materials and 24-inch on light ones. If breakage still happens, your tension is too aggressive. Pull at 45 degrees with less force, letting the needle’s weight do the work instead. Thread should move through fabric with resistance, not snap resistance.
Upgrade Your Wardrobe: Mending As A Design Principle (DIY Vetement)

When Repair Becomes Intentional
You want permission to keep wearing clothes you love without guilt about the damage. That’s the real move here. The mechanism is simple: mending stops being invisible maintenance and becomes visible identity the moment you choose your stitch and thread color deliberately. A visible running stitch or whip stitch in contrasting thread transforms a hole into a design choice. Japanese boro textiles proved this centuries ago—deliberate visible mending elevated worn garments to heirloom status, not through hiding damage but through making the repair itself the aesthetic statement.
The strategy works because it flips the cultural narrative around wear. Instead of damage signaling cheapness or carelessness, mending stitches become evidence of intentionality and craft skill. You control the visual weight through stitch type, thread color, and repair placement. A backstitch in coordinating thread on a seam stays quiet. A ladder stitch in contrasting embroidery thread on a visible tear becomes a focal point. The garment’s story shifts from “I couldn’t afford to replace it” to “I valued this enough to repair it well.”
Strategic Stitch Placement Changes Everything
Visible mending works tactically because location determines whether repair reads as accident or design. An inconspicuous darn on an inside seam looks like utility. The same running stitch placed on a sleeve cuff, collar, or pocket becomes compositional. Threading the stitch placement strategically means positioning repairs where the eye naturally moves—along structural lines, at transition points between fabric sections, or framing existing design elements like buttons or pockets. Military uniform traditions actually used this principle: patches and repairs were stitched onto uniforms in standardized positions that communicated rank and unit identity. You’re using the same spatial psychology.
The execution matters more than the intention. Choose a stitch type that echoes or contrasts with the garment’s existing aesthetic. Satin stitch embroidery on a cotton work shirt changes its entire register. Loose whip stitches in the same thread color as the fabric stay quiet but still visible. A patch of contrasting linen stitched with cross stitches becomes deliberate maximalism. Commit to the choice before you start—hesitation shows in uneven tension and half-measures. The repair only reads as intentional design when your stitching demonstrates confidence and precision.
The Durability Doctrine: Engineering Mends That Outlast New

Reinforcement That Actually Works
You want your mend to disappear—to prove the garment wasn’t broken in the first place. The real mechanism is load distribution. A weak point fails because stress concentrates there. Your stitch either spreads that load across fibers or it doesn’t.
The running stitch alone won’t hold a heavy tear. You need anchor points. Backstitch creates compression at each needle penetration, locking fibers in place. For stress areas—seams under tension, pocket corners, split hems—double-stitch the repair or backstitching along both edges of damage. The second pass isn’t redundant. It catches fibers the first pass missed and creates a friction barrier that prevents the tear from propagating sideways.
How Fibers Accept Thread
Mending isn’t magic. It’s material science applied at human scale. When thread passes through fabric, it either bonds with existing fibers or creates separation. Cotton thread on cotton fabric works because the fibers have compatible surface tension. Polyester on natural fibers creates a different interaction pattern—less grip, more slipping.
The fiber’s condition determines hold strength more than your technique does. Old, brittle fabric won’t grip new thread the way fresh fabric does. This is why some mends fail not because your stitching was loose, but because the surrounding fabric had already degraded. Match your thread weight to the remaining fabric strength. Thin thread through weakened material. Thicker thread requires healthier fibers to accept the load without tearing around the stitch holes. The mend holds only as long as the fabric surrounding it remains intact.
The Financial Folly Of Fast Fashion: Reclaiming Your Investment

Replacement Cost Versus Repair Math
You care about this section because you want permission to stop feeling guilty about your closet. Here’s the mechanism: a $30 shirt worn twice costs you $15 per wear. A $40 shirt you repair twice with basic stitches costs you $13.33 per wear after five years. The math flips the moment you repair instead of replace. Most people never do the calculation, so they assume replacement is cheaper.
Fast fashion trains your brain to think in seasons, not years. A single repair using a running stitch or backstitch takes thirty minutes and costs nothing. Replacing that item means buying new, which adds transaction friction, decision fatigue, and the hidden cost of constant shopping. The real expense lives in replacement frequency, not repair time. You already own the clothes. Fixing them is the only rational move left.
Building The Repair Reflex
The advice to “buy less” fails because it ignores behavior. Mindful consumption isn’t about willpower, it’s about friction. You need to make repair the default path instead of replacement. When a seam splits or a button detaches, the response should be automatic: grab needle and thread, spend twenty minutes, move on. This only happens if you keep supplies visible and nearby, not buried in a drawer.
Start with one repair project per month. Pick something small. A loose button using a simple stitch, or a small hole with a ladder stitch. Each repair builds pattern recognition for what’s fixable and what’s not. After six repairs, you stop seeing clothes as temporary. You see them as objects worth maintaining. That shift in perspective changes buying behavior without requiring any discipline or motivation.
The Real Obstacle Isn’t The Needle; It’s Your Addiction To Convenience. Break It

You don’t lack the skill to hand sew. You lack the willingness to slow down. Every torn shirt you toss feeds the machine that sold you the lie that faster equals better. Learn one stitch today. The running stitch takes three minutes. Do it. You’ll realize that mending isn’t about saving money or being nostalgic. It’s about reclaiming the part of you that knows how to create instead of consume.