
Beyond Instagram: Why Most Thrift Flip Before And After Fail
The Gap Between Selection And Execution
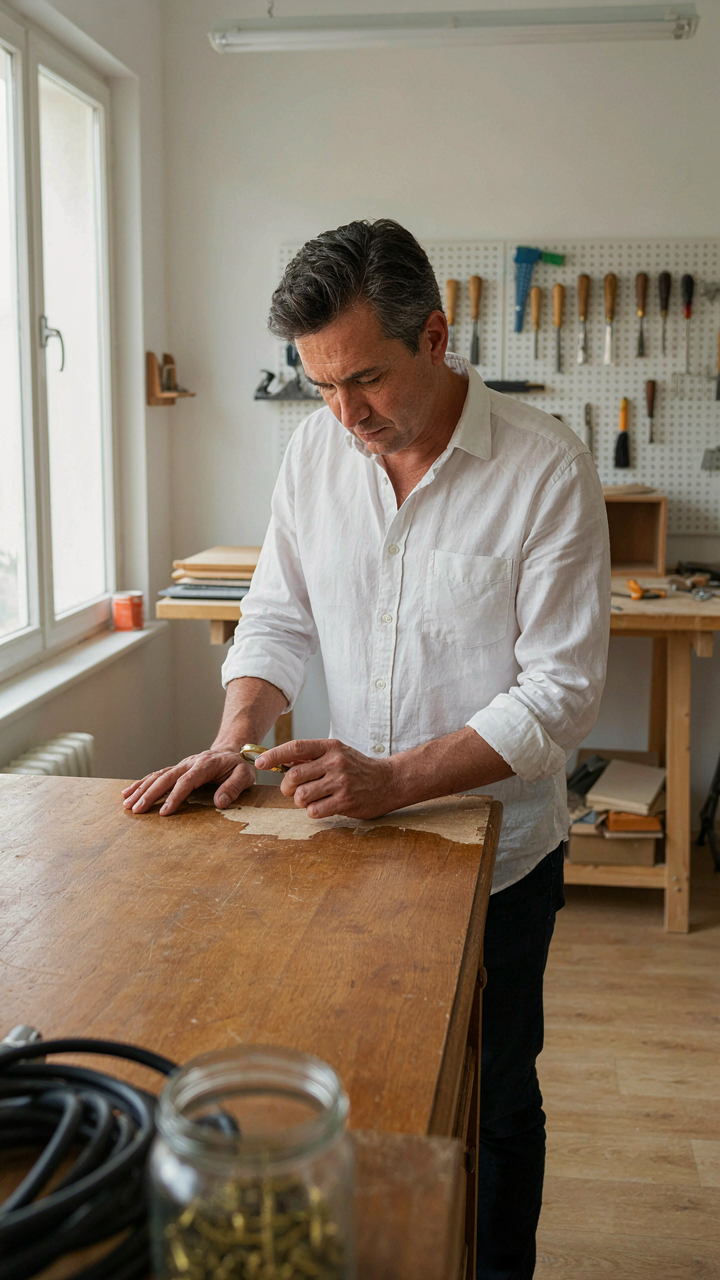
You want proof that you picked a winner. That’s the real draw of before and afters. But most flippers mistake finding a piece for understanding what makes it transformable. The mechanism is simple: you’re competing against selection bias, not execution. Every thrift flip that succeeds starts with item triage, not craftsmanship. You buy things because they have bones, not because you know how to fix them.
The amateur flips a piece because it’s cheap or nostalgic. The profitable flipper removes pieces that require skills outside their current toolkit. This is arithmetic. A solid wood dresser with veneer damage is worthless to someone who can’t refinish veneer. That same dresser is a payoff for someone with spray equipment and stain knowledge. Your before and after fails because you chose wrong at acquisition, not because you executed poorly at transformation.
The Invisible Hours Behind The Photo

Transformation looks like hours. It actually takes weeks of material sourcing, technique research, and failed attempts nobody photographs. Think of thrift flipping like manufacturing: setup time matters more than runtime. You need specific fabrics, hardware, finishes, and tools before a single before shot happens. The Instagram feed shows the glamorous output. It never shows the seven hardware store trips or the three stain samples that didn’t match.
The real difference between flips that sell and flips that stall is material specification. You either know exactly which products work for the specific problem, or you guess. Guessing costs time and margin. Profitable flippers maintain reference collections: fabric swatches, hardware samples, finish comparatives. They photograph results and file them by material type and condition. The before and after that moves inventory starts six months earlier, during the planning phase, not the moment you find the piece.

The “Scarcity Mindset” Thrift Upcycle Clothes Ideas

Constraints Force Better Design Decisions
You want permission to believe that working with less makes you more creative. Here’s the mechanism: scarcity isn’t inspirational—it’s eliminative. Economics calls this resource constraint theory. When you thrift flip with limited inventory, you stop chasing trends and start solving actual problems with what exists. You can’t afford bad decisions. This shifts your brain from abundance thinking (I’ll find the perfect piece) to design thinking (how do I make this piece work).
The best thrift flips happen when you own the limitation instead of fighting it. A stained vintage jacket doesn’t need covering up with embellishment. It needs the stain repositioned as a design feature or the garment deconstructed into panels. You work backward from what you have, not forward from what you imagine. This constraint-driven approach produces higher resale value because buyers sense intentionality instead of desperation.
Flaws As The Actual Product
Most thrift advice tells you to source pristine pieces and avoid damage. That’s backwards. Damage is your competitive edge. The garment already failed retail—nobody paid full price for it. Your job is to recognize what kind of flaw creates opportunity rather than waste. A stretched neckline becomes a boat neck redesign. A faded panel becomes a colorblock element. The flaw dictates the solution, not your Pinterest mood board.
Leverage existing damage by building the design around it. A torn seam isn’t a repair problem—it’s permission to reconstruct the entire side seam with contrast thread, intentionally visible. A bleach stain on a black tee becomes the placement for a strategic patch or appliqué. The flaw stops being hidden and becomes framing. You cut your labor time because you’re not fighting the piece. You’re cooperating with what’s already broken.
Deconstructing The “Unwearable”: A Thrift Flip Protocol
The Sorting Filter That Actually Works
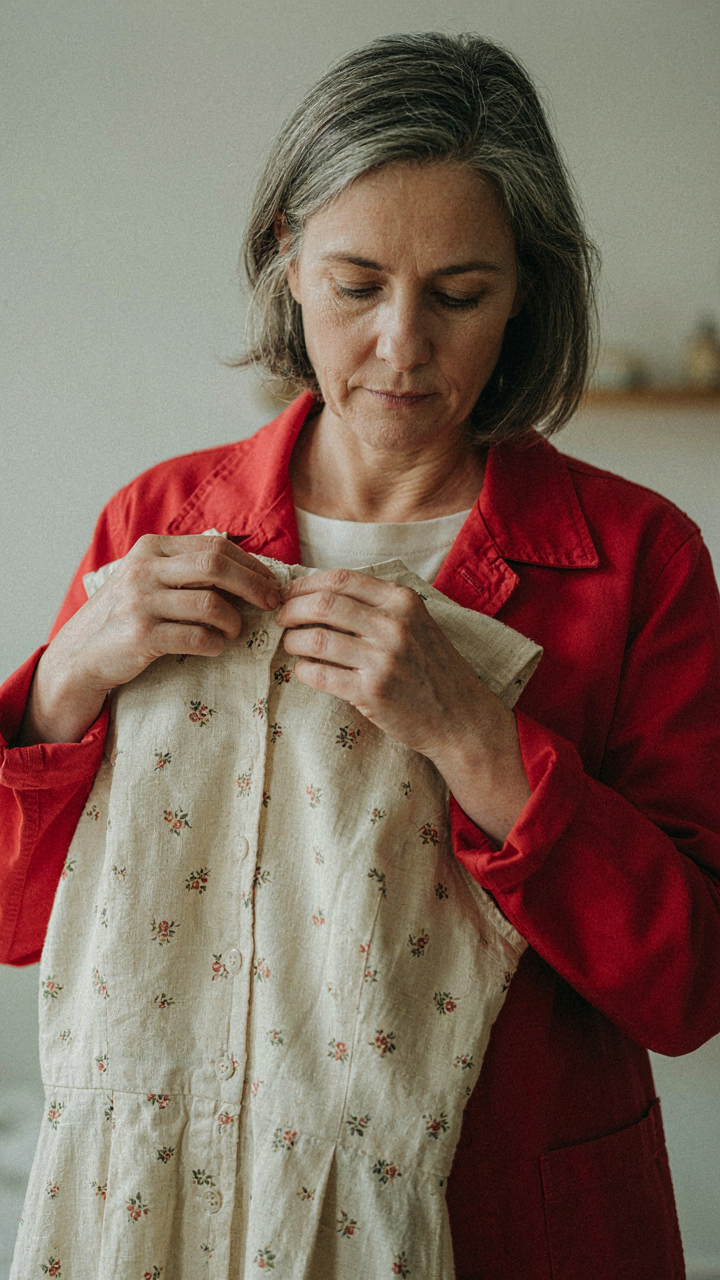
You want to believe you have an eye for potential because it feels like a skill you can own. The real mechanism is ruthless elimination based on fiber content and structural integrity, not intuition. Cotton, linen, and wool are predictable. Synthetics from the 1970s through 1990s often hold their shape better than contemporary fabrics because manufacturers used different stabilizers. Feel the weight. Run your thumb along seams. If thread is loose or the garment stretches without resistance, move on.
Most thrift flippers start by asking “What can I make this into?” That’s backward. Start by asking “What is this actually made of, and will it survive alteration?” A wool blazer with rotting shoulder seams isn’t salvageable. A heavy cotton vintage dress with intact construction is. The garment tells you its constraints before you decide its fate. Inspect collars, cuffs, and the inside of waistbands first. These areas show age and degradation faster than anywhere else.
Where The Structure Actually Lies
Fashion textbooks call this “construction analysis,” borrowed from industrial engineering where engineers map load-bearing elements before modifying a structure. In garments, that means identifying which seams carry stress and which ones are cosmetic. A side seam on a fitted dress carries load. A decorative yoke seam does not. This distinction determines what modifications you can safely make without the garment failing after one wear.
Examine how the garment was originally cut. Vintage pieces often use more generous seam allowances than contemporary fast fashion. A 1980s blouse might have a half-inch seam allowance while a 2015 equivalent has quarter-inch. This is your actual raw material for alterations. Look at the grain line. If the pattern pieces run parallel to the fabric edge, the garment has structural integrity. If pieces are cut on the bias or at angles, the designer planned for that specific drape, and you cannot ignore it without breaking the garment’s intended function.
The “Second Skin” Method: Making Thrift Flips Your Own
Dig Past The Surface Layer
You want people to think you have taste. That’s why you’re here. But most thrift flips fail because people stop at cosmetic fixes: new paint, new hardware, done. The mechanism that separates a resellable piece from one people actually want is specificity. You’re not just refinishing a dresser. You’re building an argument about who owns it and why they made these exact choices. Surface changes signal indifference. Intentional choices signal ownership.
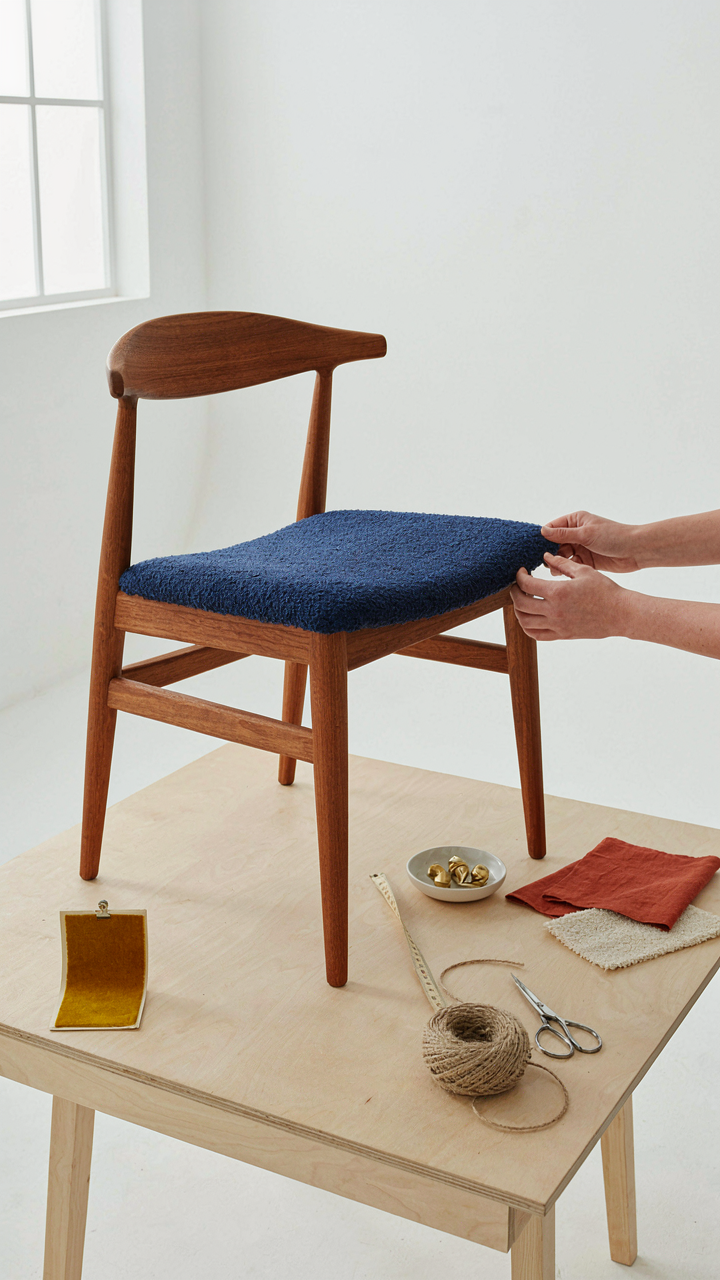
Real personalization means understanding the bones of what you bought. A midcentury chair isn’t a blank canvas waiting for trendy upholstery. It’s an artifact with proportions and materials chosen by someone else’s logic. Your job is to either honor that logic or systematically replace it with yours. That requires making three to five deliberate decisions about the piece’s new identity: its material palette, its functional purpose, its visual weight in a room. Not decoration. Architecture.
Your Style Language, Not The Algorithm’s
The common advice here is trash: “Find your aesthetic and stick to it.” That’s marketing speak. What actually matters is consistency of constraint. You operate within boundaries you define, not ones Instagram defined for you. If every flip you post appeals to everyone, you’ve built something with no actual style. You’ve built a commodity.
Document your actual choices during the flip process, not after. Photograph why you picked that fabric, why you skipped staining the legs, why you chose that hardware finish. That record becomes your signature. Buyers sense the difference between a flip made from a checklist and one made from a point of view. Make that point of view visible in the before and after by showing the transition between what the piece was and what your decisions made it become.
Mastering Material Alchemy: Beyond The Obvious Fabric Flips

How Dyes Actually Bond To Fiber
You want to know this section because you’re tired of flips that fade after two washes, revealing you don’t actually understand what you’re doing. Chemistry isn’t mystical. Dye molecules form chemical bonds with fiber polymers through a process called substantivity. Natural fibers like cotton have hydroxyl groups that attract and hold dye molecules through hydrogen bonding. Synthetic fibers require different dyes entirely because their polymer structure is fundamentally different. You cannot force an acid dye meant for wool onto polyester and expect permanence.
Most thrift flippers treat dyes as magic markers. They’re not. Fiber content determines everything. A cotton piece accepts fiber-reactive dyes that form covalent bonds, meaning they won’t wash out. An acrylic garment needs disperse dyes applied at high heat to penetrate the polymer. Bleach works by breaking chromophore bonds, which is why it fades rather than cleanses. Before you touch dye, identify the fiber content on the tag. If there’s no tag, perform a burn test. The application method and temperature you choose must match the fiber type, or your flip fails visibly by week two.
Seams Under Load: The Real Breaking Point
Engineering shows us that stress concentration occurs at narrow points, and seams are textiles’ load-bearing weak zones. A thrift flip’s durability depends entirely on whether original seams can withstand the new form you’re creating. When you reconstruct a piece, you’re not just reshaping fabric. You’re redistributing mechanical stress across new seam lines that were never engineered for those forces. Vintage seams often use low-thread-count construction because manufacturing costs were different decades ago. Your modifications compound that weakness.
Test seams before you commit labor to a project. Grab a seam at two points and pull with moderate force. Feel for thread slippage or fabric tearing near the stitch line. If either happens, that garment can’t handle aggressive reconstruction. You need to reinforce with a second stitch line or use a different piece. Stress-testing isn’t optional. It separates flips that last from flips that unravel during wear. When you identify weak seams early, you either abandon the piece or adjust your design to reduce load on that area.
The “Antifragile” Wardrobe: Building With Thrift Flips

Garments Gain Strength Through Wear
You want permission to buy cheap clothes and call it a system. Here’s the mechanism: evolutionary biology shows organisms strengthen through environmental stress, and garments follow the same pattern. Thrift pieces haven’t been coddled—they’ve survived multiple owners, washing cycles, and storage conditions. This pre-stress winnows out weak construction instantly. A thrifted jacket with intact seams after decades of use has already passed a test no new garment has faced.
The flip process exploits this advantage. You’re not starting from zero with untested fabric and stitching. You’re working with proven durability, then adding targeted reinforcement where the garment shows weakness. A worn collar doesn’t mean failure; it means you know exactly where to focus your alteration effort. This beats guessing on a new piece where hidden flaws emerge after three months of wear.
Damage As A Design Signal
Everyone says thrift flips are about “finding potential” in damaged pieces. That’s incomplete. Stressors don’t create potential—they reveal where the design failed. A torn seam under the arm tells you the original pattern lacked adequate ease. Fading across the shoulders shows you the fabric quality and how it breaks down. Pilling on the chest indicates fiber content and finishing.
You’re reading damage like a diagnostic report. Holes become placement markers for patches, embroidery, or structural reinforcement. Stains dictate color choices for your rebuild. Stretched-out collars tell you exactly how much take-up to add. The garment’s wear pattern becomes your design brief. Work with the damage instead of against it, and your thrift flip before and after shows intentional reconstruction, not damage repair.
Value Extraction: The Economics Of Thrift Flip Before And After

The Math Behind Your Time
You want to know if this is actually worth doing, not whether it feels productive. Here’s the mechanism: most people calculate ROI by dividing profit by material cost alone. That’s incomplete. Economics calls this the opportunity cost problem. Your thrift flip’s real ROI compares money made per hour against what you’d earn doing something else with that same time block.
A fifty-dollar flip that takes eight hours of sourcing, cleaning, photography, and listing isn’t a win if you make minimum wage. The number that matters is hourly rate: profit divided by actual hours invested. Track every minute. Most flippers discover they’re making three to five dollars per hour once they stop lying about how long the work takes.
Where The Margin Actually Lives
Common advice says buy low, sell high. Correct but useless. The real margin lives in inventory velocity and category selection. A vintage leather jacket from the 1990s sells fast because demand is stable and specific. A generic polyester shirt from 2015 sits for months. You extract value by moving inventory quickly, not by holding pieces hoping for better offers.
Platform choice compounds this. Facebook Marketplace moves inventory faster but caps price ceiling. Depop attracts younger buyers willing to pay more for specific aesthetics. Poshmark skews female-coded fashion. Match your inventory to the platform’s buyer psychology, then price aggressively to turn stock within two weeks. Slow inventory is dead capital.
The “Invisible Mending” Art: Flaws As Features In Thrift Flip Before And After

Stop Hiding What Makes It Valuable
You want the before and after to look intentional because you’re afraid the flaw will read as laziness. But here’s the mechanism: in textile and fashion restoration, the Japanese concept of kintsugi teaches that visible repair actually increases perceived value by signaling authenticity and history. A thrift flip with visible mending does the same thing. The flaw becomes proof of transformation, not evidence of cutting corners.
The real move is choosing which imperfections stay visible and which get corrected. A stain that won’t come out becomes a reason to overdye the entire piece. A small hole becomes the focal point for visible patching in contrasting thread. A seam that’s worn gets reinforced with visible topstitching in a color that pops. The before and after tells a story only when you show the work.
- Visible Topstitching: Use contrasting thread to reinforce weak seams or hems. The stitch line becomes decorative, turning a functional repair into a design element that viewers notice first.
- Strategic Overdyeing: When stains won’t lift, dye the entire garment. The original flaw disappears into the new color, and the piece gains a cohesive, intentional look that reads as planned.
- Contrast Patches: Place patches in opposing fabrics or colors on visible areas. Bold patches signal confidence, not compromise, and work best on denim, canvas, or heavy cotton.
- Darning As Texture: Hand darn small holes with visible stitching in matching or complementary thread. The textured repair catches light and reads as craft rather than damage.
- Bleach Or Discharge Marks: Incorporate fading or bleach spots into a new pattern. Mask areas strategically, then bleach or discharge dye to create intentional visual interest around the original flaw.
The before and after works because the repair is never hidden. Document the exact technique you used so viewers understand the decision was deliberate, not accidental.
Character Through Deliberate Repair
Most thrift flippers treat repairs as problems to solve invisibly. That’s backwards. A garment with visible, thoughtful repair tells the person wearing it that someone cared enough to fix it properly instead of discarding it. That narrative sells faster than a piece that looks factory-new because it creates an emotional connection.
The key is making the repair look competent and purposeful. Sloppy stitching that happens to be visible still reads as damage. But tight, even stitching in a thread color you chose deliberately? That’s craft. A patch sewn on with precision and placed where it catches the eye signals intention. The before and after should show not just that the piece was broken, but that it was worth saving and skilled enough to display the save.
From Impulse To Intent: Curating Your Thrift Flip Journey

The Eye Sees What The Mind Knows
You want to believe you have taste. That’s the real reason you’re reading this. The mechanism is simple: your eye can only recognize quality in categories your brain has studied. Most people walk past gold because they haven’t trained themselves to see the signals. Fabric weight, seam construction, era-specific details, brand markers that indicate craftsmanship—these aren’t obvious. They require pattern matching built through deliberate exposure.
Start by studying one category obsessively. Pick vintage denim, mid-century wool coats, or 70s furniture. Spend two weeks scrolling sold listings on Depop and Poshmark in that category only. Note the prices, the condition descriptors, the specific details sellers highlight. Your brain will build the pattern. Then walk a thrift store with that pattern active. You’ll spot pieces you previously walked past.
Red Flags And Strategic Gaps
Common advice says “buy anything damaged and flip it.” That’s incomplete. You need an inventory system that separates viable projects from time sinks. Borrowed from supply chain logistics, treat each piece as having a conversion cost—labor invested versus likely resale margin. Some damage pays off; most doesn’t.
- Seam separation on natural fibers: Repairable if the fabric itself is intact. Synthetic blends often deteriorate further during washing, making repair temporary.
- Stains on delicate fabrics: Wine on silk requires professional cleaning and eats margin. Same stain on cotton canvas you can bleach or overdye intentionally.
- Zipper failure on structured pieces: Designer bags and jackets justify replacement. Fast fashion zippers cost more to replace than the piece sells for.
- Moth damage on wool: Holes cluster in hidden areas on quality pieces; scattered throughout on lower-grade wool means systemic infestation risk.
- Fading on prints: Vintage band tees fade uniformly and sell higher. Fading on graphic tees with cracking ink indicates cheap screen printing that won’t restore.
Strategic gaps matter more than obvious flaws. Oversized blazers, high-waisted trousers, and period-appropriate accessories move faster than standalone statement pieces because they solve specific outfit problems for buyers. Pass on pieces that require a narrative to sell. Grab pieces that complete existing wardrobes.
The “Rejection” Filter: When To Walk Away From A Thrift Flip

Know The Time Tax Before You Commit
You’re afraid you’ll miss out on a deal. That’s the real reason you’re reading this. The mechanism is simple: thrift flipping operates on economics, and like any economic system, you have a cost basis and a time cost. Most people only track the money. The time tax destroys margins without you noticing it. A piece requiring six hours of restoration work at a $15 profit generates $2.50 per hour. That’s not a flip. That’s a hobby masquerading as income. Calculate the actual hours before you touch anything. Strip, sand, repair, photograph, list, communicate with buyer, ship or meet. Write it down. If you can’t articulate the complete process and total hours, you don’t own the project yet—it owns you.
The decision filter happens before you bring the item home. Walk past anything requiring specialized tools you don’t have access to, repairs outside your skill level, or restoration techniques you’ve never executed successfully. You learn fastest by failing on cheap projects, not by gambling on items with high material cost and zero margin for error. Your rejection rate should climb as you get experience, not fall. This inverse pattern reveals discipline.
The Hidden Cost Of Sunk Time
Most advice says “trust your gut” or “if it feels right.” That’s incomplete. The real problem is psychological sunk cost—once you own the item, your brain fights the exit decision harder with each hour invested. You’ve already spent $8, so you spend three more hours trying to make it work. This compounds. The mechanism is friction. The longer something sits in your workspace, the higher the friction to abandon it. Set a hard time limit before you start. Genuinely commit to it. If a piece isn’t progressing toward sellable condition within that window, it goes back for donation or the trash. No exceptions. This single protocol—the predetermined cutoff—separates people who flip consistently from people who accumulate inventory they can’t move.
The Real Obstacle Isn’t Lack Of Inspiration; It’s Your Refusal To Embrace Genuine Constraint

You don’t need better before and after ideas. You need to stop waiting for permission to start. Grab one piece from your closet or a thrift bin today and commit to flipping it. Not tomorrow. Not when conditions feel perfect. The constraint of working with what you have forces real creativity. Everything you’ve seen in this article came from someone who stopped thinking and started doing. Your first flip will be rough. Your tenth will be remarkable. The gap between them closes only when you move.