Beyond The Needle: Why No Sew Is The True Test Of Design Ingenuity

When Constraint Becomes Clarity
You want permission to skip the sewing machine because you think it makes you less of a designer. It doesn’t. In constraint-based design, removing a tool forces you to solve problems through material selection and structural logic instead of hiding bad choices under stitching. No-sew refashion strips away the crutch that lets mediocre design survive. You can’t stitch over a mistake. The garment either holds or it doesn’t.
This is why fashion houses use draping and construction shortcuts as signature moves, not fallbacks. Margiela’s iconic tabi boot started as an experiment in deconstructed seaming. The constraint generated the innovation. No-sew work operates the same way: you engage with how fabric actually behaves under tension, how adhesives bond different fibers, how weight distributes without thread. The mechanism is pure cause and effect. Bad construction becomes immediately visible.
Design Happens When Options Disappear

Most refashion advice tells you to buy fabric glue and start sticking. That’s incomplete. The real lever is understanding which bonding method matches which garment need because different adhesives have different failure points. Fabric glue works for decorative overlays that see no stress. Heat-activated interfacing holds seams under tension. Snap fasteners distribute load across multiple points. Each method demands you think through durability before you commit.
The beginner advantage is that constraints force intentionality. You can’t default to “I’ll just sew this later.” Every decision becomes visible in advance. Work through the failure modes first: where will this piece experience pull, friction, or flex? Then select the no-sew method that actually handles that stress. This protocol separates functional refashion from decoration. The quality of your thinking shows immediately in the finished piece.

The Deconstruction Protocol: Seeing Fabric As Form, Not Flatness
How Fabric Grain Dictates Your Moves
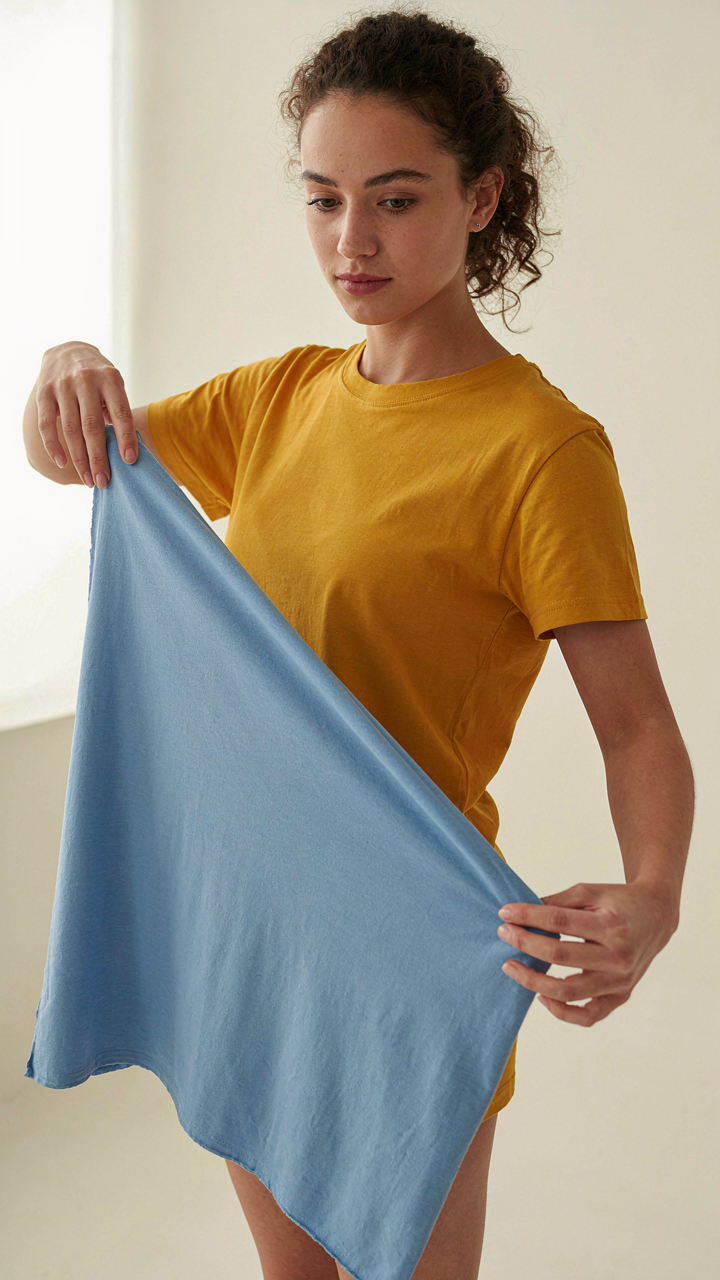
You want permission to skip the technical stuff and just glue things together. That won’t work. Fabric grain is the skeleton underneath every no sew project. Think of grain direction like load-bearing walls in a structure: ignore it and your piece collapses. Warp threads run lengthwise, weft threads crosswise. Knits stretch differently than wovens. Fabric behaves according to its geometry, not your intention.
When you bond two fabric pieces without stitches, adhesive alone carries all the stress. Grain direction determines how much stress the bond can handle. Pull a T-shirt along the warp and it holds. Pull it along the bias and it gives. Adhesive fails fastest where fabric naturally wants to move. Test grain behavior before committing: grab a scrap, pull perpendicular to each thread direction, and feel where resistance lives. Build your no sew bonds along the grain’s strongest axis, not the weakest.
Raw Edges As Structural Choice
Most beginner advice treats raw edges as a mistake to hide. Wrong. Raw edges become design elements when you deploy them with intention, not accident. Fashion design uses this constantly in deconstructed garments. The frayed or bound edge isn’t decorative filler; it’s honest about how fabric actually terminates.
Raw edges exposed on purpose signal that you’ve made a deliberate choice about structure. A strategically frayed hem on a refashioned tank costs nothing and looks intentional. The tear becomes legitimate when you control its angle, fiber direction, and placement. Adhesive applied just inside the raw edge seals the fraying while keeping the torn line visible. This transforms what looks like damage into evidence of craft. Position tears along the warp for clean lines, along the bias for organic texture.
The Minimalist Wardrobe Alchemy: How To Upcycle Clothes No Sew
Simple Changes With Real Impact
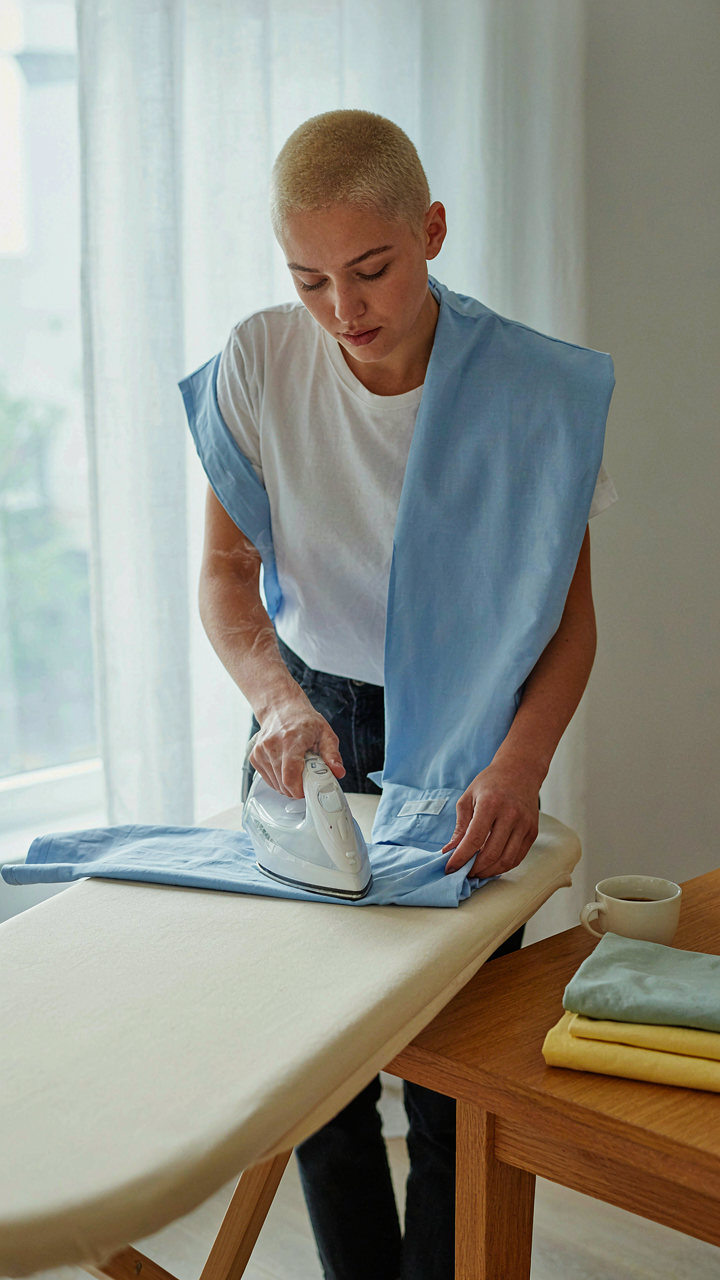
You want permission to stop buying new clothes without feeling like you’re settling. That’s the real motive. The mechanism is constraint—when you can’t add fabric, you learn to redistribute what exists. Fabric doesn’t change weight or fiber content through no sew methods. What changes is silhouette, proportion, and visual emphasis. A crew neck becomes a V through strategic heat-activated hemming tape. Sleeves shorten by folding and bonding. The garment stays structurally intact because you’re working with geometry, not deconstruction. Most people skip this because they assume transformation requires sewing. Wrong. You’re not building. You’re repositioning existing material to change how the eye reads the piece.
The fastest entry point is garment length. Hem tape bonds fabric in a straight line without thread or needle. Heat activates adhesive. Measure twice, apply heat once, done. This works on cotton, cotton blends, and most knits. Polyester requires lower heat. Silk needs caution. Start with something you don’t mind ruining—old jeans, a faded t-shirt, something with no sentimental value. Test the heat setting on scrap fabric first. Document what temperature works for each material type you own. This becomes your reference library for all future projects.
Stretch Your Pieces Without Stretching Your Budget
Wardrobe versatility from limited inventory requires a specific edit: identify which garments already bridge multiple contexts, then amplify their range. Adhesive bonding lets you layer without permanent commitment. A plain tank becomes a dress with a contrasting panel bonded down the front. A oversized shirt becomes a structured top by bonding a contrasting fabric panel inside the sides, creating instant definition. The original garment stays reversible in many cases. You’re not locked into one look. Fashion history shows this principle—Comme des Garçons built an entire brand on strategic fabric placement and layering, proving that context shift beats wardrobe size.
The tactical protocol: list each garment you own. Next to each one, write three different contexts where you’d wear it. Identify which pieces appear in only one or two contexts. Those are your targets. Bonding contrasting fabric panels, adding structured overlays, or creating visual breaks with adhesive trim can push a single garment into four or five different outfits. Start with one piece. Document the result. Measure how many times you wore it in the new configuration versus the old one. That’s your ROI metric. Use that data to prioritize your next modification.
The “Tension & Release” Method: Engineering Form Without Stitch
Where Fabric Finds Its Anchors
You want to refashion clothes without a machine because you’re afraid the result will look amateur. That fear is valid, but it’s based on a misunderstanding. Physics teaches us about load-bearing points, and no sew refashion works the same way. You don’t need stitches to hold a garment together if you identify and lock down the structural anchors that already exist in fabric itself.
Fabric clamps, knots, and folds function as your load-bearing points. A knot at the end of excess fabric doesn’t just look intentional, it redirects and absorbs the force that would otherwise pull the garment apart. Folds created by strategic bunching act as multiplied anchor zones. When you fold fabric back on itself and secure it with fabric glue or iron-on tape, you’re not just decorating. You’re creating mechanical resistance at the point of stress.
How Cinching Redistributes Weight
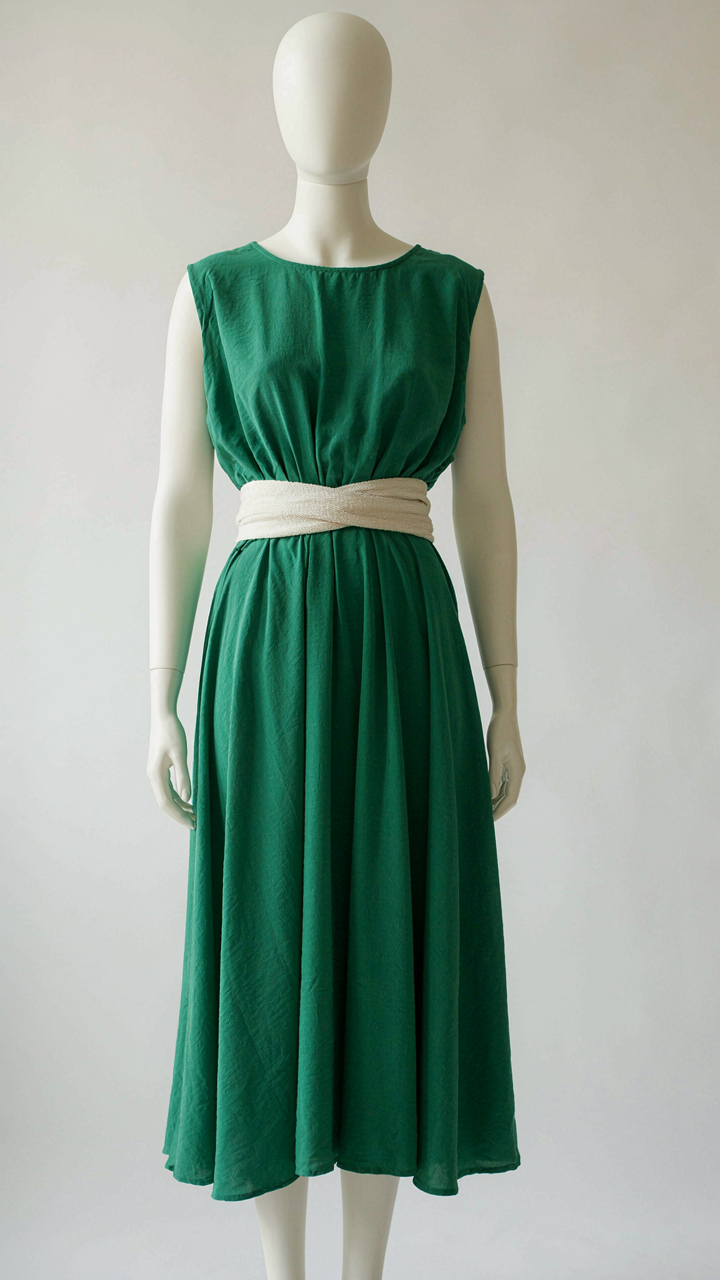
The common advice about draping is incomplete. People say “drape it nicely” and leave you guessing. What actually matters is understanding how fabric behaves under tension. When you cinch a loose waistline with a belt, knot, or fabric band, you’re not just making it fit. You’re redistributing the weight of excess fabric upward and downward, creating a shape that holds because physics requires it to.
Strategic cinching works because it converts vertical drop into horizontal compression. Wrap a fabric band around gathered excess at the waist, and the pressure spreads the force across a wider surface area, reducing strain on any single point. This is why vintage refashion techniques rely on belts and wraps. They’re not optional styling. They’re the mechanism that makes loose garments wearable without reconstruction.
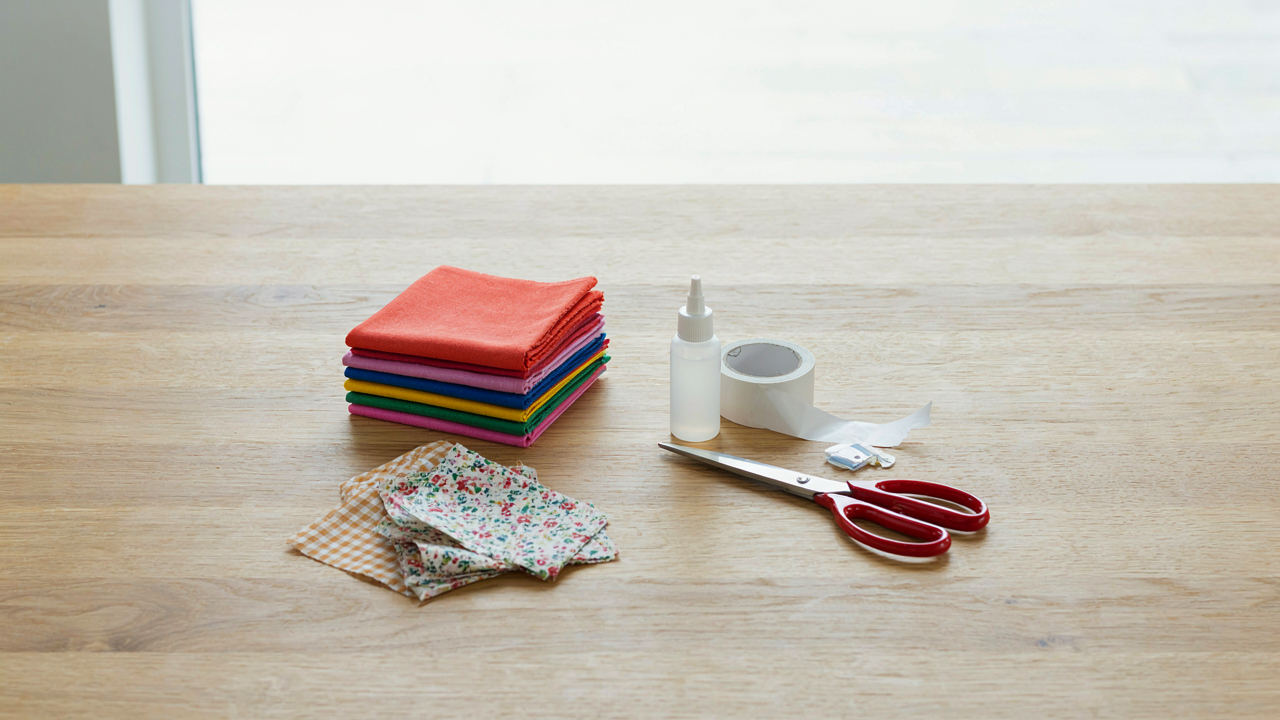
DIY Clothes Refashion: Tools Of The Unstitched Trade (Beyond Scissors)

Cutting, Securing, And Surface Work
You want to believe you can refashion clothes without investing in tools. That’s denial. The real reason you care about this section is you’re afraid spending money negates the point of refashioning. It doesn’t. The mechanism is simple: proper tools reduce friction between intention and execution. Bad tools create failed projects that waste fabric and time. You need three categories of equipment to work without a machine.
- Rotary cutter and self-healing mat: Cuts fabric straight and clean without fraying edges. Superior to scissors for precision on knits and delicate materials. Not required but eliminates ragged cuts that compromise finished appearance.
- Fabric scissors: Dedicated shears cut through multiple layers without dulling. Kitchen scissors destroy fabric fibers and won’t hold an edge. One quality pair lasts years and costs under twenty dollars.
- Measuring tape and ruler: Prevents guessing on dimensions. A 24-inch ruler and flexible tape measure handle 95 percent of refashion projects. Accuracy determines whether pieces fit or fail.
- Seam ripper or small scissors: Removes existing stitches cleanly without tearing fabric underneath. Speeds up deconstruction work. A three-dollar tool saves hours of frustrated picking.
- Embellishment tools: Hole punch, eyelets, studs, and appliqué scissors add visual weight without sewing. These transform basic pieces into designed objects. Start with what fits your aesthetic.
The secondary layer is pressing and finishing. A heat press or iron smooths seams created by adhesive. Fabric glue hardens better against a hard, flat surface. Keep a pressing cloth between iron and glued sections to prevent melting. This step separates amateur results from finished work.
Adhesives And Fabric Bonds: Mechanism Over Marketing
Common advice says pick one adhesive and stick with it. That’s incomplete. The real decision tree runs through bond strength, application speed, permanence, and washability. Fabric glue works through polymer chains that harden as moisture evaporates. That’s chemistry talking. Some adhesives bond better to synthetics, others to natural fibers. One product rarely performs equally across all fabric types.
Fabric glue handles most situations because it remains flexible after drying. It bonds cotton, blends, and some synthetics without stiffening the material. Hot glue guns work faster but create stiff spots that crack under movement. Contact cement requires two applications and permanent bonding, so mistakes stick. Fusible webbing uses heat instead of liquid adhesive and works best on natural fibers. Your choice depends on whether you need repositioning time, flexibility in the bond, or permanence on first contact. Test every adhesive on a scrap piece from your project fabric before committing to the full piece.
Upcycle Clothes Diy No Sew Simple: Instant Transformations For Impact
Fabric Glue Hacks For Fast Results
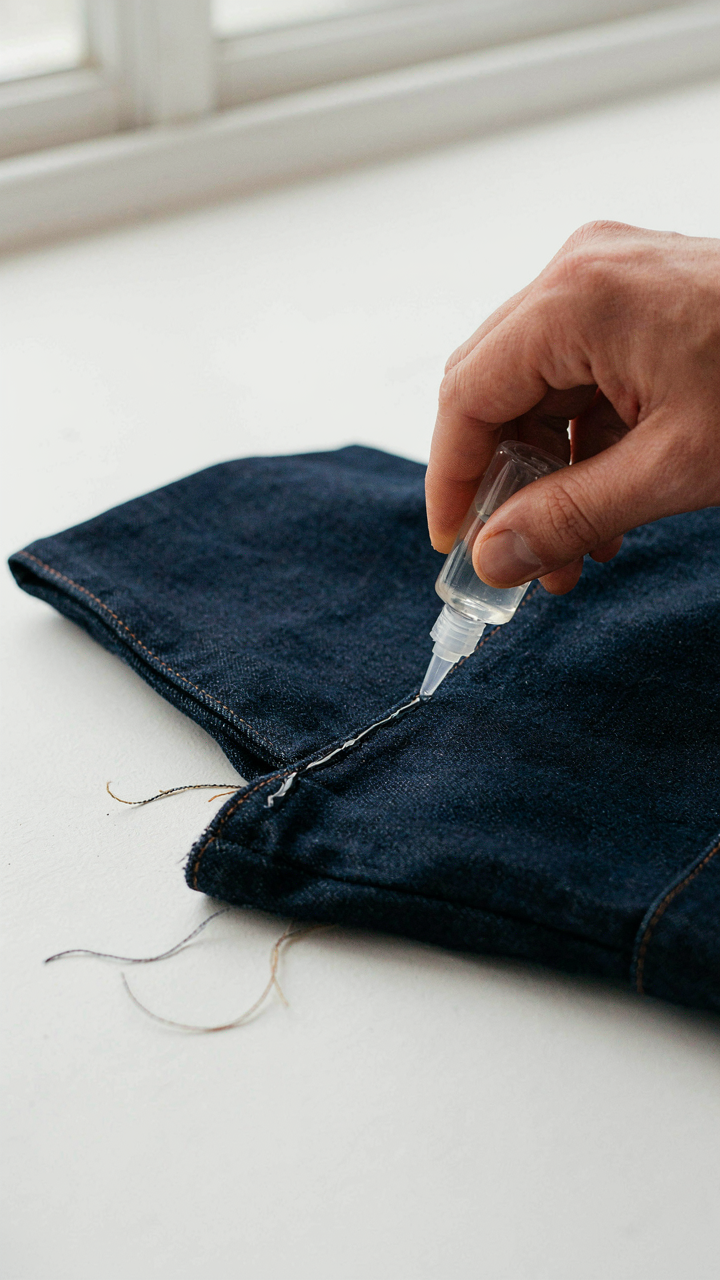
You want to feel like you’re doing something productive without actually committing to learning a skill. That’s the real reason most people reach for no sew methods. The mechanism is simple: fabric glue bonds fibers chemically instead of mechanically, which means you skip the thread entirely. Most fabric glues work by penetrating the weave and creating a permanent hold once dry. Apply it to clean, flat surfaces for best adhesion.
Shirts transform fastest with strategized glue placement. A torn collar gets a patch glued underneath and then top-stitched visually with fabric paint. Skirt hems stabilize with glue applied in a thin, consistent line along the fold. Denim works best because its weight holds the bond under stress. The key is letting glue cure fully between steps, usually 24 hours, before wearing the piece.
Paint And Embellishment Without Stitching
The common advice says “just add embellishments to cover damage.” That’s incomplete. Real impact comes from using embellishments as intentional design, not as damage cover-up. Fabric paint creates permanent modifications without tools. Rhinestones, studs, and appliqués adhere with specialized adhesives designed for garment use, not craft glue. You’re using chemical bonding to achieve what stitching traditionally did, but faster.
Strategically placed embellishments change silhouettes and disguise fit issues at the same time. Paint a geometric pattern on a faded shirt to make it look intentional and current. Stud a denim jacket pocket to add texture and visual weight. Glue an appliqué over a stain to create asymmetry that reads as design choice rather than accident. The application protocol matters: clean the fabric, let adhesive set according to package instructions, then wear after a full 24-hour cure.
DIY Fashion Trends: The Future Of Unconventional Garment Creation

How No Sew Methods Shape Personal Style
You want permission to skip the gatekeeping of “real” fashion because you don’t own a machine. Here’s the mechanism: no sew refashion removes the barrier between intent and execution. You identify a piece, apply adhesive or mechanical fastening, and own the result in hours instead of days. The speed of iteration is what changes behavior. Beginners test ideas faster, fail cheaper, and build confidence through repetition rather than perfectionism.
The sustainability angle everyone mentions is real but incomplete. The actual driver is psychological ownership. When you physically transform a garment with your hands using visible techniques, you stop treating clothes as disposable. Fabric glue, iron on patches, and snap fasteners aren’t hidden. They sit on the surface as evidence of your decision. This visibility makes you protective of the piece in ways sewing never does because the alteration is permanent and unmistakably yours.
Upcycling Reshapes Design Thinking
The consensus says upcycling is about saving money or the environment. That’s the cover story. The real mechanism comes from constraint economics: limited materials force you to design within boundaries rather than fantasize in unlimited possibility space. A worn denim jacket becomes the canvas. You can’t add infinite elements. You choose precisely what matters because you’re solving for one specific garment, not designing for everyone.
This is how design thinking actually works in practice. Professionals call it radical constraint. You strip away options until only the essential move remains. No sew upcycling teaches this faster than theory because the materials talk back. Fabric weight determines where you can place adhesive. Existing seams dictate patch placement. The garment itself becomes the creative partner, not the blank slate. You start seeing refashioning as a conversation between what exists and what you want it to become.
The Unstitched Manifesto: Owning Your Creative Autonomy
Craft Without Permission
You’re reading this because you want permission to skip the gatekeeping. The mechanism is simple: traditional sewing culture built its authority on access to machines and formal training. No sew refashion demolishes that entirely. You own the work the moment you stop waiting for tools you don’t need to justify what you’re already capable of doing.
The barrier was never your skill. It was the belief that legitimate refashion required a sewing machine, thread tension settings, and years of muscle memory. Fabric glue, heat bond tape, and hand stitching existed the entire time. Fashion history confirms this. Haute couture houses use hand techniques on pieces worth tens of thousands of dollars. The machine is a speed tool, not a legitimacy tool. You already have everything required to transform garments.
When Limitation Becomes Your Competitive Edge
Constraint operates like a pressure valve in thermodynamics. Remove one variable, and the system forces you to optimize everywhere else. No sew refashion removes access to seams, so you compensate with placement, layering, adhesive strategy, and visual weight. This produces work that looks intentional instead of haphazard. You’re forced to think about design rather than just executing a pattern.
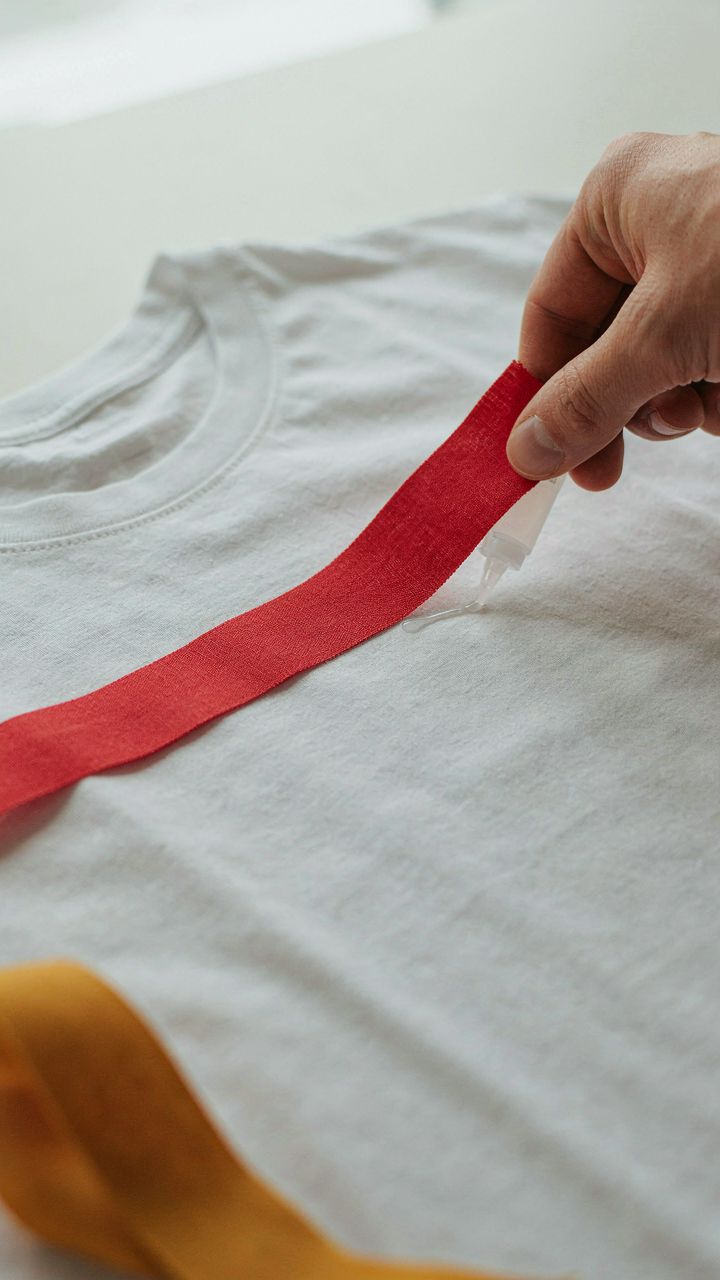
The common advice here is wrong. People say constraints limit your options. The inverse is true. A sewing machine gives you infinite directions to walk. No sew adhesives and hand techniques narrow the path but force you to walk it with purpose. Layering a fabric strip with fabric glue demands you consider opacity, texture, and surface tension in ways a straight seam never requires. Your refashioned pieces develop a recognizable visual language because you’ve eliminated half the technical noise. That’s how you build a distinct point of view. Start by listing three refashion outcomes you want to achieve, then identify which adhesive method forces you into the best design decision for each one.
Your Biggest Obstacle Isn’t The Lack Of A Sewing Machine; It’s The Lack Of Imagination To See Beyond Traditional Tools

Most people abandon no sew refashion before they start because they’re waiting for permission to begin. You don’t need a machine. You need conviction. Pull one shirt from your closet right now. Grab fabric glue, a utility knife, or needle and thread. Destroy it intentionally. Remake it into something you’d actually wear. That single act kills the mental barrier holding you back. The machine was never the real problem—your willingness to make mistakes was.