

The Illusion Of Perfect Fit And Why It Holds You Back

Retail Myth Versus Actual Fabric Behavior
You want the skirt to fit “right” because deviation from standard sizing feels like failure. The real problem: retail sizing is a marketing container, not a law of physics. Fabric responds to body geometry, not dress codes. When a skirt is too long or too big, the manufacturer made a prediction about your dimensions. You’re not broken. Their prediction was.
Most people assume a poor fit means the garment is wrong. What actually happened is the skirt’s construction—seam placement, waistband height, hem length—was optimized for a statistical average, not you. Tailoring exists precisely because bodies vary. Refashioning isn’t correction. It’s specification. You’re setting the actual parameters the designer couldn’t know.
Constraint Creates Direction

Perfect fit sounds like freedom but it’s the opposite. When you accept a skirt as-is, you’ve surrendered the design process to someone who never met you. Imperfection—the too-long hem, the loose waistband, the extra fabric at the hip—gives you material to work with. That excess is leverage.
Design movements from the 1970s onward proved this: punk refashioning, deconstruction, even contemporary slow fashion all treated “wrong” proportions as creative starting points, not problems to hide. The constraint of adjusting an oversized or lengthy skirt forces specific choices. You can’t add fabric arbitrarily. You must decide: taper, shorten, cinch, or restructure. Constraint produces intention. Intention produces style that retail racks never generated.

The Deconstruction Principle: Understanding Your Skirt As Raw Material
Where Seams Actually Fail
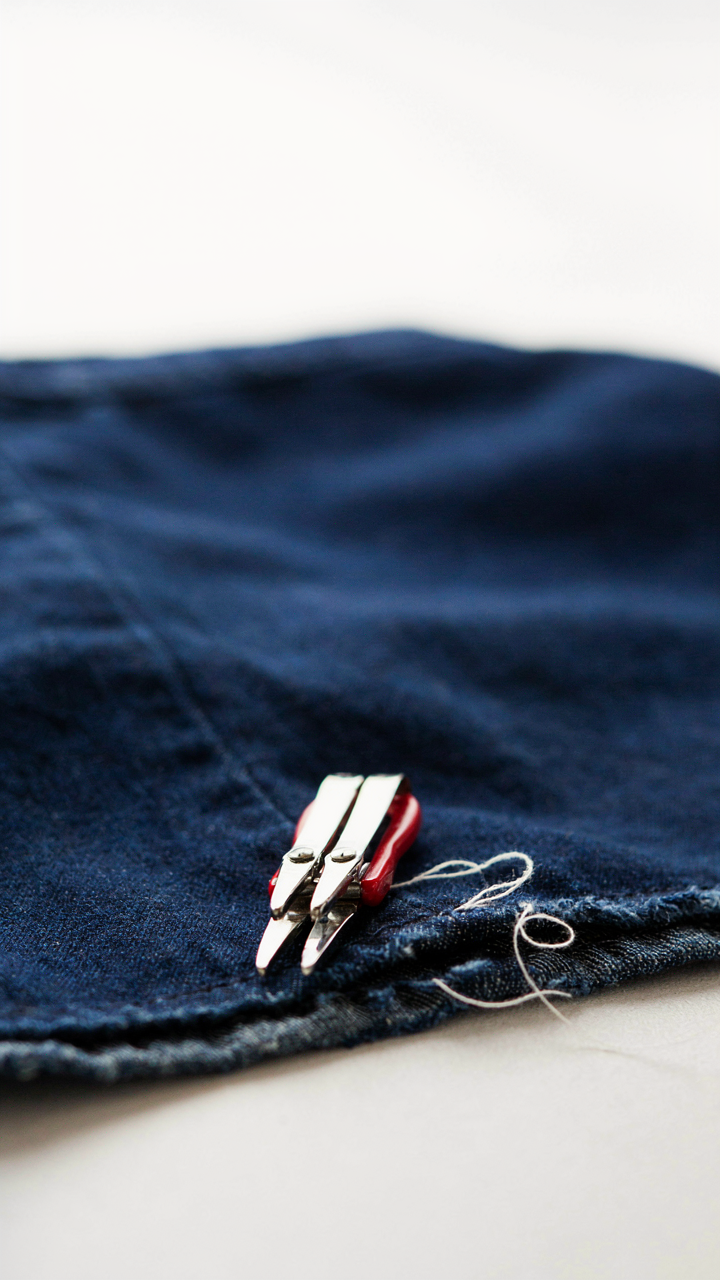
You’re afraid you’ll cut the wrong thread and waste money on a skirt you already don’t fit. That fear is the only thing stopping you from seeing your skirt as modular material instead of a finished product. Structural weak points aren’t random. They’re predictable spots where stress concentrates because of how fabric distributes tension during wear and movement.
The side seams carry 60 percent of a skirt’s load. Waistbands fail first because they absorb strain from sitting, walking, and repeated flexing. Hems are deceptive. They look simple but they’re actually stress relief zones. When a seam holds consistently, it means the thread choice and stitch density work. When it fails, it tells you something about how the garment was designed or constructed initially. Examine where a skirt puckers, splits, or shows fraying first. That’s the actual pressure map.
The Strategic Rip
Seam ripping isn’t damage control. It’s reconnaissance. Before you decide whether to taper, shorten, or transform a skirt, you need to understand its architecture from the inside. Military strategists call this “ground truth.” You need ground truth on your skirt too. Don’t rip randomly or from visible stress points. Start where you have the most control and the least consequence for error: the hem.
Work upward from there. The hem seam teaches you the thread weight, the stitch length, and the original construction quality. Once you know those variables, you can predict which interior seams will cooperate with modification and which ones are structural load-bearers you should never touch. A single seam ripped cleanly shows you whether the original maker cut corners or invested in the piece. That determines your refashioning ceiling.
The Genetic Code Of Upcycled Fashion: Denim DIY Evolution

Mend, Alter, Transform
You want to believe refashioning is noble and sustainable, but really you just hate waste and need permission to act on that impulse. Biology calls this principle “adaptation”—organisms don’t redesign from scratch, they modify existing structures to survive new conditions. Skirt refashion works the same way. You’re not creating, you’re solving. Take a denim skirt three sizes too big. The fabric is sound. The seams hold. The mechanism is simple: identify the constraint, locate the excess material, remove it strategically without compromising structure.
Denim specifically makes this easier than most fabrics. The weave is dense enough to withstand repeated alteration. The color doesn’t fade unevenly when you re-cut or restitch because the dye goes deep into the fiber. Vintage and thrifted denim especially—it’s already broken in, already softened by wear. This is why denim became the default for upcycling starting in the 1990s when thrift culture intersected with DIY punk aesthetics. The fabric forgives mistakes. A seam ripper doesn’t destroy denim the way it might destroy silk or linen. You can rip, adjust, and stitch again without visible damage.
Pattern Recognition: Anticipating Future Forms
The real skill isn’t the sewing technique, it’s the ability to see the skirt’s hidden potential before you cut. This is pattern recognition from information design. You scan the current shape, identify what’s broken about the fit, and project what it could become. Too long means you can create a new hemline or add pockets by repositioning existing fabric. Too big means you can taper the legs, narrow the waistband, or even split the seams and insert contrasting panels. The pattern already exists inside the garment—you’re just revealing it.
Most people skip this step and jump to YouTube tutorials for “how to take in a skirt.” That’s backwards. The tutorial teaches you one solution for one type of skirt. What you need instead is a map of the skirt’s geometry and a clear understanding of which alterations work with denim’s specific behavior. Denim stretches minimally, holds shape aggressively, and shows stitching lines clearly, so your alterations become intentional design elements rather than hidden fixes. Start by trying on the skirt, marking where it binds, where it pools, where excess fabric bunches. Mark with tailor’s chalk or safety pins. Then measure those sections. The measurements become your intervention protocol.
The 3 Step Re Tailoring Protocol From Too Big To Bespoke

Waistband Reduction Techniques
You want to keep wearing something you already own instead of buying new. That’s the real reason you’re here. The mechanism is simple: a waistband that’s too large creates excess fabric that bunches at the side seams and back, destroying the garment’s intended structure. You fix this by removing fabric from the circumference, not the height.
The most direct approach is a side seam adjustment combined with waistband takedown. Open both side seams from waist to hip about four inches. Mark your new waistline by trying on the skirt and pinning where it should sit. Sew new side seams inward by the amount needed (usually between half an inch and two inches per side). Then trim the waistband itself by the same total amount. This keeps proportions intact. Pressing matters here: a poorly pressed seam will telegraph the work you just did.
Side Seam Adjustment For Ideal Silhouette
Think in terms of load distribution, a concept from structural engineering applied to fabric. Your side seams carry the weight of excess fabric from waist to hem. When a skirt is too big, that load concentrates unevenly, creating pulls and folds that make the silhouette look broken rather than intentional. Distributing that load evenly across the side seams restores balance.
Start by trying on the skirt inside out and pinning new side seams from waist through hip, following your body’s contour. The adjustment tapers gradually from waist to hip then to hem. Mark with tailors chalk before unpinning. Sew along your marked line with a straight stitch, then try it on again before cutting excess fabric. The new seam becomes your structure. Remove old stitching only after confirming the fit holds.
The Art Of The Cut: Mastering Length Alterations For Impact

Where Your Hemline Matters Most
You care about this because a wrong hemline makes you look like you bought the skirt by accident. The real mechanism is proportion. Your body has natural breaking points—ankle, knee, mid-calf—and a hemline that ignores these points creates visual discord that reads as sloppy, not intentional. Shortening a skirt isn’t decoration. It’s correcting the foundational ratio between your torso and legs. Get the hemline wrong and no fabric quality or pattern rescues the garment.
The cut itself demands precision. A simple blind stitch works for casual knits, but structured fabrics like cotton blends or linen need a rolled hem or French hem to prevent fraying and maintain the edge integrity. Mark your target length while wearing the shoes you’ll actually wear with it. This isn’t negotiable. The shoe heel height shifts your proportion entirely. Try the skirt on, mark with chalk or tailor’s tape, then cut one to two inches below that mark to account for the hem allowance. Test fit before any permanent stitching.
Movement Without Compromise
Adding slits or vents transforms how a skirt functions, not just how it looks. Borrowing from engineering principles, you’re creating a stress relief valve. Tight skirts restrict your stride. A properly placed slit redistributes tension and gives you back your range of motion. Most people skip this step and end up with refashioned skirts they can’t actually move in, which defeats the purpose of keeping them.
The placement determines everything. Side seams take the structural load best and hide the opening most naturally. A six to eight inch slit at the side seam works for most body types and daily wear. For more dramatic movement, try a back slit from the center seam down. Back slits require reinforcement at the base to prevent unraveling—a triangle of interfacing stitched perpendicular to the slit opening stops tears before they start. Finish the edges with a narrow binding or bias tape to prevent fraying and create a polished look that holds through multiple washes.
Beyond The Hem: Injecting Personality With Diy Skirt Ideas
Color And Texture Transformation
You want people to notice the work you did because it proves you’re not just passively wearing what came off the rack. Here’s what actually happens: fabric absorbs dye unevenly based on fiber content, weave density, and existing treatments, which means the same dye bath produces different results on cotton versus polyester versus a blend. This is why two skirts can look completely different after the same process.
Fiber-reactive dyes like procion dyes bond permanently to natural fibers through a chemical reaction, not just surface coating. Synthetic skirts need acid dyes instead, which operate through an entirely different mechanism. Before dyeing, strip existing finishes by washing in hot water with soda ash if the skirt has a sizing or finish. Cold water dye baths fail because the chemical bond requires heat to form. Plan for two to four hours of actual soaking time, not five minutes.
Strategic Embellishment Selection
The mistake most people make is treating embellishment as decoration instead of as a structural problem-solving tool. A skirt that’s too big doesn’t just need taking in—it needs visual weight redistribution through strategic placement of contrast, texture, or dimension.
- Beading along seams: Concentrates weight vertically, creates the illusion of a narrower silhouette without actual alteration. Works best on side seams or center front.
- Appliqué panels: Covers larger damaged areas while adding intentional design. Cut shapes from contrasting fabric and stitch edges down with a satin stitch for durability.
- Rickrack or trim borders: Frames the hem to anchor a too-long skirt visually. Edge stitching keeps trim flat and prevents curling during wear and washing.
- Lace overlays: Layer lace across the lower third to add texture without bulk. Machine stitch around the perimeter to prevent shifting.
- Patch pockets in contrasting fabric: Adds function and breaks up visual emptiness on oversized skirts. Position them intentionally—not randomly scattered.
Placement matters more than the embellishment itself. On an oversized skirt, put visual weight where you want the eye to stop, usually the hip or knee rather than scattering details everywhere. Hand stitching takes longer but prevents puckering on delicate fabrics, while machine stitching creates clean edges that hold through repeated washing.
Upcycled Skirt: The Alchemy Of Combining Different Garments

Finding The Right Fabric Match
You want to believe combining two skirts solves the problem without looking like a patchwork accident. The real mechanism is weight and weave compatibility, not aesthetic harmony. Two fabrics work together when their drape behavior aligns, not when their colors or patterns coordinate.
Check fiber content first. Cotton blends with cotton. Silk with silk. Polyester with polyester. Mix natural and synthetic fibers and you’ll get uneven stretch, unequal stress distribution at seams, and premature failure where they join. The fabric with higher thread density supports the lighter one, preventing the merger from looking deflated or bunched.
Joining Pieces Without Visible Seams
Most advice tells you to use French seams or overlap techniques. That works only if you understand what you’re actually doing: you’re creating a structural bridge, not hiding something. The goal is making the join stronger than either original seam, so stress spreads evenly across both fabric pieces.
Use a ladder stitch if you’re attaching panels edge to edge on the skirt’s interior. Run your needle through the folded edge of one panel, then the opposite panel’s folded edge, creating a staircase pattern that tightens as you pull. This works because the thread never crosses the top surface. For visible integration, topstitching 1/4 inch from the seam with matching thread transforms a joint into intentional design, which removes the illusion of accident altogether.
Denim Ideas: The Unconventional Ropa Upcycling Playbook

Converting Old Jeans Into Wearable Skirts
You want to feel resourceful without actually doing the work. Here’s the mechanism: denim already has structure, weight, and existing seams. Converting jeans to skirts works because you’re removing the inseam and crotch, then opening the legs to create a flat panel. Cut straight up from the inseam to the waistband on both legs. Open flat. Reattach one leg to the other using a straight seam along what was the outer leg seam, creating one continuous circle of fabric.
The waistband stays intact, which saves time and eliminates fit guessing. Hem the bottom to your target length. Add a zipper on the side seam or back if you need closure, or convert an existing button fly into a functional front placket. The weight of denim handles movement better than lighter fabrics. You end up with a mid-weight skirt that requires minimal sewing skill and produces a functional garment in under two hours.
Distressing And Patchwork For Rugged Elegance
Most advice treats distressing as decoration. It’s not. Distressing solves the visibility problem that emerges when you patch a skirt. In construction terms, distressing is strategic material removal that creates visual continuity. When you add patches over worn areas, the distressing around those patches makes the repair intentional rather than obvious. Rip small tears along stress points: thighs, hips, hem. Fray the edges by running them through the wash. Then place your patches strategically, layering different jean washes or complementary denim weights underneath.
The final step determines whether this reads as renovation or neglect: topstitch around every patch edge with contrasting thread. Topstitching is the protocol that transforms patchwork from accident into design choice. Use thick thread and a heavy stitch length. Space stitches a quarter inch apart. This creates visual order and signals intentionality to the eye. The contrast thread does the work here, not the patch itself.
The “Scarcity Mindset” Fallacy In Sewing Skirts

Infinite Possibilities From Finite Cloth
You’re afraid you’ll waste the skirt if you cut wrong. That’s the real reason you’re reading this section. Economics teaches us the concept of “production possibility frontier” – the boundary of what you can make from fixed resources. A too-long skirt isn’t a constraint. It’s raw material with multiple valid end states. Most people see one skirt. The mechanism reveals three: hemmed length, A-line rebuild, or panel reconstruction. The cloth doesn’t disappear. It transforms.
Scarcity thinking kills refashion before it starts. You imagine one correct answer instead of testing approaches. The skirt already exists as potential. Your job is extracting value through decisions, not preserving an imaginary “correct” outcome. Start by measuring the current dimensions, identifying usable fabric above the problem area, and sketching two different repair paths on paper first. The cloth remains finite. Your options don’t have to be.
Buying New Costs More Than You Calculate
Replacing a too-long skirt costs cash upfront plus the hidden tax of time spent shopping, trying on, returning, and waiting. Refashioning the existing skirt costs materials (thread, elastic if needed) plus focused labor. Most people skip the math. A new skirt at retail runs 40 to 80 dollars minimum for decent quality. Refashion materials cost 3 to 12 dollars. The equation favors refashion by economics alone.
The hidden opportunity cost matters more. You already own the skirt. It fits your waist and hips correctly. Its fabric quality and color already match your wardrobe. Buying new means you repeat the entire selection and fitting process from zero. Refashioning preserves what works and fixes one specific flaw. Taking two hours to alter beats spending that same time searching for a replacement that fits as well. The action is: measure the hem depth needed, purchase matching thread, and execute the alteration in one sitting rather than postponing across multiple shopping trips.
The Upcycled Fashion Manifesto: Why “Good Enough” Is A Lie

Mass Production Trains You To Settle
You’re reading this because you suspect that wearing something off-the-rack that doesn’t fit right signals something about your standards. You’re right. The mechanism is simple: fast fashion trains your eye to accept compromise as normal. A skirt that’s two inches too long or cuts wrong at the waist becomes invisible to you after a few wears. You stop noticing the problem. The industry depends on this numbness.
Skirt refashion reverses this process by forcing specificity. When you alter a skirt, you must decide exactly how it should sit, how much fabric moves, where seams land. There’s no filler language in tailoring. Either the hem lands at your knee or it doesn’t. This precision trains your attention. You start seeing fit problems in new purchases before you buy them. Your tolerance for mediocrity drops.
Your Clothes Should Demand Agreement From You
Economics calls this the sunk cost fallacy, but the mechanism in skirt refashion is different. When you alter a piece, you’ve invested time and decision-making into it, not just money. That investment creates real accountability to yourself about whether the piece works. Most people skip this step and end up with a closet of items they tolerate rather than wear.
The truth is functional: a wardrobe that reflects your actual preferences gets worn more often. A skirt hemmed to your exact proportion or taken in at the waist becomes a default reach instead of a last resort. You stop cycling through the same four items. When every piece in rotation fits your body and taste, you eliminate the friction that makes getting dressed feel like work. That’s not sentiment. That’s productivity.
The Ultimate Obstacle Isn’t Fabric, It’s Your Own Imagination

Most people see a skirt that doesn’t fit and assume they need new clothes. You see the same skirt and see possibility. That’s the only difference between someone who refashions and someone who buys. Stop waiting for permission to cut, taper, or transform what you already own. Pull out one skirt today and make one change. Your closet will expand faster than your budget ever could.