

The Zipper Anatomy Fallacy: What Actually Fails
Slider Vs. Teeth: Pinpoint The True Breakdown
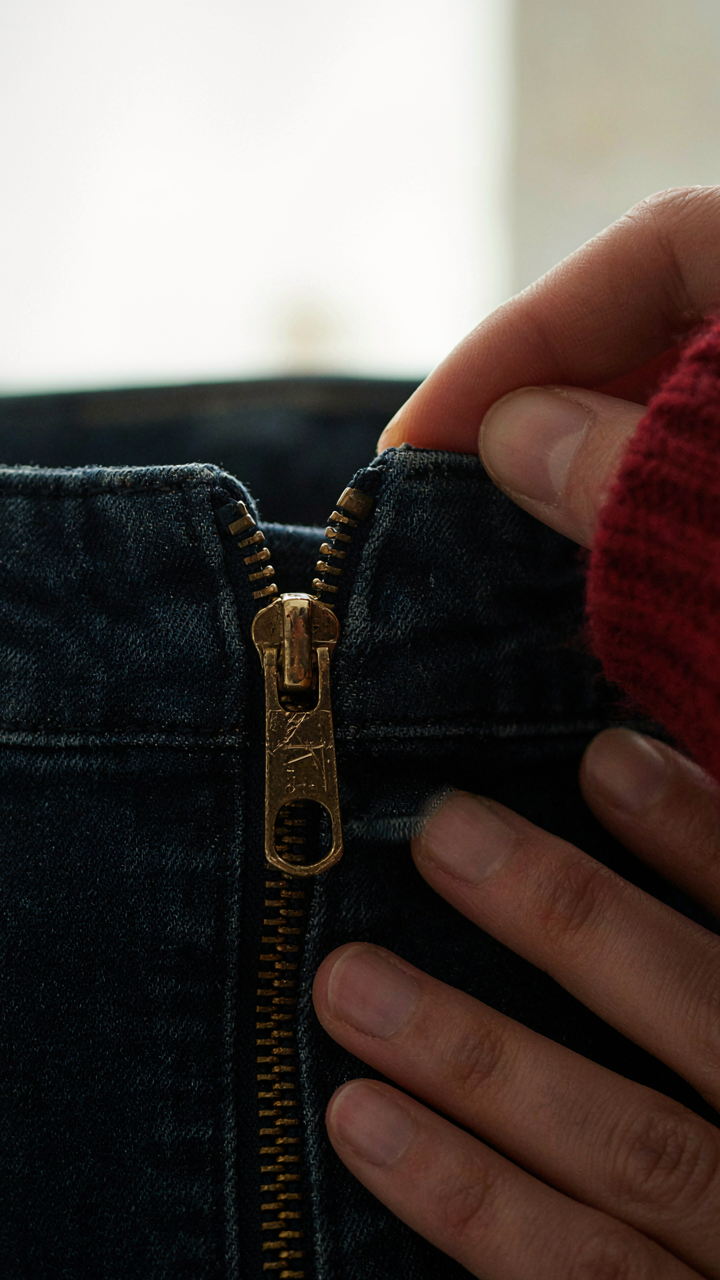
You think a broken zipper means the whole thing is garbage. That’s the real cost you’re afraid of paying. The mechanism that fails is almost never what you assume it is. Most people blame the teeth when the slider is the actual culprit. The slider is the metal or plastic box that grabs and separates the interlocking teeth. When it wears, strips, or gets bent, the teeth stay perfect but the zipper stops working entirely.
The teeth fail less often than you’d think. They’re metal or molded plastic, sitting there doing one job: lock into the opposite side. They survive most damage. What kills a zipper is a slider that can’t grip anymore or has developed internal play. You can test this yourself. Pull the slider up and down on a stuck zipper. If the teeth are aligned but the slider moves without catching, the slider failed first. Replace the slider and you’ve solved ninety percent of zipper problems without touching the tape or teeth.
When To Replace Vs. When To Mend

Mending a zipper only works when the slider still has structural integrity but the teeth are misaligned. This is rare. The common advice to just “fix the alignment” ignores the fact that misalignment usually signals a bent or stripped slider. Once the slider loses its grip, no amount of gentle pulling fixes it. If the slider itself is compromised, replacement is the only functional solution.
The decision splits on one variable: can the slider still engage the teeth fully without slipping? If yes, you can sometimes rehabilitate alignment by using a graphite pencil to coat the teeth or carefully tightening the slider with pliers. If no, and the slider moves freely without catching, the slider is dead and needs removal and replacement with a new one. This is when you actually replace a zipper. Most people waste time mending when replacement takes thirty minutes and works permanently.

The Minimalist Fix: Broken Zipper Repair Without Sewing

Pliers And Precision: Realigning Misbehaving Teeth
You want to avoid admitting the zipper is actually broken because replacement feels like failure. Here’s the mechanism: a zipper fails not because teeth shatter, but because the slider loses tension on the track. Think of it like mechanical engineering, where load distribution determines whether a system holds or slips. Most misaligned zippers respond to one move: using needle-nose pliers to squeeze the slider’s sides inward, restoring pressure on the teeth.
Grab the slider firmly with pliers and apply steady pressure to both sides simultaneously. One squeeze per side, maybe two if the slider moved significantly. This contracts the metal channel inside the slider, forcing it to grip teeth harder. The zipper either catches again or it doesn’t. If it does, you’ve bought yourself months. Test it immediately before declaring victory.
Temporary Fixes: Extend Garment Life Instantly
The common advice here is useless: most sources suggest graphite pencils or wax, which is half the story. Those work temporarily because they reduce friction, but they don’t address the core problem. You need a method that works within hours and costs nothing. Rub a graphite pencil along both sides of the zipper track where teeth meet slider, or use a bar of soap the same way. This creates a smooth surface that lets a worn slider function again.
If graphite fails, try the slider repositioning technique: open the zipper fully, then manually realign any bent teeth with your fingernail or a flat tool. Close it slowly. Bent teeth are the second most common culprit after slider wear. This is not permanent, but it extends usable life by weeks. You’re buying time to order a replacement or decide whether the garment is worth fixing properly.
The Slider Replacement Protocol: Easy Way To Fix Zipper
Matching The Right Slider
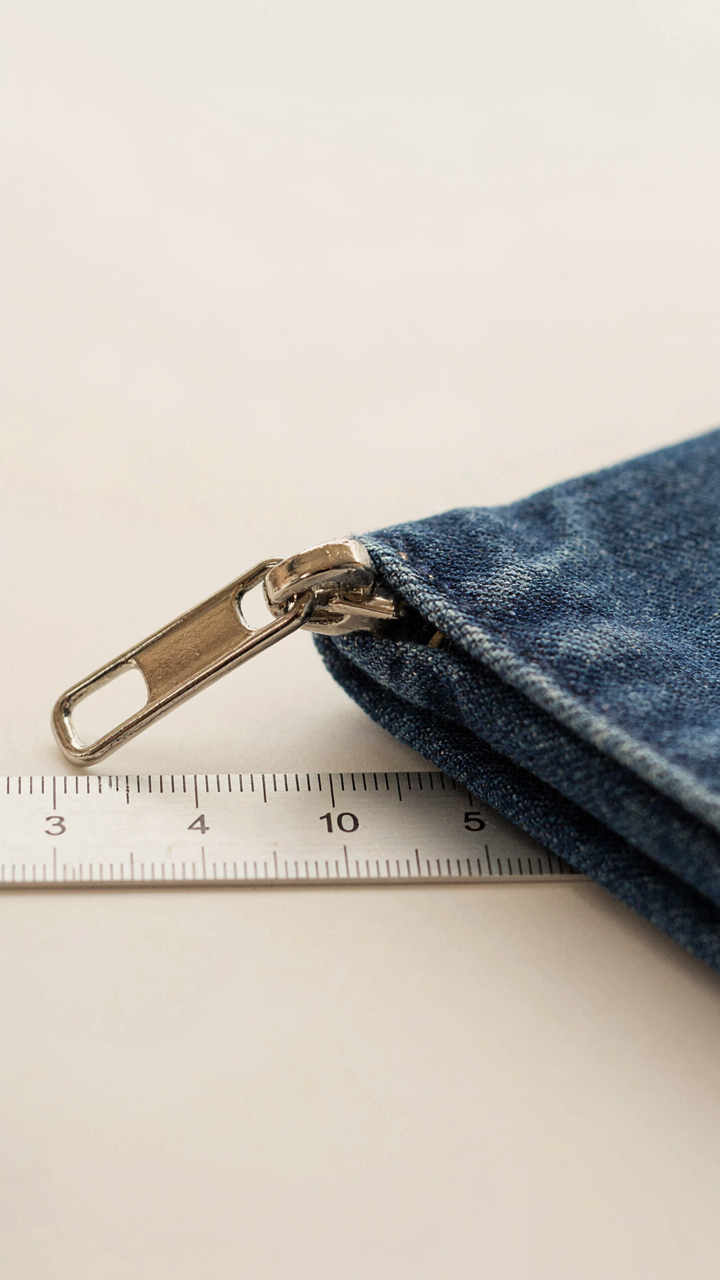
You want to avoid buying a new garment. That’s the real reason you’re here. The mechanism is simple: sliders come in standardized sizes that correspond to tape width, and you need the exact match or the slider will either jam or fall off the teeth.
Zippers are numbered by coil or tooth width. A size 5 slider fits a size 5 coil. A size 8 fits a size 8. You cannot substitute or improvise. Measure the tape width where the slider used to sit, then cross-reference that measurement to the correct slider size before ordering.
- Size 3: Lightweight coats, dresses, small pouches. Tape width approximately 6mm. Most common for delicate fabrics.
- Size 5: Mid-weight jackets, bags, jeans. Tape width approximately 10mm. The standard replacement for most apparel.
- Size 8: Heavy outerwear, work pants, luggage. Tape width approximately 13mm. Built for stress and repetition.
- Metal vs Plastic: Metal sliders last longer but cost more. Plastic sliders work fine for regular wear but wear faster on heavy use.
- Autolock vs Non-Lock: Autolock sliders hold position without a stopper. Non-lock sliders require top and bottom stops to function. Check your original design.
Order a slider with the same pull tab style as your original if possible. If the original is missing, a basic rectangular or rounded pull works on any slider. Cost difference is negligible. Installation remains identical regardless of pull aesthetic.
Crimping Technique For Secure Attachment
Everyone gets this wrong. They think crimping means squeezing hard. It doesn’t. Crimping uses a controlled mechanical principle: you compress the metal box around the coil teeth in a precise pattern so the slider cannot move under load.
Position the new slider onto the zipper coil from the bottom, then thread both sides of the tape through the slider body until it sits flush. The box opening should face down. Use a crimping tool or small pliers with flat jaws. Apply pressure to the two small metal boxes on either side of the slider body. Press each box once, firmly, perpendicular to the tape. Do not squeeze multiple times. Do not twist. One deliberate squeeze per side locks the slider in place. Test by pulling the slider up and down the coil to verify smooth operation before reattaching the slider to your garment.
The “Reattach A Zipper” Reframe: Leveraging Mechanical Advantage

Where The Fulcrum Actually Lives
You want this section because you’re afraid of breaking the zipper further and wasting the whole garment. Here’s what actually matters: Physics calls it fulcrum mechanics—a pivot point that multiplies force. When you reattach a zipper slider, your hands become the fulcrum. The fabric edge is the lever arm. Get the angle wrong and you snap teeth. Get it right and pressure distributes across multiple teeth at once instead of concentrating on one.
Most guides skip this part and jump straight to “push the slider down slowly.” That’s incomplete. The real mechanism is about where you position your hands relative to the fabric edge. If you grip the slider directly above the fabric teeth, you’re applying force perpendicular to the zipper track—mechanical disadvantage. If you angle your grip so you’re pulling the slider forward and slightly upward, you create a rocking motion that seats the slider onto multiple teeth simultaneously. This distributes load. One tooth doesn’t bear the full weight of reattachment.
Applied Pressure Without Collateral Damage
The common advice says “use steady pressure.” That’s lazy instruction. Steady pressure assumes uniform resistance, which zippers don’t provide. The slider hits resistance when teeth aren’t aligned. Push through that resistance in a straight line and you bend or snap teeth. The real protocol is incremental micro-adjustments with feedback loops.
Start with the slider positioned just below the separated teeth. Apply 20 percent pressure downward while watching the fabric edge. If the slider doesn’t move after two seconds, stop. Don’t push harder. Instead, wiggle the fabric slightly—micro-adjustments of half an inch left or right—until you feel the slider catch. Once it catches, increase pressure to 50 percent and move the slider down one inch. Pause. Assess. Repeat. This rhythm prevents the sudden force spike that breaks teeth or bends the slider housing.
Full Zipper Replacement: The Last Resort Strategy
Matching The Zipper To Your Garment
You’re considering this because you’ve already spent time and money on the jeans or skirt, and throwing it away feels like admitting defeat. Here’s the mechanism: zipper failure is predictable, but replacement success depends entirely on matching two variables—material and length—with surgical precision. Get either wrong and you’ve wasted the repair attempt.
Zipper length matters more than most people realize. Measure from the top stop (where the slider begins) to the bottom stop. Don’t measure the fabric opening. The number stamped on zippers refers to the coil or teeth width in millimeters, not total length. Metal zippers run smaller than plastic coils—a size 5 metal fits different proportions than a size 5 plastic. Buy the exact length or go one size up; going shorter guarantees failure.
The Surgical Approach To Seam Ripping
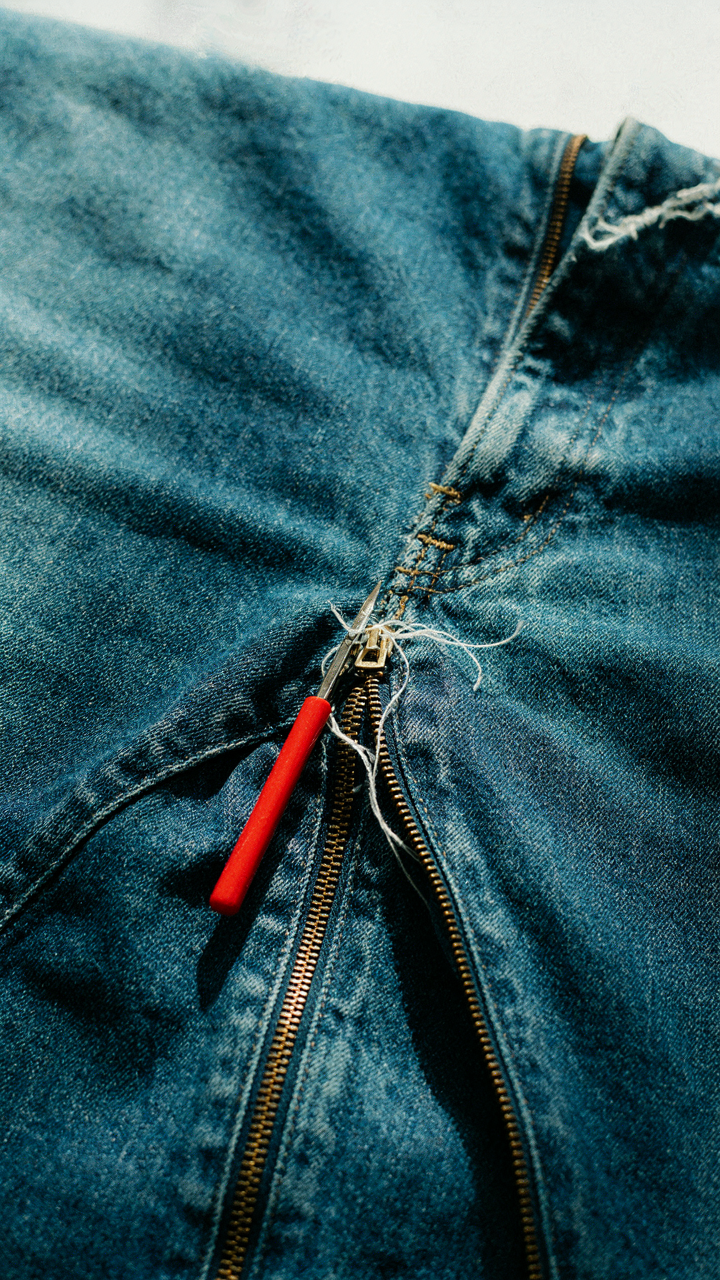
Seam ripping is borrowed from surgical technique: you identify the entry point, work with precision, and avoid collateral damage to surrounding tissue. Your entry point is the stitching holding the old zipper tape to the garment. Use a seam ripper’s pointed end to slide under each stitch, lift it, then cut cleanly. Speed here creates mistakes—work stitch by stitch, not in rushed bursts.
Remove all old adhesive residue and thread fragments before installing the new zipper. The garment fabric weakens if you stitch through old holes carrying debris. Press the seam flat after removal, then measure the new zipper against the opening one final time before stitching. Attach the new zipper using a zigzag stitch on your machine, keeping tension consistent to prevent puckering at the seam line.
The “Sewing Zipper Replacement” Method: Mastering The Stitch

Hand Sewing: Invisible Versus Functional Stitches
You want this to look like you didn’t do it yourself. That’s the real reason you care about invisible stitches. The mechanism is simple: thread tension and stitch placement hide the thread line entirely, which matters because visible stitching screams “amateur repair” to anyone who knows fabric. Hand sewing lets you control pressure point by point, unlike machines that force uniform tension regardless of fabric thickness or zipper tape density.
Invisible stitches use a technique called the ladder stitch or slip stitch. You thread the needle through the fold of fabric itself, never piercing the outer face. The thread runs inside the fold for an inch, then emerges and crosses to the opposite side, repeating the pattern. This works only on areas where you can fold fabric over the zipper tape. For zipper sides where fabric doesn’t fold, functional stitches matter more. Use a basic running stitch, one-eighth inch from the zipper teeth, keeping tension consistent so the line sits flush against the tape without puckering the garment.
Machine Sewing: Zipper Foot Utilization
The zipper foot exists for one reason: it lets the needle sit directly next to the zipper teeth without hitting them. Standard presser feet sit too far from the teeth, forcing you to stitch too far from the edge and creating gaps. Think of it like clearance in mechanical systems. The zipper foot reduces that clearance to near zero. Most machines have interchangeable feet. The zipper foot typically screws or clips onto the needle bar and positions itself asymmetrically, allowing you to switch the foot from left-needle to right-needle alignment depending on which side of the zipper you’re stitching.
Set your machine to a medium stitch length, around 2.5mm, and guide the fabric slowly. Position the zipper foot so the needle runs one-sixteenth inch from the zipper teeth, parallel to the tape edge. Keep your hand pressure consistent and let the machine feed the fabric. Test on scrap denim first to verify the needle clears the metal. Once aligned, stitch the full length of the zipper on both sides, backstitching at the start and end to lock the thread.
How To Replace A Zipper Jeans: Specific Denim Challenges
Needle And Thread For Heavy Fabric
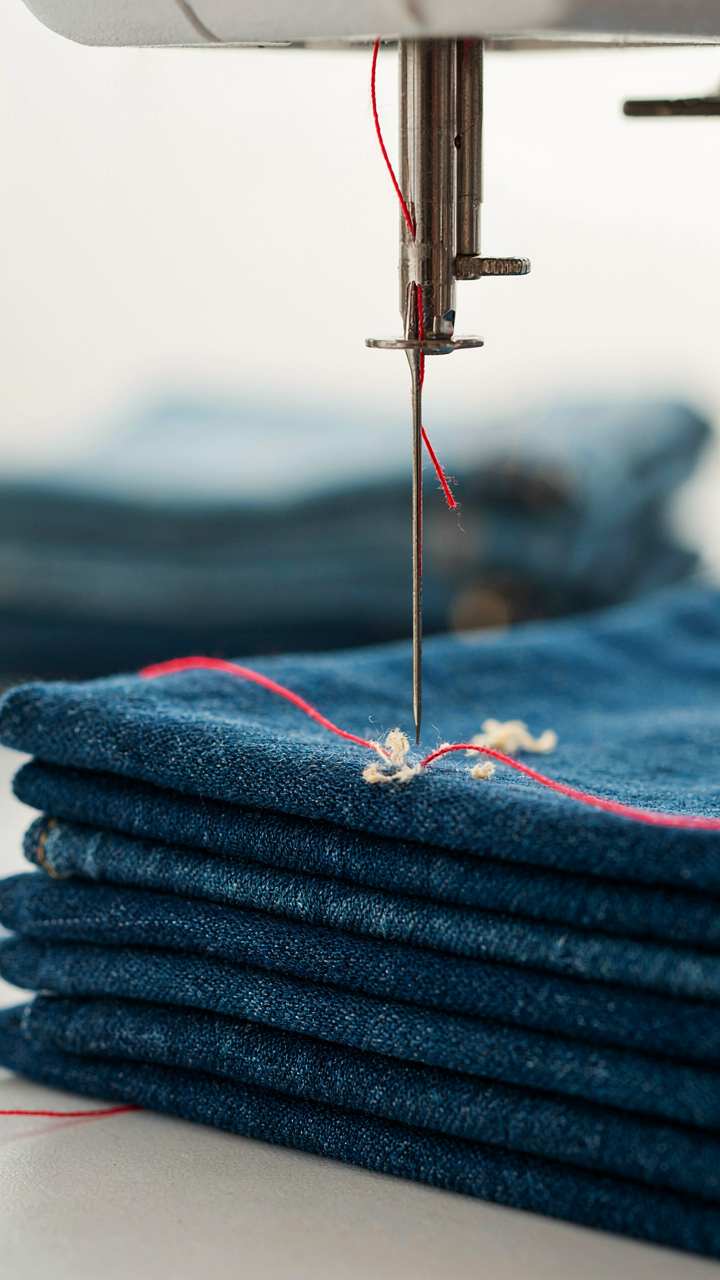
You want to avoid the embarrassment of your repair failing before the zipper does. Denim creates a mechanical problem that standard sewing equipment can’t handle: the needle bends or breaks under lateral pressure when punching through multiple layers. This is basic materials science applied to textiles.
Use a size 16 or 18 needle, not the standard 11 or 14 you’d use on lighter fabric. Denim typically runs 12 to 14 ounces per square yard on jeans. The heavier the weave, the thicker the needle must be to avoid deflection. Pair this with heavy-duty polyester or nylon thread rated for upholstery work. Cotton thread snaps under the tension denim demands during wear.
Reinforcing The Stress Points That Kill Repairs
Everyone tells you to just sew the zipper and move on. They’re wrong. The zipper doesn’t fail in isolation—it fails because the attachment points experience shear stress every time you pull it. Think of it like load-bearing walls: concentrated force at two points (top and bottom of the zipper tape) creates failure at those anchors first.
Backstitch every anchor point at least five times on each side of the zipper tape. This distributes the load across multiple thread passes instead of letting a single line of stitching bear all the stress. After you’ve sewn the main zipper, run a second line of stitches one quarter-inch inward from the first. This creates redundancy. The second line catches the load if the first fails.
Beyond The Broken Zipper Fix DIY: Preventing Future Failures
Keep Your Zipper Running Smooth
You’re reading this section because you don’t want to replace another zipper. That’s rational. The mechanism is simple: zippers fail because the teeth misalign or the slider wears out, and both happen faster when you ignore friction. Lubrication is the intervention that extends lifespan by years, not months.
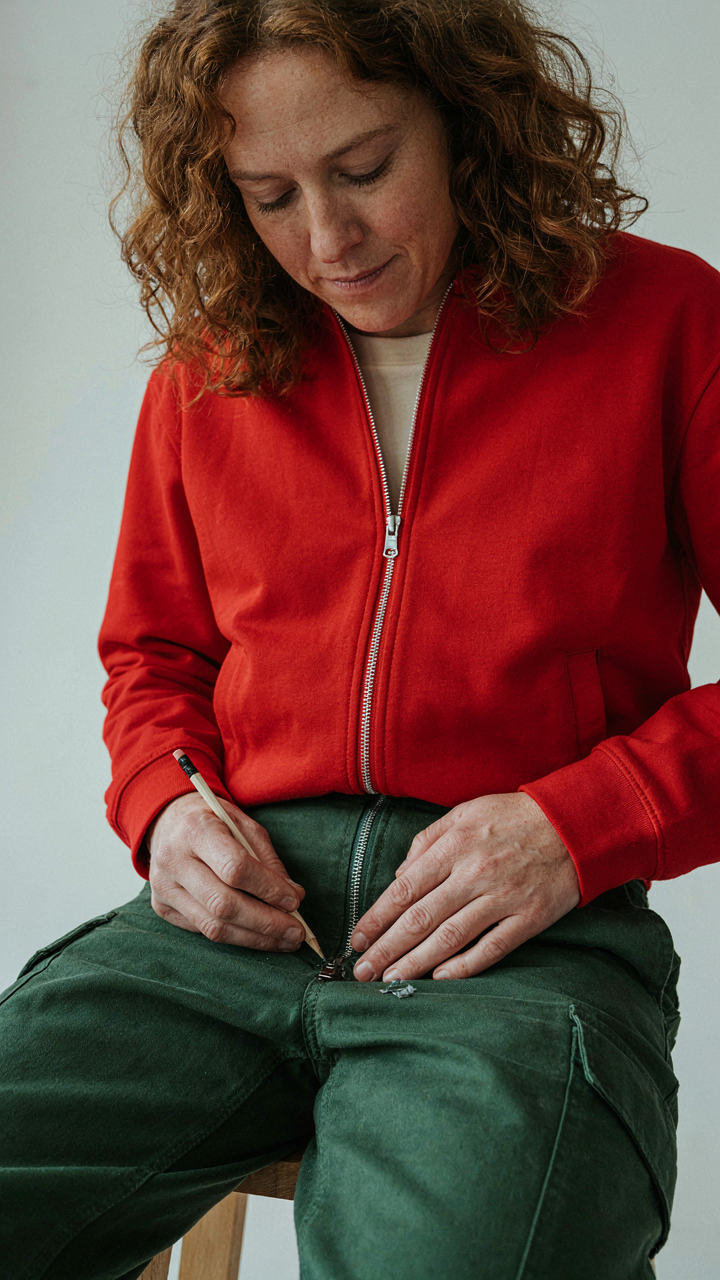
Graphite pencil or silicone spray applied to the zipper teeth before the slider reaches them reduces binding and metal-on-metal wear. Run the pencil along both sides of the open zipper, then work the slider up and down five times. Do this every few months on regularly worn items. Avoid fabric softener near zippers—it leaves residue that accelerates corrosion on metal teeth and clogs the slider mechanism. Clean the zipper channel with a soft brush first if lint buildup exists.
Buy Zippers Made To Last
Most people assume all zippers are the same. They’re not. Metal zippers on branded denim outlast plastic zippers on fast fashion by a factor of three because metal teeth hold their shape under tension, while plastic deforms under repeated stress. YKK and Riri make zippers that don’t fail prematurely.
When replacing a zipper, use a metal replacement rated for the garment weight. Coil zippers feel smooth but wear faster than metal on heavy fabrics like denim or canvas. The slider should move without grinding—if it does during installation, the teeth aren’t aligned correctly and the replacement will fail within months. This determines whether your repair lasts or becomes another job.
The Real Obstacle Isn’t The Zipper, But Your Aversion To Simple, Focused Action

You don’t need a sewing machine or YouTube University certification to replace a zipper. You need fifteen minutes and the willingness to do one thing without scrolling through five other options. Most people trash clothes over problems they could solve in an afternoon. That’s not frugality. That’s just friction disguised as laziness. Pull out a needle today. Your closet is already telling you what to do.