
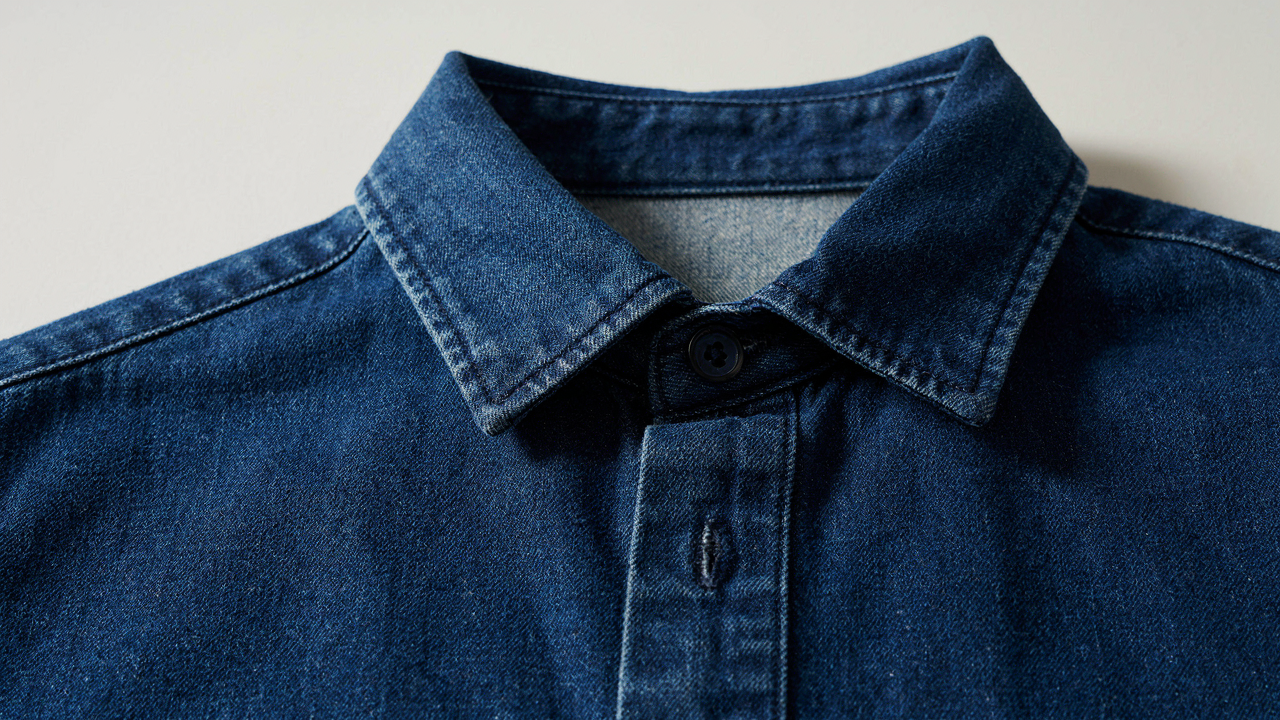
The Illusion Of The Sew On A Button Stitch

Why Surface Level Stitches Fail
You want to believe a button stays on because you followed steps. The real reason most buttons fail is that people stitch only the top layer of fabric, creating zero anchor depth. A button experiences constant directional stress, not just downward pull. Think of it like structural engineering: a load-bearing wall needs foundation depth, not surface coverage. Most sewers treat the button like a decoration instead of a load point. They loop thread through holes without penetrating the garment’s backing structure.
The surface stitch works until the first real wear cycle. Fabric layers under the button compress and separate over time. Your thread sits in the compressed zone, sliding loose as the material relaxes. You need penetration through the full fabric thickness plus the interfacing or backing layer if one exists. Without this depth, you’re essentially gluing the button to a loosening grip. The stitch fails not because the thread breaks, but because the anchor point deteriorates.
The Unseen Forces Tearing Buttons Off

Buttons don’t fail from single pulls. They fail from cyclic stress and shear friction between thread and fabric. Every time you button and unbutton, the thread flexes in the holes. Every time the garment moves during wear, the button shifts fractionally on the fabric surface. Friction compounds daily, gradually cutting through weak anchor points. Most people assume buttons pop because they pulled too hard once. That’s denial. The real damage happens silently across hundreds of micro movements.
The thread you use matters less than how deep your stitch penetrates the fabric body. A button sewn with cheap thread but proper depth outlasts one sewn with premium thread on the surface. Shear stress concentrates at the thread-fabric interface where depth is shallowest. You stop this by anchoring through the entire fabric thickness and creating a knot beneath the garment’s back layer, not between the button and fabric where stress lives.

Beyond Thread Count: Material Science Of The Button

What Your Button Is Actually Made Of
You want to know this section because you’re tired of buttons falling off and tired of pretending it’s random. It’s not. The button material determines how stress distributes across the holes or shank, and the fabric underneath determines whether that stress tears through or holds. Most buttons fail not from thread breaking but from the button pulling away from fabric fibers that can’t sustain the load. Plastic buttons crack under stress. Metal buttons distribute force evenly. Natural materials like bone and horn absorb shock differently than synthetics.
Fabric composition matters just as much as button type. Dense weaves like denim or wool can anchor a button through sheer fiber density. Loose weaves like linen or cotton blends offer less resistance, meaning you need more thread wraps or thicker thread to prevent the button from punching through. The button doesn’t fail in isolation. It fails because the system—button plus fabric plus thread—reaches a breaking point where one component can’t handle the force. Choose your button based on where you’re sewing it and what fabric lives underneath.
Thread Tensile Strength Against Wear
Physics teaches tensile strength as the maximum stress a material can withstand before breaking. Your thread’s tensile strength is the force needed to snap it completely. But here’s what everyone misses: the button doesn’t need to break the thread to fail. The thread can hold while the button itself cracks or the fabric tears underneath. Polyester thread has higher tensile strength than cotton but less grip on fabric. Nylon thread stretches, absorbing shock but creating slack over time. Heavy-duty thread rated for upholstery carries more load before snapping but is harder to work with on dress shirts.
The real mechanism is friction plus reinforcement. Waxed thread grabs fabric fibers harder, creating distributed load across more surface area. Unwaxed thread slides, concentrating force into smaller zones. Thick thread distributes pressure across a larger hole diameter, reducing the stress per square millimeter on the button itself. For buttons that take impact—jacket buttons, work pants, coats—use waxed thread rated for the weight of use that area will see. For delicate buttons on dress shirts, thinner thread works fine because the stress is lower.
The Anchoring Protocol: How To Sew A Button On
Thread Placement Determines Everything
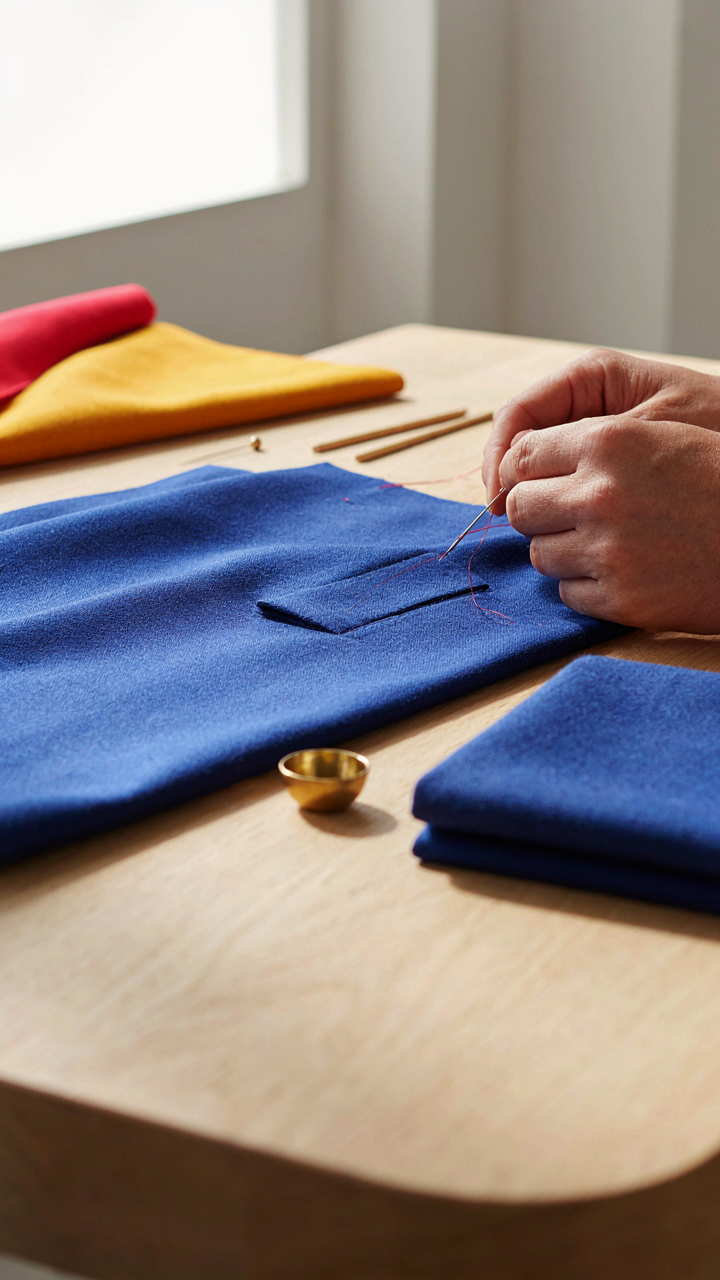
You care about this because a button that falls off looks like you don’t maintain yourself. Here’s what actually matters: most people treat needle piercing like it’s random, but fabric is a structure. Think of fabric grain like load-bearing walls in construction. Your thread needs to compress fibers, not slide between them. Push the needle through the weave perpendicular to the grain, not at angles that let threads separate under stress. The button hole and fabric layer thickness dictate needle angle. Get this wrong and friction alone won’t hold the button.
The entry and exit points on the fabric must sit directly under the button’s holes. This concentrates all stress into the tightest possible zone. If you pierce the fabric at oblique angles or space entry points too far apart, you create a larger stress field that distributes force across weak areas. A two-hole button requires piercing that channels tension through one path. A four-hole button demands diagonal threading that locks the button’s rotation. The thread doesn’t hold the button. The fabric fibers pinched between thread and button do.
The Knot That Refuses To Slip
Most tutorials bury the knot on the wrong side, hoping depth creates security. It doesn’t. The knot belongs directly under the button, on top of the fabric where the thread first exits. This knot becomes a physical stopper that prevents the thread loop from tightening and pulling through the fabric during wear. Use a simple double knot, then wrap thread around the knot base three times before pushing the needle back through. This creates friction that locks thread position against accidental unraveling.
The final knot goes on the underside after your last pass through. Push the needle out between the button and fabric, then knot immediately where the needle exits. This keeps all stress concentrated under the button rather than dispersed across loose thread on the back. The protocol is entrance knot under button, multiple passes through holes, exit knot tight to fabric. No slack. No space for movement.
The Shank Secret: Engineering For Stress Relief

Why The Gap Between Button And Fabric Matters
You care about this because a button that falls off looks like you don’t maintain anything. The real issue isn’t the thread or the knot. It’s physics. Think of the button shank as a load-bearing column in structural engineering. The shank is the space between the button face and the fabric surface. Without it, thread bears the full load of every tug, every wash cycle, every pull. The shank absorbs that stress instead.
Most people skip creating intentional space and sew the button flat against the fabric. The thread then becomes a single point of failure. Sewing a shank means wrapping thread around the post multiple times, then creating a thread buffer between button and cloth. This buffer distributes force across the entire wrapped section instead of concentrating it at one point. The shank is where durability lives.
Building The Thread Bridge Under Load
The thread bridge must sit proud of the fabric without being loose enough to catch on things. Wrap thread around the button post at least four times, keeping each wrap tight and parallel to the post. This creates a solid cylinder of thread that holds its shape. After wrapping, bring your needle out through the fabric directly below the button, then wrap thread around all those wraps two or three times before knotting off underneath.
This wrapped section absorbs compression when the button takes force. Fabric fibers compress into the space around the thread wraps instead of stretching the thread itself. That compression is reversible, while thread stretching isn’t. Your button shank should be roughly one-sixteenth inch thick. If you can’t fit a toothpick between button and fabric, it’s too tight. If the button wobbles when you tug it, expand your wraps.
The ‘How To Sew On A Button With Thread’ Tension Matrix

Why Multiple Passes Matter More Than Thread Thickness
You want to believe one thick pass does the job. It doesn’t. Physics calls this load distribution, and buttons fail because people concentrate force at single points instead of spreading it. When you pass needle and thread through the same holes repeatedly, you’re not being redundant—you’re creating redundant load paths. If one thread breaks, four others share the weight instead of the button ripping free instantly.
Most advice skips this: the number of passes through each hole determines survival, not the thread gauge. Make four to six passes minimum through each hole pair. Each pass is a separate load path. The button doesn’t fail because the thread snaps—it fails because all the force ran through one weakened route. Distribute that force and the button outlasts the shirt.
Thread Elasticity Under Repeated Stress
Cotton thread stretches and recovers. Polyester stretches less and recovers faster. This matters because buttons move. Every wash cycle, every tug, every time the fabric flexes around that button, the thread flexes too. Cotton relaxes over time and goes slack. Polyester stays taut longer, which means the button doesn’t migrate sideways and the thread doesn’t bunch into stress points that snap.
Use polyester or nylon thread for buttons on frequently moved garments like shirts and coats. Cotton works for decorative buttons on jackets you wear once a season. Polyester holds tension through hundreds of wash cycles without degrading. Nylon is stronger but overkill for most uses. The mechanism is simple: pass your thread back through the shank knot four times with polyester, tie it off tight, and the button stays centered for years.
Reinforcement Tactics: Sewing Buttons For Extreme Durability

The Backing Button Layer
You’re reading this because you’re tired of replacing buttons. You want the solution that actually works. Here it is: a backing button distributes stress across a wider surface area, preventing the thread from tearing through the fabric itself. This is load distribution—the same principle that makes a washer essential in structural engineering. Without it, all force concentrates on a tiny point and the fabric fails.
A backing button is simply a smaller button sewn behind the main button on the underside of the fabric. Use a flat button with two or four holes, ideally thinner than your primary button. Thread passes through both buttons simultaneously, creating a mechanical advantage that makes the attachment resistant to the constant flex and pull that kills ordinary buttonholes. The backing button never contacts the outside world—it works silently underneath, taking the actual strain.
Cross Stitch Versus Parallel Stitch
Everyone says to use an X pattern. They’re partially right, but wrong about why. Mechanical loading matters here. A cross-stitch (X pattern) distributes tension diagonally across multiple thread paths, creating redundancy. If one thread snaps, the load doesn’t immediately transfer to a single remaining thread. A parallel stitch (straight up and down through holes) loads threads sequentially—when the first thread fails, all force hits the survivor at once.
The cross-stitch wins on durability because it forces the button to fail gradually rather than catastrophically. Sew at least four passes through each hole pair, crisscrossing to build the X. For shirts and coats that take daily stress, make six passes. The thread doesn’t move between passes—each layer sits tight against the previous one, building density. Finish with a knot directly under the button, never in the fabric itself.
The Unseen Weaknesses: Why Your Buttons Still Fail
How You’re Ending The Thread Wrong
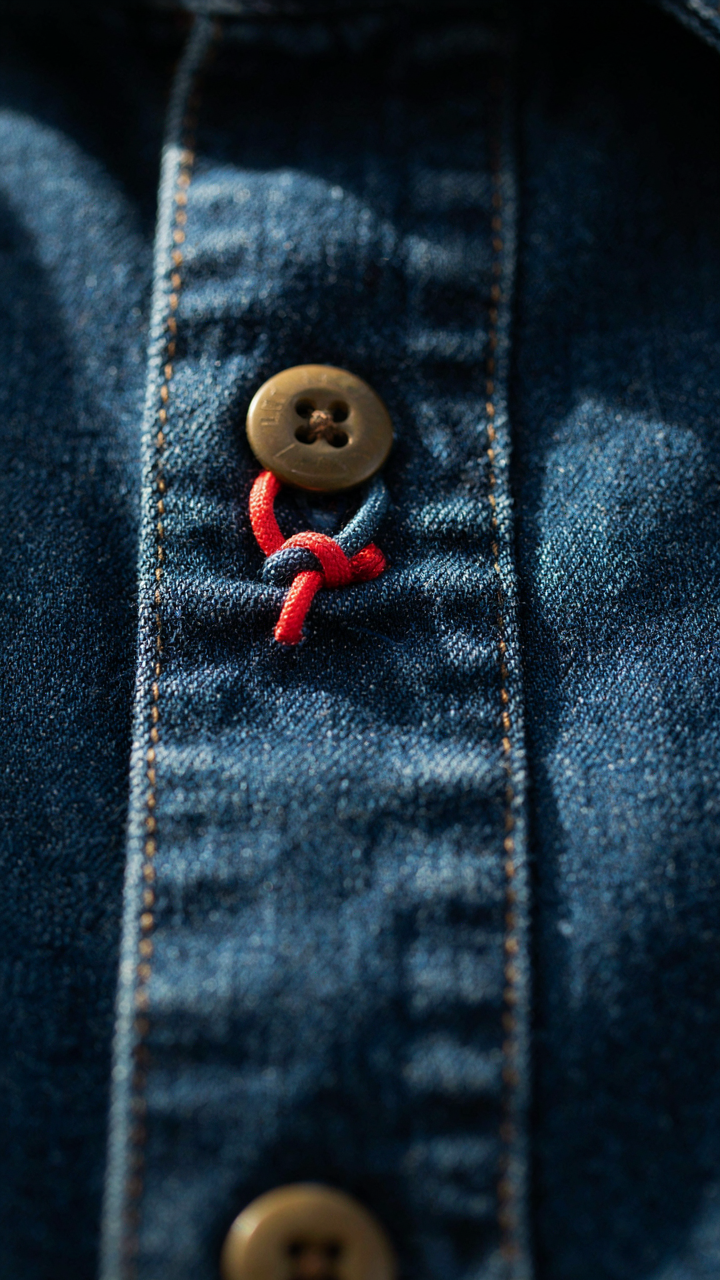
You want to believe your button will stay put so you can stop thinking about it. The real reason buttons fail isn’t the stitches themselves, it’s how you terminate them. Most people tie off on the wrong side of the fabric or use a knot that unravels under repeated stress. The knot is a mechanical failure point, not a feature. You need to trap the thread in the weave instead.
- Knot positioned on top of button: Creates a pressure point that catches on fabric or clothing, causing abrasion and thread breakage under friction.
- Single knot with loose tension: Slips through fabric fibers when the button is pulled, leaving slack that allows movement and eventual separation.
- Knot tied in air above fabric: Sits exposed and unsupported, bearing all stress load without anchor points to distribute force across the garment.
- No anchor stitch before knot: Thread lacks foundation, so the knot pulls directly on the final stitch loop, which unravels from tension.
- Knot buried under button shank: Hides the weak point but doesn’t strengthen it, just delays the failure until the thread migrates out from under the button.
Terminate the thread by taking one final stitch through the fabric only (skip the button), then wrap the thread around the needle twice and pull through to create a locked stitch beneath the surface. This embeds the knot in the fabric structure where it can’t unravel. The thread becomes part of the weave, not a separate object sitting on top of it.
The Stitch Count Lie
Everyone says “do 8 to 10 stitches” like there’s a magic number. There isn’t. The assumption is lazy because it ignores the actual load and fabric type. Thin cotton dress shirts need fewer stitches than heavy winter coats. Plastic buttons on delicate blouses behave differently than metal buttons on workwear. The real variable isn’t quantity, it’s distribution of force across the shank.
Four well-placed stitches with proper tension will outlast fifteen loose stitches bunched together. A button fails when stress concentrates at a single thread instead of spreading across all of them. This is load distribution, a principle from engineering. You’re not trying to hit a number. You’re trying to ensure no single thread carries all the weight of a button being yanked. Stitches spaced evenly around the shank, pulled to consistent tension, and locked properly will hold indefinitely.
The ‘Sew A Button’ Inspection System

Stress Test Your Knots Before They Fail
You want to know this works before the button disappears in public. That’s the real reason you care about inspection. Most people skip this step entirely, which is why buttons fall off at the worst moment. Borrow from engineering’s stress testing: apply force to reveal failure points before they matter. Grab the button and pull it perpendicular to the fabric with steady pressure. Don’t yank. Hold for ten seconds. The thread should not slip. The button should not rotate.
A button that moves under pressure has failed knots underneath. The thread isn’t locked to itself or the fabric. Pull the button at different angles: up, down, side to side. Each direction exposes different structural weaknesses. If the thread tightens rather than moving, your knots are solid. If it loosens or the button shifts, you haven’t finished the job. This test catches problems now, not when you’re wearing the shirt.
Spot The Signs Before Complete Collapse
Thread fraying under the button signals imminent failure, not a cosmetic issue. Most advice treats fraying as acceptable. It isn’t. Fraying means fibers are separating from the main strand, which reduces load capacity. Look underneath the button with a phone flashlight. The thread should appear as clean, distinct strands with tight tension. Frayed edges indicate the knots loosened during wear and the thread has been abrading against the fabric and button hole.
Loose fabric beneath the button is another failure signature. Press down on the button. The fabric under it should stay flat and firm. If it springs back or dimples, the thread isn’t anchored tightly enough to control fabric movement. Repetitive stress will snap the thread or tear the fabric. Check the back side of the garment too. If you see loose thread loops or a webbed appearance instead of a tight knot cluster, the button will fall within weeks of regular wear. This determines whether you resew immediately or the job holds.
Advanced Button Securing: How To Sew Buttons (The Right Way)
Wax Your Thread First
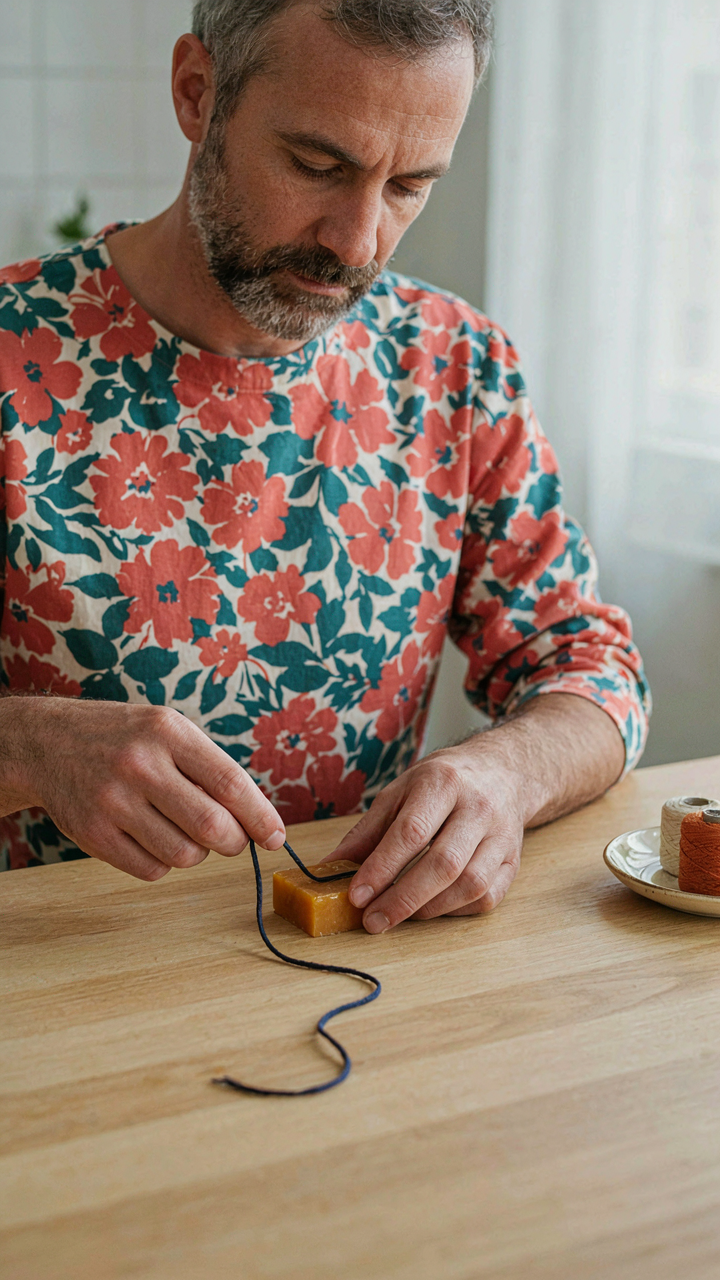
You want your button to outlast the garment, which means you need thread that won’t degrade before the seam does. Beeswax conditions thread by filling microscopic gaps in the fiber, reducing friction and extending lifespan. Most people skip this step entirely, which is why buttons fall off after three washes. Thread alone frays. Waxed thread resists wear.
Run your threaded needle through a beeswax block two or three times before you start sewing. The wax melts slightly from friction, coating the thread evenly. Modern synthetic conditioners work the same way, but beeswax has been the standard for centuries because it actually works. The thread becomes stiffer, easier to control, and measurably stronger against repeated stress. This is the single highest-leverage step you’ll skip if you’re rushing.
When Hand Sewing Isn’t Enough
Machine sewing delivers force that hand stitching cannot match, which is the language of structural engineering applied to textiles. Your manual needle pressure maxes out around five pounds of tension. A sewing machine generates twenty to thirty pounds, depending on the model. Use a machine when the button takes repeated impact: coat buttons, work shirt buttons, anything on a garment worn daily. Hand sewing works for dress shirts and formal wear worn occasionally.
- Daily wear outerwear: Machine sewing creates reinforcement that survives constant friction and pressure from movement.
- Work uniforms: Industrial-grade buttons on uniforms need machine stitching to handle daily stress without failure.
- High-traffic areas: Buttons on jacket fronts and trouser waistbands experience constant opening and closing tension.
- Heavy fabric coats: Thick wool and canvas demand machine force to anchor buttons securely without thread breakage.
- Replacement on worn garments: Existing wear patterns show you where stress concentrates; machine sewing protects against repeat failure.
Set your machine to a tight zigzag stitch over the button holes, making eight to ten passes. This locks the button in place with redundant thread paths. Hand sewing gives you two or three passes maximum before you’re wasting time. Machine sewing finishes in seconds and holds longer.
The Button Failing Isn’t A Sewing Problem; It’s A Structural Integrity Problem

Most people blame their sewing when buttons fall off. Wrong. You either didn’t anchor the thread deep enough or you used garbage thread that snaps under real stress. Fix the anchor point first, use quality thread second, and stop replacing buttons like they’re disposable. Your clothes aren’t falling apart because you lack skill. They’re falling apart because you’re treating them like tissue paper. Respect the garment, respect the thread, and the button will outlast your impatience.