The Illusion Of Easy First Projects
Why Beginner Advice Fails Most People
You want permission to start without looking stupid. That’s the real motive here. The mechanism is simple: most beginner refashion advice recommends projects that are technically simple but visually forgiving, which trains you to accept mediocre output. A basic hem or simple dye job teaches you nothing about proportion, color theory, or fit alteration because the mistakes hide easily.
The industry calls these starter projects “low-risk,” but risk and difficulty are different variables. Low-risk projects let you finish fast without feedback that matters. You patch something, it holds, you feel accomplished. But you never learn to see what actually works because the project structure never forces you to make real decisions. You’re rehearsing comfort, not building skill.
Where Real Low Friction Actually Lives

Friction in refashion has nothing to do with task complexity. It comes from economics: materials cost, tools required, time until visible results, and how fast failure teaches you something useful. A t-shirt alteration has high friction for beginners not because it’s hard, but because mistakes mean starting over and the stakes feel higher.
The true low-friction entry point is a garment that costs under five dollars, requires no special tools, tolerates extreme mistakes, and completes in under two hours. Thrift store basics fit this. Cropping a t-shirt, adding patches, adjusting cuffs on wide-leg jeans, or shortening a loose sweater generate immediate, visible feedback without financial or temporal punishment. You learn proportion and basic construction because the project moves fast enough to repeat it three times before breakfast. Start there, not with “beginner friendly” projects designed by people selling courses.

Deconstructing The Garment: The Anatomy Of Upcycle Clothes Diy Refashioning
What Fabric Does When You Cut It
You want to feel competent before you touch scissors to fabric. That fear is real, but it’s misplaced. Fabric behavior follows a simple rule: how it responds to cutting and stress depends entirely on fiber type and weave structure, not on your skill level. Learn the mechanism first, and competence follows automatically.
Natural fibers like cotton and linen fray at cut edges because the weave is loose and fibers are relatively short. Synthetic fibers like polyester hold edges tighter due to molecular structure, which means they fray less and sometimes seal slightly when heat is applied. Knit fabrics stretch and curl because loops collapse when tension releases. Woven fabrics stay flat because threads lock perpendicular to each other. This isn’t subjective. Cut a cotton t-shirt and linen will behave differently every time, predictably. Understanding this separates guessing from deciding.
Most beginners waste energy trying to prevent fraying before they even start. The real move is choosing projects that work with fabric behavior, not against it. A raw-edge crop top works beautifully on cotton because fraying is intentional. That same design fails on a slippery synthetic because the edges curl inward. Match the refashion to the fabric’s properties, and execution becomes mechanical.
Where Seams Break And How To Work Around Them
Seam failure in refashioning isn’t random. Think of seams as load-bearing walls in architecture. Some walls can be removed without structural collapse. Others hold the entire building upright. Your job is identifying which is which before you deconstruct.
Four seam types appear repeatedly in garments: flat-fell seams (strong, two visible stitches), simple straight seams (standard, one line of stitching), French seams (enclosed, used in delicate fabrics), and overlocked seams (finished edge, common in knits). Flat-fell seams appear at stress points like jeans inseams and shirt sides. French seams appear in silk and linen pieces because they need durability without visible fraying. Overlocked seams in knits are one continuous thread, so cutting through them unravels the whole edge. Know which seam type you’re cutting and you know whether the fabric stays intact or collapses.
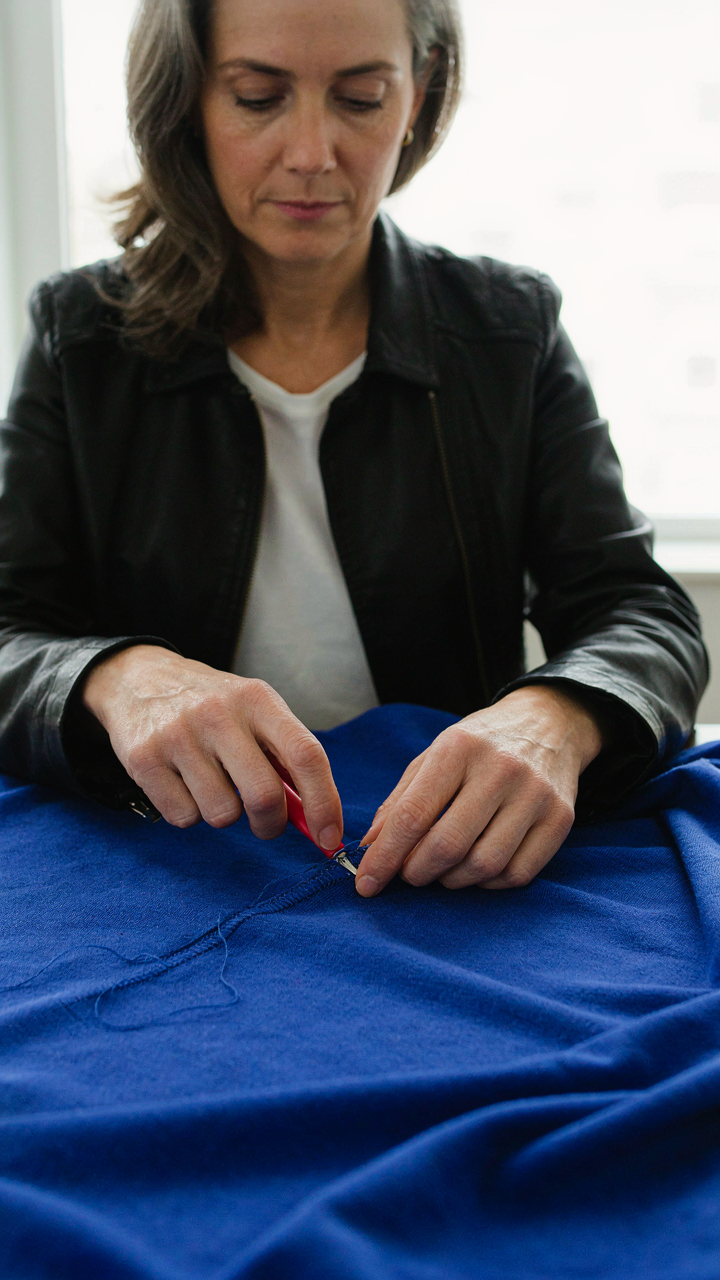
The strategic deconstruction protocol is simple: mark your cut lines first, then trace existing seams backward to see which ones you actually need to cut. A t-shirt refashion often uses the original shoulder seams as anchor points. You cut the side seams and armholes strategically, leaving structural seams in place. Rip seams with a seam ripper by sliding the blade under stitches and cutting threads individually, not by yanking fabric. This prevents fabric damage and lets you reuse panels. When you hit an overlocked seam on a knit, stop. Pin the unraveling edge immediately with a zigzag stitch to lock it in place before proceeding.
The Minimalist Toolkit: Essential Gear For Refashioning Clothes

Hand Tools That Actually Matter
You want permission to buy expensive equipment so you feel like you’re serious about this. Stop. The real mechanism is this: hand tools give you precision that machines can’t touch, and they cost almost nothing. A sewing machine is useful but not essential. Hand stitching, seam ripping, and fabric cutting are where refashion happens.
Start with a seam ripper, needle set, thread, and sharp fabric scissors. A seam ripper extracts old stitches without damaging cloth. Needles handle everything from heavy denim to silk. Thread selection changes your outcome more than tool quality does. Scissors must cut cleanly or you introduce fraying and weakness into your work. Skip the rotary cutter and cutting mat until you’re doing pattern work.
Leverage Through Simple Mechanics
Physics teaches us that leverage multiplies force with minimal effort. Apply this directly: a wooden block under your foot while hand stitching prevents hand fatigue and keeps tension consistent. A pressing ham spreads curved seams flat without stretching fabric. These aren’t fancy tools. They’re force multipliers disguised as everyday objects.
The real advantage comes from understanding that refashion work demands repeated small actions. Your hands get tired. Fatigue kills precision. A simple ham, a block, or even a folded towel placed strategically removes this friction. Stitch faster without strain. Iron seams without distortion. The mechanism is friction reduction through passive support, not active tool complexity.
The Transformation Matrix Protocol For Upcycled Clothes Diy
Separating Garment Potential From Design Delusion
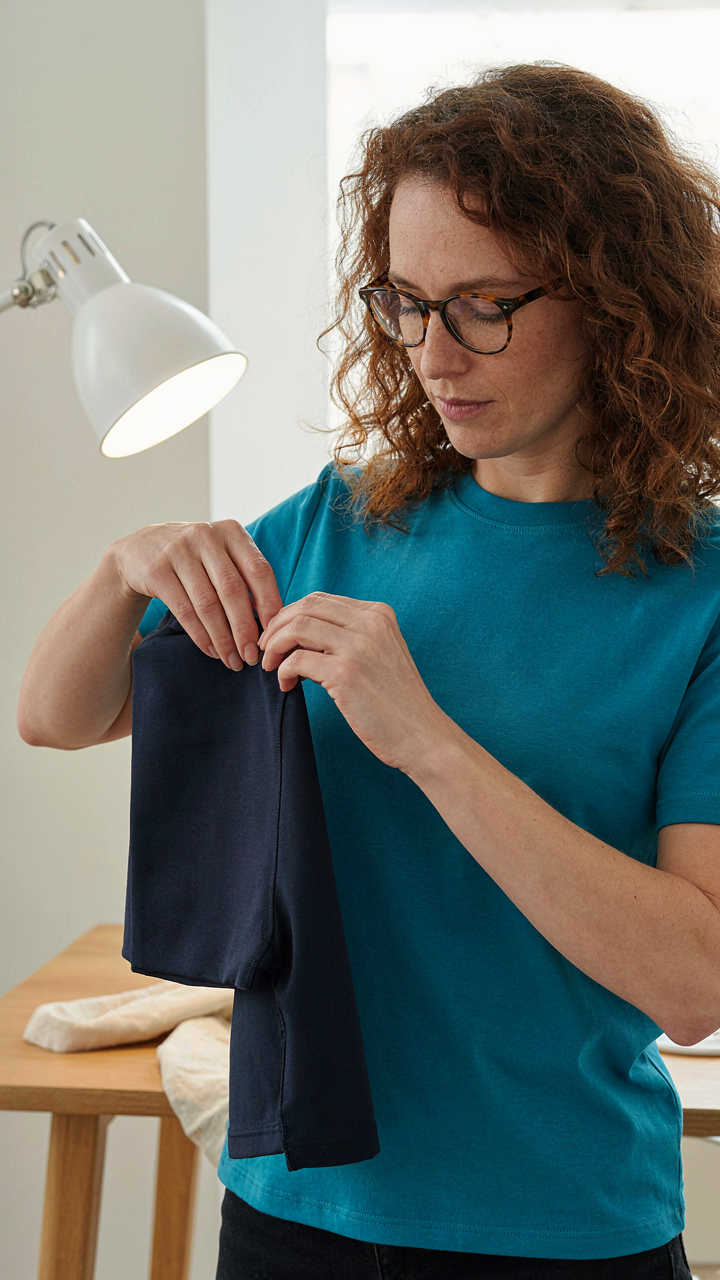
You want to believe that thrift store find will become something you’ll actually wear. The mechanism that kills most refashion projects isn’t skill or time. It’s misreading the starting material. Borrowing from structural engineering, every garment has load-bearing points: seams, fabric weight, construction quality. Overestimate what a cheap synthetic can handle, and your project fails before you cut a thread.
Most advice says “start with natural fibers like cotton or linen.” That’s incomplete. What matters is seam quality and fabric density. A well-constructed polyester blend can outlast a loosely sewn cotton tee. Inspect seams under light. Pull gently on the fabric. If threads separate easily or seams pucker, the garment won’t survive major reconstruction. A basic tee with reinforced side seams holds an entirely new neckline. One with paper-thin stitching becomes confetti when you attempt it.
Prototyping With Pins Before Permanent Cuts
Permanent stitches commit you to a path. Pins don’t. Lay the garment flat and pin your proposed changes exactly where you’ll cut or sew. Stand in front of a mirror. Move around. Bend your arms. The fit you see pinned on a table disappears the moment you wear it. Pin a new neckline. Pin sleeve length. Pin where a side seam should shift. Live with the pins for an hour minimum. This single step catches nine out of ten design mistakes before they become permanent damage.
Once pins confirm the direction, mark with fabric chalk or a washable pen before unpinning. Transfer those marks to the reverse side so they’re hidden. The pins-first approach removes the psychological pressure of immediately committing to cuts. It trains your eye to see what actually works versus what looked good in a Pinterest screenshot. After prototyping, your permanent stitches land exactly where they belong.
Refashion Ideas: How To Make Tops That Don’t Look “Homemade”

Strategic Cuts For Elevated Silhouettes
You want people to assume you bought it, not made it. That fear drives most beginners to play it safe, which guarantees the homemade look. The mechanism is borrowed from tailoring: a garment reads as intentional when its seam placement creates negative space that changes body proportion. The cuts you make are your “darts”—they’re doing structural work, not decorative work.
Most refashion guides tell you to just crop or add slits. That’s lazy. Here’s what actually separates amateur from finished: you’re removing excess fabric strategically so the remaining garment sits closer to the body or creates a geometric line that reads as designed, not damaged.
- Dart placement at the bust or waist: Moving existing seams inward by half an inch creates shape without adding bulk. This mimics how tailors construct fitted garments and shifts the piece from baggy to intentional.
- Side seam tapering: Narrowing the torso from armpit to hem in a gradual line gives proportion. A t-shirt that’s 2 inches narrower per side changes the entire silhouette without looking cut up.
- Diagonal shoulder seams: Rotating the shoulder seam forward or back by one inch changes where fabric drapes. This small shift signals that someone made a choice, not just cut fabric away.
- Neckline redrafting: Instead of a straight crop, create a slight curve or angle at the neckline. Curved lines read as engineered; straight cuts read as accidental.
- Armhole reduction: Dropping the armhole seam half an inch and tapering it changes shoulder proportion. This single move elevates a loose t-shirt into something that reads as a deliberate silhouette.
The test is this: if you can explain the proportion it creates, you’ve made a strategic cut. If you just removed fabric because there was “too much,” you’re still in beginner territory. Every cut should tighten, shift, or angle something measurably.
Finishing Techniques For A Professional Edge
The seams and hems determine whether someone thinks you have skills or you have a craft project. A visible topstitch that wobbles, unraveling thread at the edges, or a wavy hem signals low execution immediately. You don’t need expensive tools—you need technique that accounts for fabric stretch and thread tension.
The real separation point is edge finishing. Most beginners skip it because it feels like extra work. It’s not extra—it’s the difference between a piece that survives five washes and one that falls apart. French seams, bound edges, or coverstitch finishes aren’t fancy. They’re structural. They tell fabric to stay put instead of unraveling from the inside out.
Topstitching needs precision because it’s visible. Use thread that matches your fabric, not contrasts with it. Keep pressure on the presser foot consistent and your speed steady. If your machine has a walking foot, use it on knits and stretchy fabrics to prevent skipping stitches. Backstitch at the start and end of every seam. Test on scrap fabric first to dial in tension.
Hems should be invisible unless they’re intentional design elements. A standard twin-needle or blind stitch hem on a woven top takes thirty seconds per side once you practice. For knits, a coverstitch creates a flexible hem that doesn’t crack when you move. If you don’t have a coverstitch machine, a narrow zigzag followed by hand-stitching works. The protocol is measure twice, mark with chalk or a water-soluble pen, stitch once, press after.
The Art Of Reusing Old Clothes: Beyond Basic Alterations
Combining Garments Into New Pieces
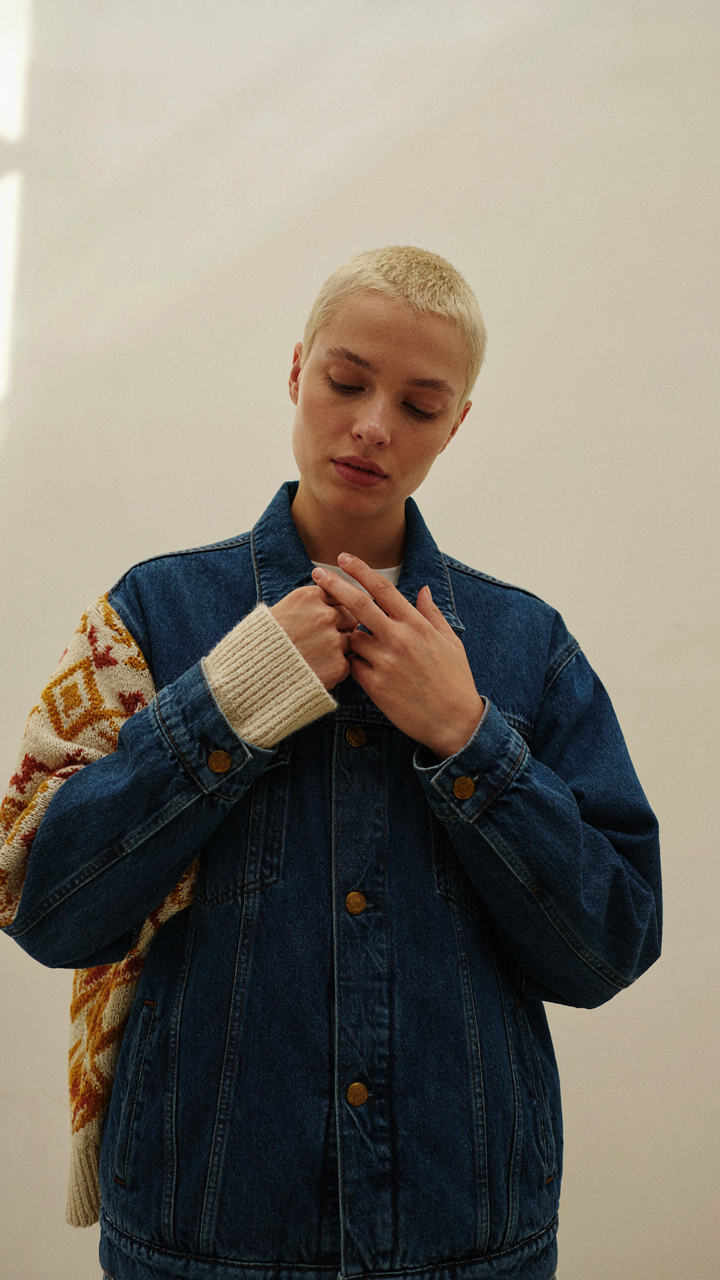
You want permission to call this “designing” instead of admitting you’re broke. Here’s the mechanism: garment combination works because you’re hijacking existing construction logic from two separate pieces instead of building from zero. The armhole from a shirt, the waistband from pants, the sleeve cap from a jacket—these are already engineered to fit. You’re remixing proven components, not inventing.
Start by identifying which parts of your garments actually work. A sweater with perfect sleeves but a destroyed body becomes a sleeve donor. Jeans with blown-out knees become a waistband or pocket source. The seam allowances already exist. Your job is cutting at the right plane and connecting what functions to what needs function. Most beginners waste time on pieces that are already broken beyond the seams.
Pattern Shifting Through Strategic Cuts
Everyone says “experiment with patterns,” which is useless advice. The real mechanism comes from textile geometry: how you orient a pattern on fabric changes its visual weight and direction. Cut a striped shirt into panels and reassemble them rotated 90 degrees, and the stripes now read as vertical instead of horizontal. Same fabric, completely different visual result.
The constraint that makes this work is respecting grain line and pattern repeat. You cannot just slice randomly. A floral print has a repeat unit—if you cut through the middle of the pattern, you create discontinuity that reads as a mistake rather than intention. Work with the repeat, not against it. Cut full motifs and stack them or mirror them across seams. This turns pattern chaos into visual strategy that looks deliberate.
Recycle Clothes Ideas: The Zero Waste Mindset
Turn Scraps Into Working Parts
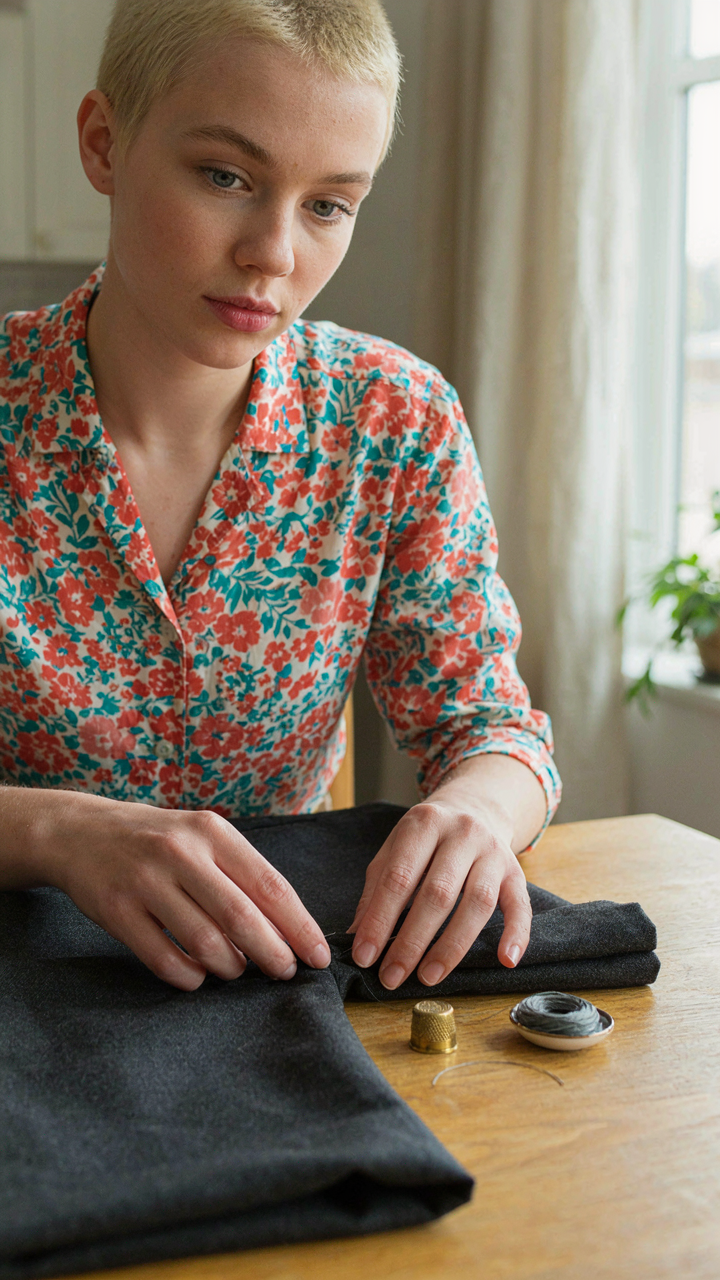
You want to feel like you’re not wasting anything because waste feels like failure. The mechanism is simple: scraps become functional only when you stop treating them as decoration and start treating them as material with specific properties. A cotton hem from a pair of jeans isn’t sentimental—it’s reinforcement. A knit collar is structural. Denim scraps have tensile strength. Silk has slip. Match material property to problem, not emotion to leftover.
The most direct use for scraps is patching. Visible mending on knees, elbows, and seams stops the bleed before a garment dies. Cut patches from dense fabric scraps. Back them with fusible interfacing if your machine can’t handle thick layers. Stitch them down in straight lines or grids. This isn’t trendy slow fashion—it’s basic material management. Worn spots fail in predictable places. Block them before they expand.
Repair Before Replacement Becomes Habit
Common advice says mending is meditative and spiritual. That’s incomplete. Mending is cash flow. Every stitch you place extends the lifespan of material you already own, which compresses the time between purchase and disposal. Economics calls this asset depreciation—the slower it happens, the better your return. Refashioning delays that curve deliberately.
Target three failure points first: seams, hems, and elastic. Seams split because tension concentrates at the thread. Resew with matching thread two stitches forward, one back, tight enough to hold but not so tight the fabric tears. Hems drop because stitching breaks under weight and movement. Use a ladder stitch to reattach them invisibly. Elastic dies faster than fabric. Replace it when it loses tension, not when the garment is unwearable. This prevents the cascade where one failure triggers others.
The Shirt Recycling Blueprint: From Discarded To Desired

Collar And Cuff Modifications For Instant Impact
You care about this because a shirt that fits everywhere else but fails at the neck or wrists reads as broken, and broken things get thrown out. The mechanism is simple: collars and cuffs are the frame of a garment. They’re what people see first and last. Replace the frame, you replace the entire perception of the shirt without touching the body.
Most guides tell you to “carefully remove stitching” and call it a day. That’s incomplete. The real work happens after removal. You need to stabilize the neckline or armhole with bias tape or a facing before attaching new fabric, otherwise your new collar pulls and warps within three wears. A narrower collar changes shoulder proportions. A wider cuff changes arm length perception. These aren’t aesthetic choices, they’re structural decisions that either work or they don’t.
Transforming Sleeves Into Entirely New Features
Sleeves are real estate most people waste. You can cut them off at any point and redirect that fabric into pockets, panels, or new sleeve configurations entirely. Think of this using tailoring’s principle of balance: one element shifts, so must another to maintain visual weight.
A long-sleeved shirt can become a tank with two functional patch pockets cut from the removed sleeves. A short-sleeved shirt can have its sleeves extended downward by splicing in contrasting fabric, or cut into a cap sleeve by removing bulk from the upper arm. The constraint is this: new sleeves must align with your shoulder point or they look unintentional. Measure from your shoulder bone to where your natural sleeve ends on the original garment, then mirror that proportion on whatever you build. This isn’t theory. It’s the difference between refashioned and ruined.
Cultivating The Refashioning Eye: Beyond Imitation

Your Taste Is Not Your Enemy
You want permission to stop copying what works and start trusting yourself. That’s the real question here. The mechanism is simple: taste is a muscle that atrophies without use. Most beginners outsource their decisions to Pinterest boards and influencers, then wonder why their refashioned pieces feel generic. You need to reverse this. Start noticing what you actually reach for in your closet, not what you think you should like. That observation is your baseline.
Building a signature means making visible choices about proportion, color, and detail that repeat across your projects. When you refashion a shirt, you’re not just fixing it, you’re stamping it with your preferences. Those preferences become recognizable over time. The repetition is what creates authority. After five or six projects guided by your own eye instead of external validation, your work becomes distinctly yours. That’s when people notice. That’s also when refashioning stops feeling like a skill you’re learning and starts feeling like a language you speak.
The Counterintuitive Cost Of Chasing Seasons
The common advice says stay current with trends to keep your wardrobe fresh. That’s backwards for refashioning. Trends create a perpetual restart cycle where last season’s pieces feel dead, so you modify them constantly and end up with nothing cohesive. Instead, anchor your refashioning to personal codes: a specific color palette, silhouette preferences, or fabric weights you return to regardless of what’s fashionable.
Lasting style emerges from constraint, not abundance. When you decide to work primarily with denim, linen, and neutral tones, every refashioning project reinforces that identity. Your eye becomes trained to see opportunities within those limits instead of being scattered across infinite possibilities. Historical designers didn’t chase trends, they built signatures. Coco Chanel didn’t reinvent the silhouette every season; she refined the same core ideas until they became permanent. Start defining your core, then let every refashion strengthen it.
The Real Obstacle Isn’t A Lack Of Skill, But A Fear Of Imperfection That Stifles Genuine Creation

You don’t need permission to cut into a shirt. You need to stop waiting for the moment when you feel ready, because that moment doesn’t exist. Pull out one piece from your closet today and make one intentional cut. Let it be ugly. Let it be weird. The gap between thinking about refashioning and actually doing it is where most people die creatively. Your first project won’t be perfect, and that’s exactly the point. Imperfection is where all real skill begins.