
Introduction
Fashion drawing sketches help you share your fashion ideas quickly and clearly. They let you show your designs on paper before making the real clothes. This helps you plan and improve your work. Fashion sketches are important tools for fashion designers everywhere.
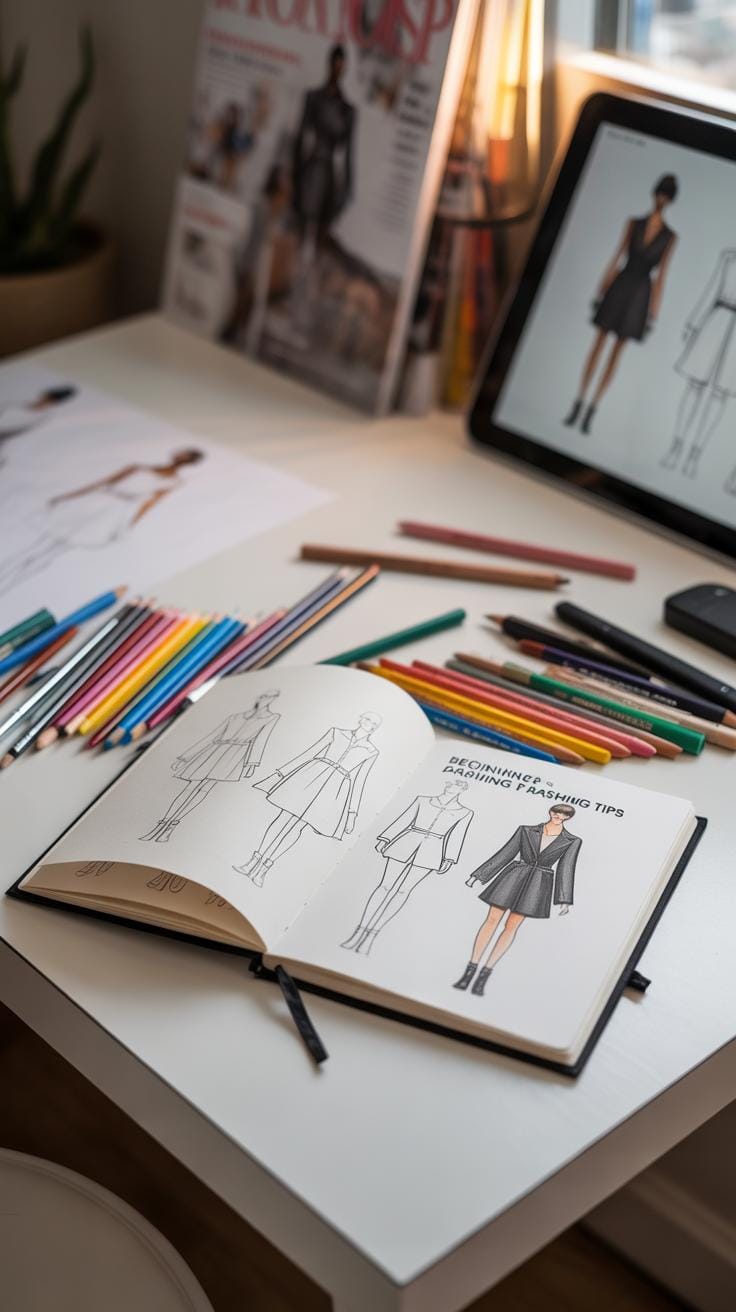
In this article, you will learn how to create clear and simple fashion drawings. We will explore basic and advanced techniques. Following these tips will help you express your creative ideas effectively through sketches.
Why Fashion Sketching Matters


Fashion sketches are more than just preliminary drawings; they are the first step toward turning an idea into a wearable piece. Think of them as the blueprint for your creativity, helping you picture your design before any fabric is cut or sewn. Designers rely on sketches to work through different shapes, proportions, and styles while keeping a clear track of their vision. Without these visuals, ideas might stay vague or get lost in translation.
Sketches play a huge role in the design process by offering a way to explore options quickly. Take, for example, a designer working on a new collection—by sketching multiple variations of a sleeve or collar, they can see what works best without wasting materials or time. It’s like experimenting on paper, which can speed up decisions and avoid costly mistakes.
When you sketch your ideas, you create a visual language everyone involved can understand. This is especially true when handing off your vision to pattern makers, seamstresses, or clients. Clear sketches reduce confusion and keep everyone aligned. You’ve probably seen how a vague description leads to something unexpected—a sketch, even a rough one, helps steer things back on track.
Visualizing Designs
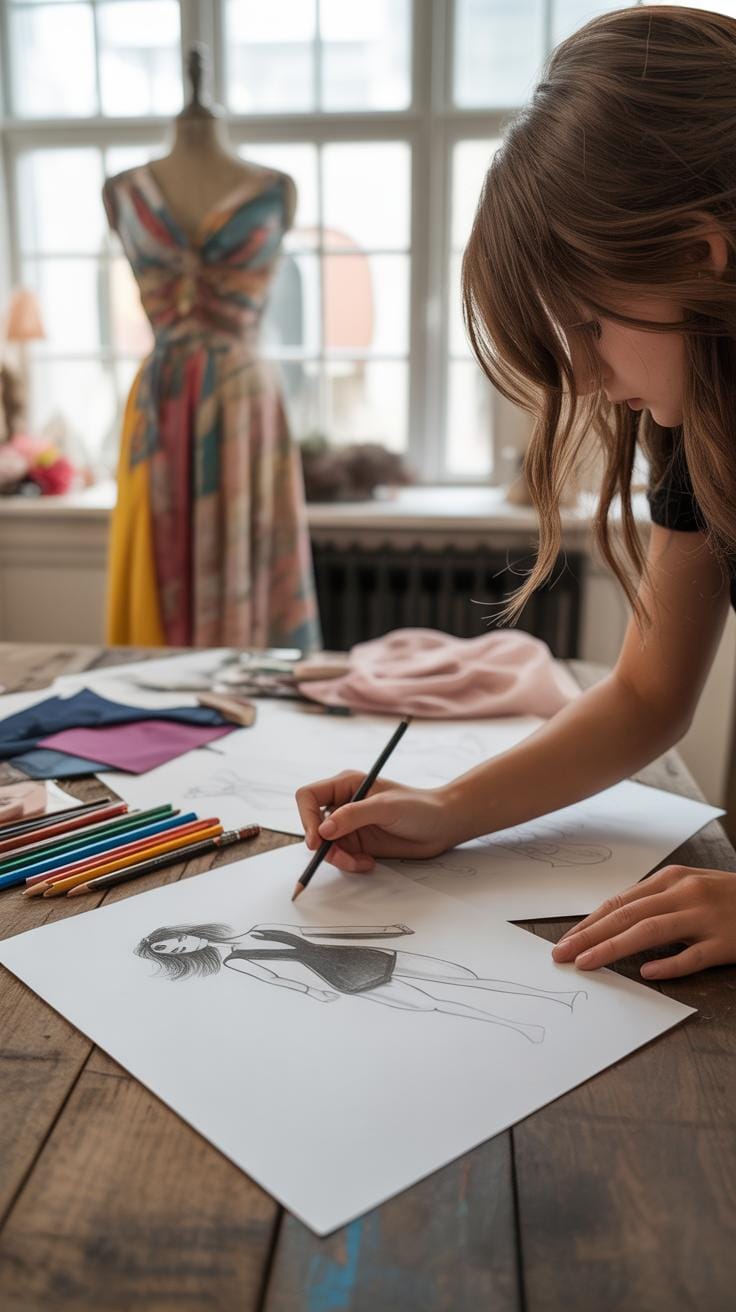
Sketches let you see your idea clearly on paper. That clarity is essential because it forces you to think through details you might overlook in your head. Maybe it’s how a hemline falls or the way a garment hugs a body. When you draw it out, these aspects become tangible, nudging you to refine them.
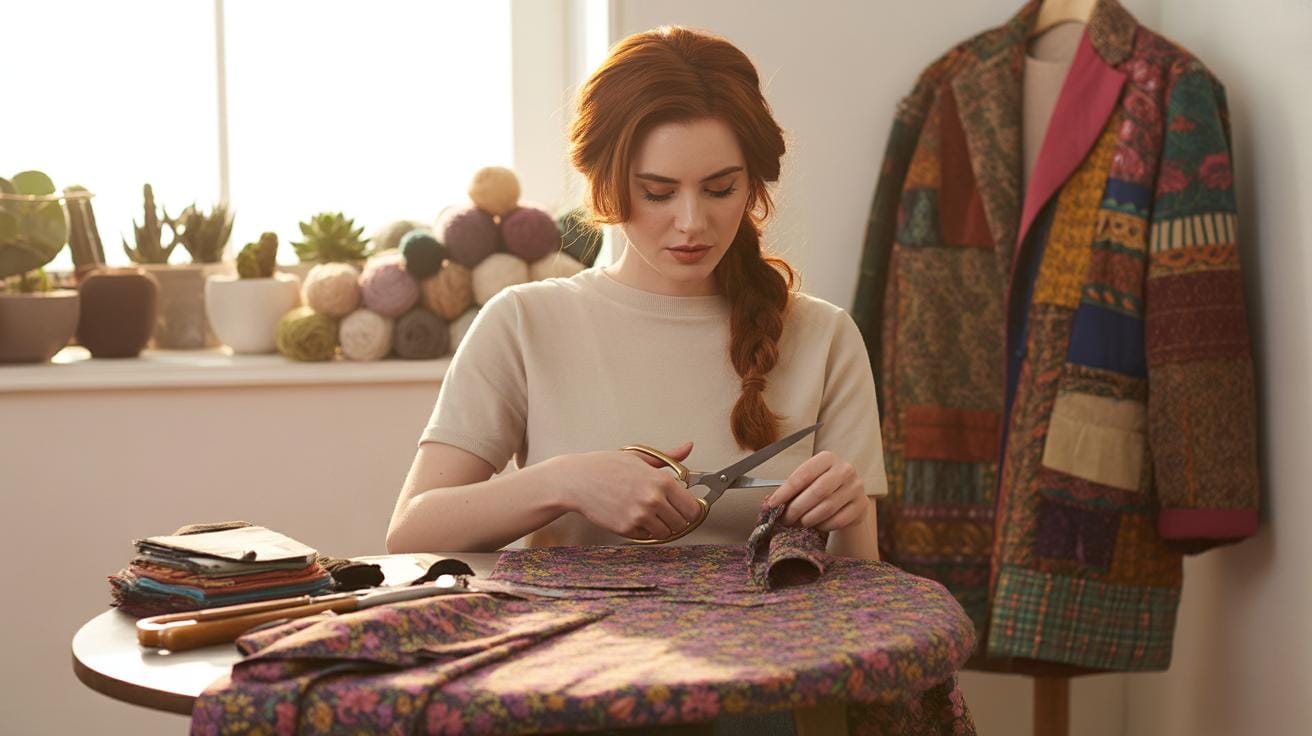
Some designers keep sketchbooks filled with quick ideas—small notes that grow into full projects. For instance, I remember reading about a designer who started a jacket’s design with just a rough sketch on a napkin, which later evolved by adding colors, textures, and adjustments. This quick iteration wouldn’t have been possible without that initial sketch.
Communicating Clearly
Sharing your sketches helps others see your thought process and intentions. Whether it’s a client, a design team, or a manufacturer, these drawings translate your vision into something they can interpret. A detailed sketch can clarify fit, fabric choice, or even color preferences—things words alone might struggle to express.
Misunderstandings happen when ideas aren’t communicated visually, leading to frustration or wasted effort. But with even a simple, clear sketch, everyone has a reference point. You might find yourself surprised at how much easier it is to explain complex details when you have an image in front of you. It’s less back-and-forth and more “here’s what I mean.”
Basic Tools for Fashion Drawing
Traditional Drawing Tools
When you start sketching fashion ideas by hand, the right tools make a noticeable difference. Most designers begin with simple pencils. A range from HB to 4B works well—HB for lighter guidelines, 2B or 4B for shading and darker lines. Choosing pencil hardness depends on your style, but softer pencils tend to feel smoother, though they smudge easily.
Paper choice also matters. Look for smooth drawing paper—it holds graphite cleanly without rough textures interfering with details. Many beginners pick basic sketch pads, but a slightly heavier weight paper helps if you use markers on top.
Erasers are your best friends here, really. A kneaded eraser offers control and gentle removal of lines without damaging the surface, while a regular white vinyl eraser gets rid of stubborn marks swiftly. I sometimes switch between both, depending on how delicate the area I’m working on is.
Markers bring life to sketches. Fineliners and brush-tip markers build contours and add depth. You don’t need a vast color set to start; a black marker for outlining paired with skin-tone and a few fabric colors usually do. Markers with alcohol-based ink blend nicely but you’ll need thicker paper to avoid bleed-through.
Digital Tools for Sketching
Digital sketching pushes fashion drawing into another dimension. Programs like Adobe Photoshop and Procreate have become go-to’s because they offer layers, undo options, and countless brushes. If you haven’t tried Procreate, it’s very beginner-friendly—and surprisingly intuitive on a tablet.
One big advantage? Corrections. Mistakes just disappear with a tap, which removes that hesitation you might feel with pencil and paper. Plus, coloring takes less time. You can sample colors from real garments or photos instantly, adjusting saturation without repainting everything.
Yet, some say digital feels less personal. I get it—it’s not the same as paper under your fingers. Still, the freedom to experiment, change shapes, or try endless inspirations without wasting supplies makes it worth a shot, especially if you plan to share your work online or with clients.
Whichever way you go, the key is to test these tools and figure out which fit your process best. What feels right in your hand or on your screen can shape your whole approach to fashion drawing.
Learning the Fashion Croquis
What is a fashion croquis? It’s basically a quick sketch of the human figure used as a template for fashion designs. Think of it as the starting point for your ideas—a blank canvas shaped like a model. Using a croquis helps you show your clothing concepts clearly and keeps your designs grounded in realistic human proportions. Without it, your drawings might lose balance or feel off, even if your ideas are great.
The standard croquis is often drawn using a 9-head ratio, meaning the total height of the figure is about nine times the length of the head. This guides you in placing body parts in the right spots, making your sketches look balanced and elegant but also stylized enough for fashion.
How to draw a simple 9-head croquis:
- Start with an oval for the head—lightly, so you can erase and adjust.
- Draw a vertical line through the middle to keep symmetry.
- Divide the line into nine equal sections—each represents one “head” length.
- Mark key points: shoulders at about 2 heads down, waist near 4 heads, hips around 5-6 heads.
- Add rough shapes for the torso, arms, and legs using simple lines and ovals.
- Keep your lines soft; this is just a base. You’ll refine it later.
It might seem mechanical at first—measuring and segmenting—but the more you practice, the more natural it feels. That 9-head ratio is your friend; it helps show how clothing will hang and flow on a figure. Proportions matter—a dress can look very different on an 8-head figure compared to a 9-head. If your proportions are off, the clothes might feel too tight, loose, or just odd.
Remember, your croquis is a flexible guide, not a rulebook. Some designers stretch or shrink certain parts according to style. But starting with a balanced base keeps your sketches clear and your vision more understandable for others too. Light lines will let you tweak as you go—don’t hesitate to erase or redraw parts. It’s part of the creative process.
Sketching Garment Shapes

When you start sketching garments on your croquis, focus on the main outlines first. Think about the silhouette more than the tiny details at this point. The aim is to capture the overall shape quickly and clearly—this helps your ideas stand out without getting lost in complexity.
Begin by drawing simple shapes that fit the garment’s form—rectangles, ovals, and triangles work well for this. For example, a dress might start with a trapezoid for the bodice and a larger triangular or rectangular shape for the skirt. Jackets often begin as rectangles that follow the croquis’s torso, and pants can be two elongated rectangles angled to match the legs.
After you lay down these basic shapes, you can begin refining. Add familiar clothing elements like collars by sketching small curved or pointed shapes near the neckline. Buttons become tiny circles or ovals along the jacket front, and folds can be suggested with a few short, curved lines where fabric might bunch or crease naturally. Seams and hems usually appear as simple dashed or solid lines along edges.
The tricky part is deciding how much to include. Too many details can confuse your message, while too few might make your sketch seem flat or incomplete. I often remind myself to keep it balanced—show enough detail to convey the garment’s character, but resist the urge to render every fold or stitch. It’s a practice that grows with time and your eye for design.
Have you noticed how some sketches feel lively with just a few lines, while others drown in unnecessary marks? That contrast is worth paying attention to when you’re developing your own style.
Showing Fabric and Texture
When you want to bring your fashion sketches to life, showing fabric and texture is a key step. It’s not just about drawing the shape of the garment. You need to convey how the material feels—whether it’s smooth silk or a coarse wool. Lines, shading, and small marks together create this illusion.
Start with lines. The way you use them changes everything. Think about hatching—closely spaced parallel lines can suggest a fine, light fabric like chiffon. Cross-hatching, where lines intersect, adds density and can mimic heavier fabrics like denim or tweed. Using jagged, irregular lines might hint at something rougher, like burlap, while soft, flowing lines imply fabrics that drape gently, like jersey.
Try this: sketch a simple sleeve and experiment with different line patterns for different textures. It’s subtle work, but it makes the sketch believable.
Next, shading adds dimension and depth. When you lightly shade with a pencil or marker, you show light falling on curves and creases. This reveals softness or stiffness in the fabric. Smooth gradients can make the silk shimmer, while uneven shading suggests a textured wool. Use a gentle hand to layer shading gradually; too much pressure flattens the effect.
Sometimes, less is more. A few well-placed strokes hint at texture better than overworking the drawing. Don’t worry if it feels tricky at first—practice brings intuition. Have you noticed how a small shadow under a fold can suddenly make fabric feel real? That’s the power of shading.
Incorporating Color in Sketches

Color is more than just decoration in fashion sketches. It can communicate mood, highlight details, or even suggest fabric qualities. Sometimes a flash of color makes your design pop; other times, subtle tones work better to keep the focus on shape or texture. You might wonder how to approach coloring without it becoming overwhelming—or losing the essence of your drawing.
Traditional materials like markers and watercolors offer immediate tactile feedback. With markers, pick a limited palette and layer colors to create gradients or shadows. Start light, then build up the intensity slowly. It’s tricky to soften harsh edges with markers, so planning where to blend can save frustration. Watercolors, on the other hand, lend themselves to softer, more organic blends. They can be unpredictable—colors bleed, sometimes more than expected—but that randomness can add charm if you embrace it. Try mixing watercolors on scrap paper first to see how shades merge before applying them on your sketch.
Using Markers and Watercolors
When choosing colors, think about fabric and mood at the same time. Bold reds may express energy, pale blues calmness. If you’re unsure, limit yourself to two or three colors that work well together. Blend markers by layering strokes in overlapping directions, softening edges lightly with a colorless blender pen if you have one. Watercolors need more patience—use wet-on-wet techniques for smooth transitions or wet-on-dry for sharper lines.
Remember, with both mediums, less often feels more. Overworking can muddy your sketch or flatten the image. Let a little white space linger; it gives your design some breathing room.
Digital Coloring Basics
Digital tools can feel less intimidating once you get the hang of layers and brushes. Open a layer underneath your line drawing for base colors—that way, your lines stay crisp. Use solid brushes for flats and textured brushes to mimic fabric surfaces or shadows. Zoom in to perfect edges, then zoom out frequently to check the overall balance. Color pickers and opacity sliders let you experiment quickly without commitment.
Try working in small sections. For example, block out the main body color of a garment first, then add shadows and highlights on separate layers. It’s forgiving—you can erase or adjust easily, which might take some pressure off if you’re used to traditional media. Just remember: software won’t fix everything. Your design’s clarity depends on your choices, not the tools alone.
Expressing Movement and Style

When you look at a fashion sketch, beyond the shape of the clothes, there’s an impression of life—a feel of the fabric in action. Capturing that isn’t always straightforward. The key lies in how you use lines and poses to suggest movement and style without overworking the sketch.
Using Dynamic Poses
Try varying the croquis pose instead of sticking to a stiff, straight stance. A model gently turning or caught mid-step adds energy. For example, a walking pose with one leg forward and a slight twist in the torso gives the impression of flow and motion. Even a subtle shift in the head or arm position can make the garment behave differently on the page.
Don’t be afraid to experiment. Sometimes a pose feels off, but it still reveals something interesting about the fabric or fit. It’s not about perfect proportions here; it’s about feeling.
Lines that Show Flow
How you draw lines can hint at the fabric’s texture and movement. Curved, loose lines suggest softness, like silk or chiffon, gently swaying. Contrarily, sharper or straighter lines can communicate stiffness, perhaps a canvas jacket or tailored trousers.
Look closely—does the fabric cling or billow? Use longer, flowing strokes for draping and shorter, angular ones for structure. And it’s okay if some lines feel rough or tentative; they echo the fabric’s natural unpredictability.
Have you noticed how a few simple lines can change the garment’s personality? That’s where the magic of fashion sketching lies, in balancing clarity with feeling.
Common Fashion Sketching Mistakes
Skipping Proportions
One of the biggest traps beginners fall into is ignoring body proportions. If the figure is off—too long, too short, or lopsided—the whole design looks strange, even if the clothes are well drawn. It’s easy to think you’ll fix proportions later or just focus on the outfit, but the body is your framework. Without it, your sketch loses credibility.
Try simple checks while drawing. For example:
- Use the classic “eight heads” rule—measure the body’s height in head lengths to keep balance.
- Mark key joints early: shoulders, waist, hips, knees.
- Compare limbs to one another. Are the arms too long compared to the legs? Adjust as needed.
Don’t worry about perfect accuracy. These quick guides help catch major errors before they shape the rest of your sketch. Over time, you’ll instinctively sense when something looks “off.”
Over-detailing Too Soon
It’s tempting to dive into details—buttons, pleats, stitching—right after sketching the pose. But adding too much detail early often complicates things or locks you into a design that might not work. The sketch feels crowded and messy, making it hard to adjust.
Focus first on getting simple shapes right:
- Block out the silhouette with basic forms like rectangles, ovals, and triangles.
- Capture the flow and weight of fabric without fussing over texture or patterns.
- Use loose lines to keep the sketch alive and flexible.
Once the core design feels solid, details become easier to add. This stepwise approach can save frustration and help your ideas become clearer, instead of overwhelming you early on.
Practice Tips for Better Sketches

Getting better at fashion drawing takes time—and a certain kind of patience you might not expect at first. One practical way to build confidence is to sketch every day. Even if it’s just quick doodles or rough lines, spending 15 to 20 minutes a day drawing ideas helps your hand and eye work together. You might feel like you’re not improving at first, but sticking with it usually pays off.
Try mixing it up with different exercises. For example:
- Draw the same garment multiple times, each attempt focusing on different details like folds, buttons, or silhouette.
- Create quick gesture sketches to capture movement and flow rather than precise shapes.
- Use reference photos or even magazines to copy fabric textures and patterns in your sketchbook.
At the same time, don’t ignore real clothing. Looking at how materials fall and wrinkle on actual garments makes a big difference. Try visiting thrift stores or your own closet to study clothes. See how fabric reacts to body curves or where seams and darts sit; these details will sneak into your drawings and make them feel more authentic.
One bit of advice that’s tricky but worthwhile: don’t stress about perfect sketches. Often, the rough lines reveal more about your thought process than polished ones. Keep at it—your hand will remember what your eyes see, even if it doesn’t feel seamless right away.
Conclusions
Fashion drawing sketches are powerful tools. They bring your designs to life in simple lines and shapes. By mastering sketching basics and learning new techniques, you can communicate your ideas clearly. This saves time and helps you make better fashion pieces.
Practice sketching regularly. Use your drawings to explore different fabric styles and clothing shapes. With patience and skill, your sketches will become strong guides for creating beautiful fashion. Your ideas deserve to be seen, and good sketches make that possible.