
Introduction
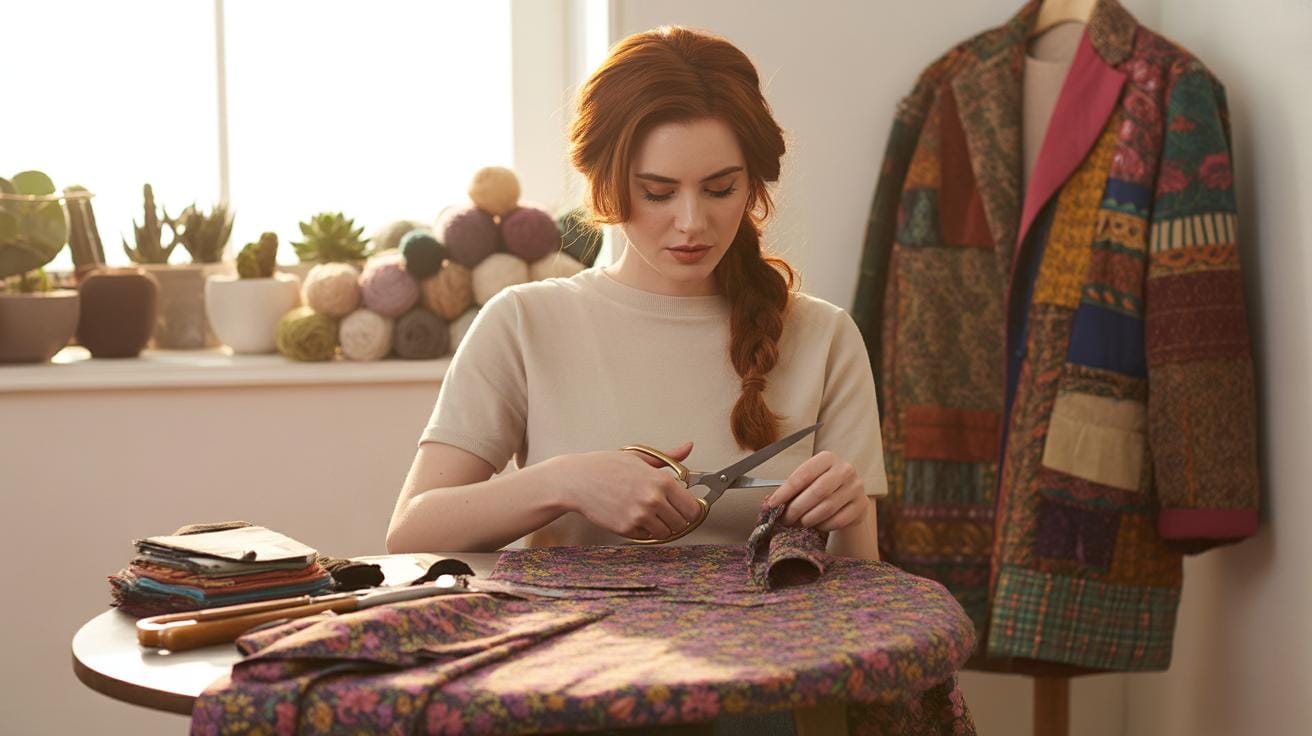
Fashion Design Sketches help you show your creative ideas clearly and simply. They are a crucial step in turning your fashion concepts into real clothes. Sketches let you try different styles, shapes, and colors on paper before making the actual garments. With sketches, your ideas come to life, and others can understand your vision easily.
In this article, we explore how fashion sketches work, the tools you can use, and the steps to create your own sketches. Whether you’re a beginner or developing your skills, understanding these basics helps you design better clothes with less guesswork. Let’s explore how to use sketches to express your creativity and make your fashion dreams real.
What fashion design sketches are
Definition and Purpose
Fashion design sketches are simple drawings that represent clothing ideas visually. They act as the first step in turning a thought into something tangible. These sketches show silhouettes, details, proportions, and sometimes even textures or colors, but always focus on conveying the core concept clearly. Designers rely on sketches because words often fail to capture the full shape or mood of a design.

Think of sketches as a language of fashion. They help designers explain ideas to pattern makers, clients, or team members without confusion. When you sketch, you don’t need perfect art skills—the goal isn’t beauty but communication. It’s about giving form to what’s in your mind quickly so others can see it too.
Why Sketching Matters
Sketching matters because it’s where fashion begins. There’s a freedom in sketching that can’t be matched by jumping straight to fabric or sewing. It lets ideas evolve, grow, change. You can experiment without limits—try different shapes, tweak designs, or explore new styles without wasting resources or time.
Most designers sketch to plan their collections, map out details, or share a vision. It’s a sort of visual brainstorming. Have you ever tried explaining a sleeve shape just by talking? It’s tricky. But a quick sketch clears the fog immediately.
Without sketches, fashion risks feeling vague or getting lost in translation. They keep everyone on the same page, making complex ideas simpler and more tangible. So, while some might think sketching is old-fashioned in a digital world, it remains a crucial, practical tool to shape your creative journey.
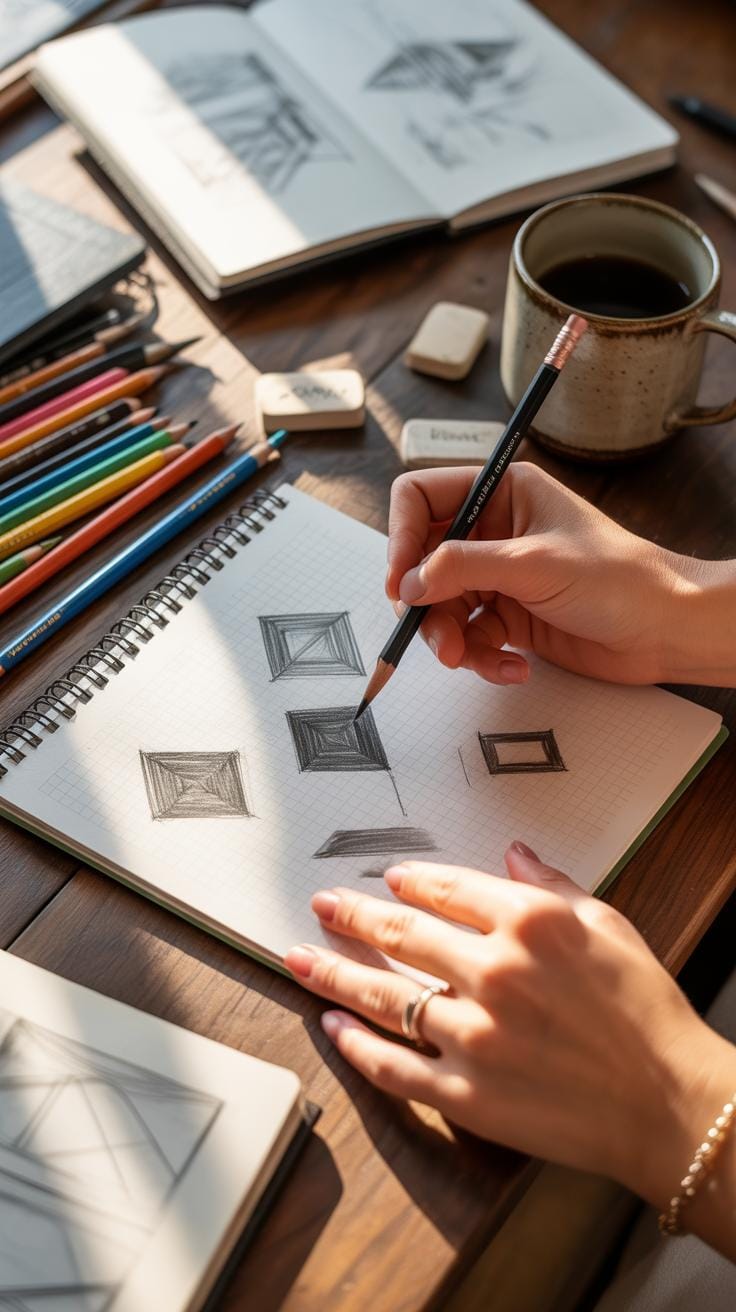
Basic tools for fashion sketches

Traditional materials
You don’t need much to start sketching fashion designs. A simple pencil is often the go-to tool. Most designers prefer a range of pencils—from hard (H) to soft (B)—because each gives different line qualities. I find a 2B pencil strikes a nice balance for most sketching. Erasers come next, and they aren’t just for corrections; kneaded erasers can lighten lines softly, which helps when you want subtle shapes without harsh lines.
Markers and colored pencils step in when adding detail or color. Some use fine liners to define details clearly. Paper choice varies too—from smooth Bristol boards for clean lines to textured sketchbooks that hold multiple mediums. That said, a plain sketchbook with good-quality paper and a set of pencils is enough to experiment and improve initially. You might want to try tracing paper as well for layering ideas without committing too soon.
Digital sketching tools
The digital side is more complex but surprisingly accessible now. Tablets like the iPad with an Apple Pencil have opened doors for many beginners. Apps such as Procreate or Adobe Fresco offer layers, brushes, and undo—all quite tempting when you want to experiment without fear of mistakes. There’s something about the screen’s smoothness that some find a little strange at first, but it grows on you.
More professional tools include software like Adobe Illustrator, which allows clean vector sketches and easy color tweaks. The benefit? Speed and flexibility. You can resize, recolor, or edit parts endlessly, which traditional tools make tricky and tedious. But, it’s not just about efficiency; digital tools encourage exploring new styles without wasting materials.
Still, many designers combine both worlds, beginning rough sketches on paper, then refining digitally. It begs the question—do you prefer the tactile feel of pencil and paper, or do you enjoy the boundless edits of digital? This often depends on your workflow, but knowing both approaches can enrich your design process.
Starting with the fashion croquis

What is a croquis and why it matters
A croquis is a quick, basic sketch of a human figure, often used as a starting point in fashion design. It’s not about details or realism but capturing the posture and body shape that will hold your garment. In fashion, the croquis helps you visualize how clothes will fall on a body, giving you a stable foundation before adding your creative touches. Without it, your designs might float or look awkward on the page, since you’d lack a reference for proportions and movement.
Starting to draw one may feel tricky—you wonder if it must be perfect. But really, the goal is to get a simple frame down fast. It’s a tool, not a masterpiece. Think of it like a scaffold for your ideas.
Croquis basics: proportions and purpose
The typical croquis figure follows specific proportions that differ from a realistic human body. Most commonly, it’s about 9 to 10 heads tall—taller than average—because fashion sketches need that elongated look to accentuate style and elegance. The torso, legs, and arms are drawn longer to match the fashion aesthetic, not real anatomy.
This base figure lets you maintain consistency across sketches, making your design comparisons easier. It’s flexible, too; you can adjust the croquis for different poses or body types, but the core proportions keep you grounded in a recognizable framework.
Sketching your own croquis
To start your own croquis, try these steps:
- Draw a vertical line for posture—this is your figure’s spine.
- Mark head height units along this line, roughly 9 or 10 times.
- Sketch an oval for the head at the top, then sketch the shoulders about two head-widths wide beneath.
- Outline the torso with a simple trapezoid, narrowing at the waist.
- Add legs as elongated cylinders, starting just below the torso and tapering slightly.
- Draw arms hanging or posed naturally, matching the length of the torso.
Don’t overwork details like fingers or facial features. At this stage, simplicity wins. With practice, this basic framework will feel like second nature and let you focus more on your designs, not the figure itself. You might find your first attempts a little off, but that’s okay—croquis drawing improves with time, and each sketch teaches something new.
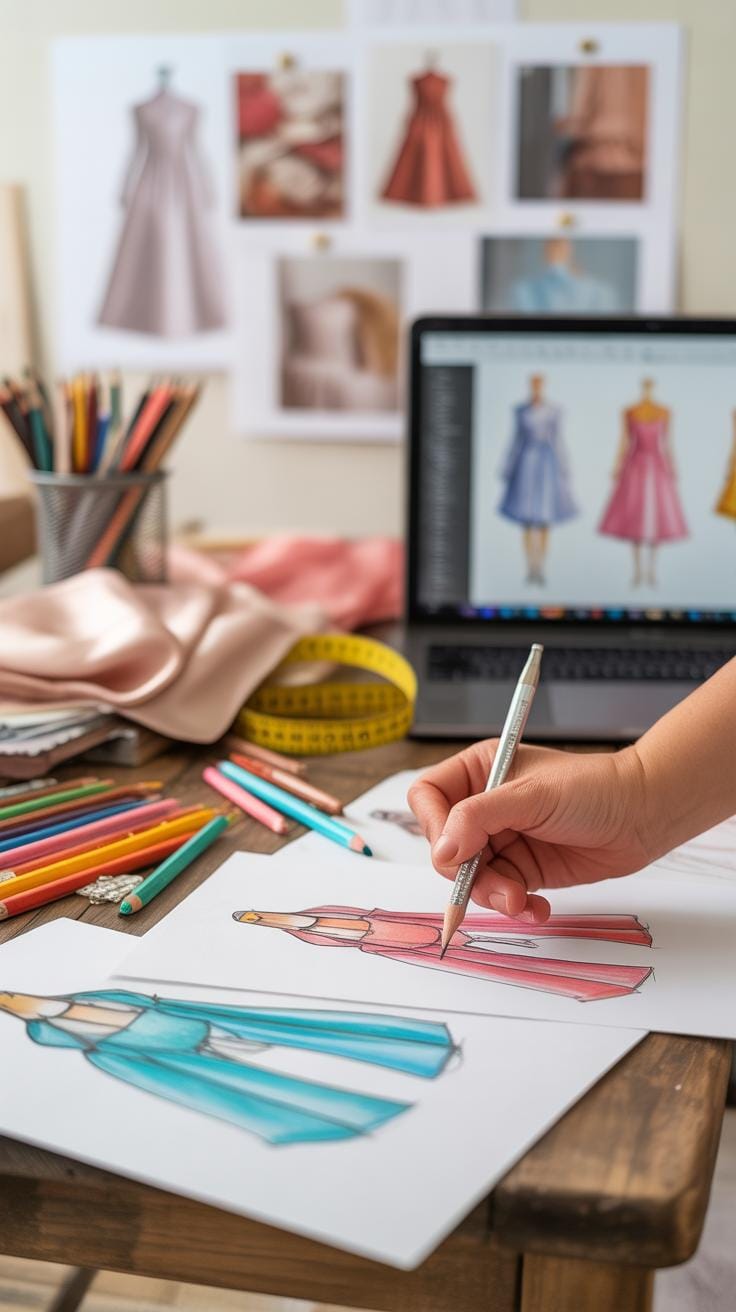
Adding garment details to sketches

When you add garment details like sleeves, collars, and hems to your sketch, you give your design a voice. It’s tricky sometimes to balance clarity with simplicity. Drawing too many lines can clutter your sketch, but leaving out key details might confuse anyone trying to understand your vision.
Start with the basics: outline the sleeve shapes first. Are they tight? Loose? Long or short? Think about how the sleeve attaches to the bodice—details like set-in or raglan sleeves affect the overall look. Next, sketch collars. Small touches like a Peter Pan collar or a high stand collar can change the vibe entirely.
Hems—don’t forget them. Whether they’re straight, curved, or finished with ruffles, hems help define the garment’s silhouette. I often find myself hesitating here; choosing the right hem details can feel subtle but hugely impactful. Always ask yourself: does this hem support the garment shape or distract?
Drawing clothing outlines
Outlining clothing shapes on a croquis is like wearing a frame for your ideas. Keep proportions in mind: sleeves shouldn’t look oversized unless that’s the intent. Fitting is crucial—too tight or too loose can alter the design message.
Begin by sketching simple lines around your croquis. Follow the body contours but remember that fabric drapes and stretches. For instance, a structured jacket will sit differently than a flowy dress. Capturing that difference early helps avoid misinterpretation.
Another tip: use light, fluid lines at first, then refine. Sometimes I get caught up in perfecting curves too soon and lose the overall form. Proportion is often about balance rather than exact measurements. Adjust until the shape feels right, even if it’s not mathematically precise.
Detailing fabrics and trims
Adding textures and trims makes your sketches more expressive. Patterns, like stripes or florals, can indicate fabric type without writing long notes. Experiment with small marks—dots for lace, tiny lines for ribbing, crosshatches for tweed—and see what feels natural on your sketch.
Trims such as buttons or zippers might seem minor but speak volumes. Place buttons carefully, showing their size and spacing. Zippers can be simple lines but consider how they affect garment structure. Sometimes I wonder if too much detail clutters the sketch, but leaving out trims risks losing key design elements.
When illustrating trims, less can be more, but they shouldn’t vanish into the background. Think about how these details interact with the silhouette and whether they guide the reader’s eye or confuse it. It’s a delicate balance to maintain.
Using color and shading

Adding color to your fashion sketches can be tricky, but it’s one of the best ways to show fabric types and emphasize key areas of your design. When you pick colors, think about the mood and purpose of your garment. Are you aiming for something soft and romantic with pastels? Or sharp and modern with bold hues? It’s okay if your color selection evolves as you sketch.
Try these quick tips for choosing and applying color:
- Match color choices to your fabric’s characteristics—darker, saturated colors often suggest heavier or textured materials, while lighter shades hint at airy or sheer fabrics.
- Limit your palette to a few colors that complement each other. Too many colors can confuse the eye and dilute the design’s focus.
- Use colored pencils, markers, or watercolor washes to lay down evenly applied color, but don’t be afraid to let some areas stay lighter or even blank for contrast.
Shading can bring your sketches to life by adding depth and volume. Even simple shading techniques can make garments look more three-dimensional. For instance, lightly layering pencil strokes where fabric folds or curves will help the sketch feel real. Look at how shadows fall naturally on clothing—around the waistline, under collars, or near hems.
- Start with a basic light source in mind, so your shading stays consistent across the sketch.
- Try cross-hatching or circular shading to suggest different textures. Softer fabrics might need gentle, smooth shading; stiffer ones benefit from sharper, more defined shadows.
- Blend edges slightly to avoid harsh lines unless the fabric is very structured.
Sometimes, you might want the shading or color emphasis to draw attention to a specific detail—a bold collar or striking sleeve. Resist the urge to overdo it. A subtle shadow or a touch of deep color often says more than something overwhelming. Do you find that balancing color and shading in your sketches helps clarify what the garment’s really about? I’ve noticed it often forces me to think carefully about the material before I move forward.
Sketching fashion accessories
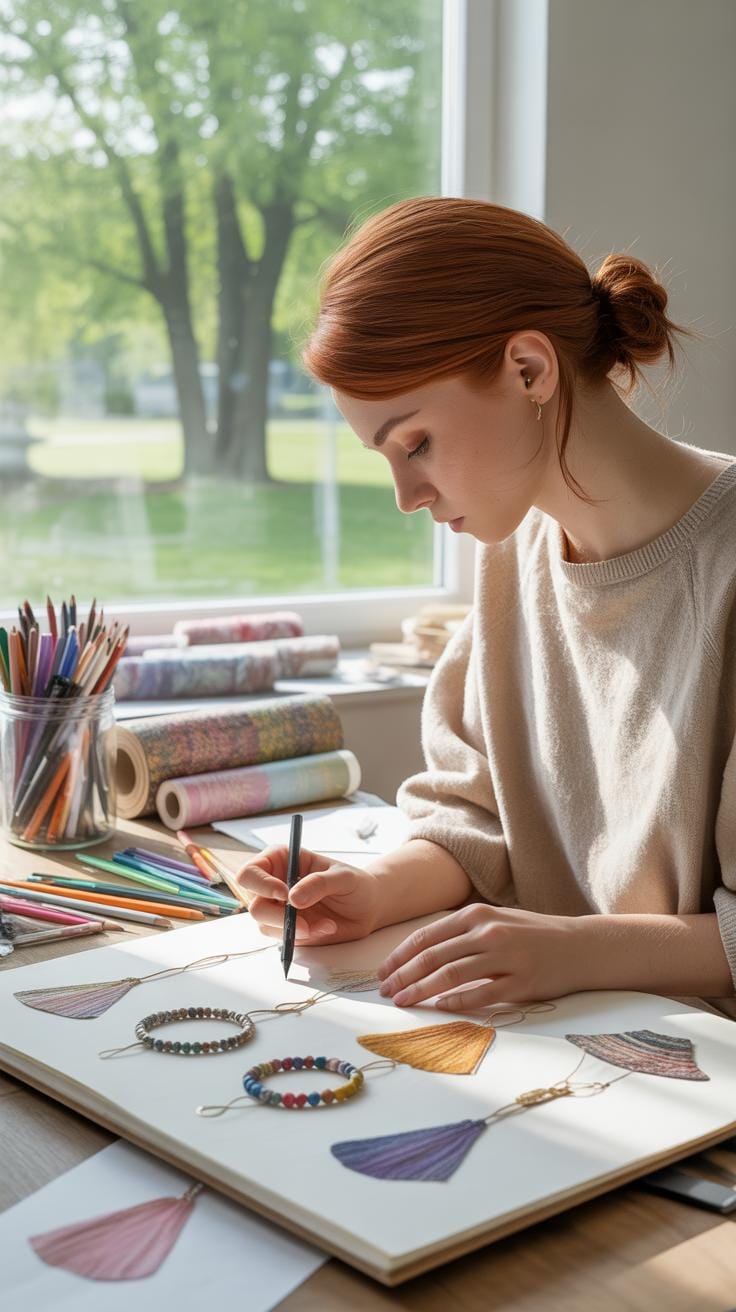
Drawing common accessories
When sketching accessories like hats, shoes, or jewelry, start simple. Break down each piece into basic shapes before adding details. For example, a hat can begin as a rounded oval for the crown and a curved line for the brim. Shoes often start with a clear outline of the sole and heel shapes. Jewelry, like necklaces or bracelets, might just be delicate loops or chains at first.
Placing these accessories on your figure drawing is a bit of an art itself. Think about where the item naturally sits on the body and how it interacts with the posture—does the hat tilt forward? Are the shoes visible from a side or frontal view? Sometimes a sketch might feel off just because the accessory isn’t quite aligned. So, don’t rush this part.
Matching accessories to outfits
Choosing accessories that actually enhance your outfit isn’t always straightforward. You want balance, but sometimes contrasting elements create more interest. For instance, a delicate, minimal necklace might work best with a bold patterned dress, or chunky boots can add an edge to a soft, flowing garment.
When sketching, reflect on the mood of your clothing design and let that guide your accessory choices. Are you going casual or formal? Maybe you sketch a wide-brimmed hat with a summer dress but switch to sleek heels with tailored pants. Accessories should complement, though leaving a bit of tension between them can make the overall look more compelling. Don’t be afraid to experiment on paper—some things might surprise you.
Tips to improve sketching skills
Getting better at fashion sketching takes time, really. It’s not something that happens overnight, and sometimes progress feels slow—or even invisible. But if you try to draw, say, just a quick figure or a detail like a sleeve every day, over weeks, you’ll notice your hand getting steadier, your lines cleaner. I think the key is to keep it simple: focus on small exercises, like sketching clothes on a live model, or even from photos. Don’t pressure yourself to create a masterpiece each time.
Looking at other designers’ sketches can be surprisingly helpful. When you study how a professional captures fabric folds or body posture, try to understand their process instead of just copying. What do you find appealing? What feels awkward? This reflection can lead to your own style, which might unfold in unexpected ways as you experiment.
Try mixing quick gesture sketches with more detailed drawings. Sometimes I find that loosening up with fast lines helps me avoid getting stuck in perfectionism. Also, revisit your old sketches now and then. They might reveal progress you didn’t realize, or areas needing more attention. And ask yourself: Which parts feel natural and which don’t? That question alone can guide your practice sessions.
Common mistakes to avoid

Skipping the croquis
One of the most common traps for beginners is to jump straight into drawing clothes without using a croquis—the basic figure outline. It might seem like a shortcut, but ignoring the croquis often leads to weird proportions or odd shapes that distract from the actual design. Without a proper base, your garment might look confusing or unrealistic because the sketch lacks a clear sense of scale and movement. I’ve seen many early sketches where sleeves ended up too long or waistlines wandered off, just because the foundation wasn’t there. Using a croquis saves you that headache and helps keep your focus where it should be: on the design itself. Plus, revisiting the figure with fresh croquis sketches can refresh your perspective, which is something you might not expect at first.
Ignoring details
Skipping key details in your sketches might sound like it makes things simpler, but it often causes more confusion than clarity. Small elements like seam lines, buttons, or fabric texture can be what really convey your idea. When those are missing, people reading your sketches won’t get the full story. I remember showing a sketch without zipper placements or pocket details and getting blank stares—designs looked vague or incomplete. To fix this, try to pick two or three critical details that define your concept and highlight them clearly. You don’t need to drown your sketch in every stitch, but leaving out too much might make your design feel unfinished or fuzzy in intent.
Putting sketches into practice

Sharing your designs
Your sketches become more than just drawings when you share them. They act as a language connecting your vision with others—clients, manufacturers, or team members. Think of a client meeting where your detailed sketch sparks a productive conversation about fabric choices or fit. Sometimes, the picture says more than words ever could. Yet, it’s tricky. A sketch that’s too loose may confuse a manufacturer, while one too detailed might overwhelm a client. Finding the right balance depends on who you’re talking to and what stage the project is at.
Sketches help you:
- Explain design ideas clearly without lengthy explanations.
- Align everyone’s expectations early on to avoid costly mistakes later.
- Speed up approvals by making your concepts tangible.
It’s often surprising how a simple line or shading can clarify intent. Have you ever sent a sketch and then realized you forgot to mark an important detail? Yeah, it happens. But that’s part of the process—sketches keep evolving just like your ideas.
Using sketches for pattern making
Sketches do more than just sell ideas; they guide the technical side too. When a sketch includes notes on silhouette, seam placement, or fabric behavior, it helps pattern makers translate your design into actual pieces of fabric. Patterns are where your 2D idea turns 3D, and sketches bridge that gap.
Here’s how sketches assist pattern making:
- Define garment shape and dimensions visually before cutting.
- Indicate key construction details that affect seam lines and darts.
- Help pattern makers anticipate how fabrics behave, especially for draping or stretch.
Of course, the more precise your sketches are about fit and structure, the easier the pattern drafting becomes. But sometimes, you might sketch freely to explore ideas, leaving technical specifics for later. Both approaches have their place—your challenge is knowing when to lock down the details and when to leave room for creativity.
Conclusions
Fashion Design Sketches are your first step to creating clothes that express your ideas clearly and simply. They help you visualize your designs and see how elements like shape and color work together. By learning different sketching techniques and using the right tools, you make your design process smoother and more enjoyable.
Remember, sketching is about practice and discovery. Keep trying new styles, be patient, and use your sketches to guide your work. This way, you build your skills and create designs with confidence. Your sketches tell your fashion story one clear line at a time.