Introduction
A concept board helps you gather ideas visually in one place. It acts like a map showing your theme, colors, and style. Using a design board makes it easier to share and develop your vision.
This article shows the design board advantages for creating a trendy concept board. You will learn how these boards boost creativity and make the design process clear. Each section gives practical tips and examples.
What Is A Concept Board

A concept board is a visual tool used to explore and communicate ideas in design and planning. You can think of it as a collage that represents a concept or theme. It’s not meant to be a final product but rather a way to gather inspirations and test out directions early in the creative process.

At its core, a concept board helps to clarify thoughts. You lay out images, materials, textures, colors, and sometimes descriptive text all in one place. This arrangement makes it easier to see what works together and what doesn’t. It can guide decisions and spark new ideas as you go along.
If you’re working on anything from interior design to branding or fashion, a concept board acts like a creative compass. But, it’s more than that — it invites collaboration and feedback, enabling teams to align on a clear vision before diving deeper. You might find yourself tweaking the board repeatedly; that’s the point, really. It’s a flexible document that captures the evolving nature of creativity.
Key Elements On A Concept Board
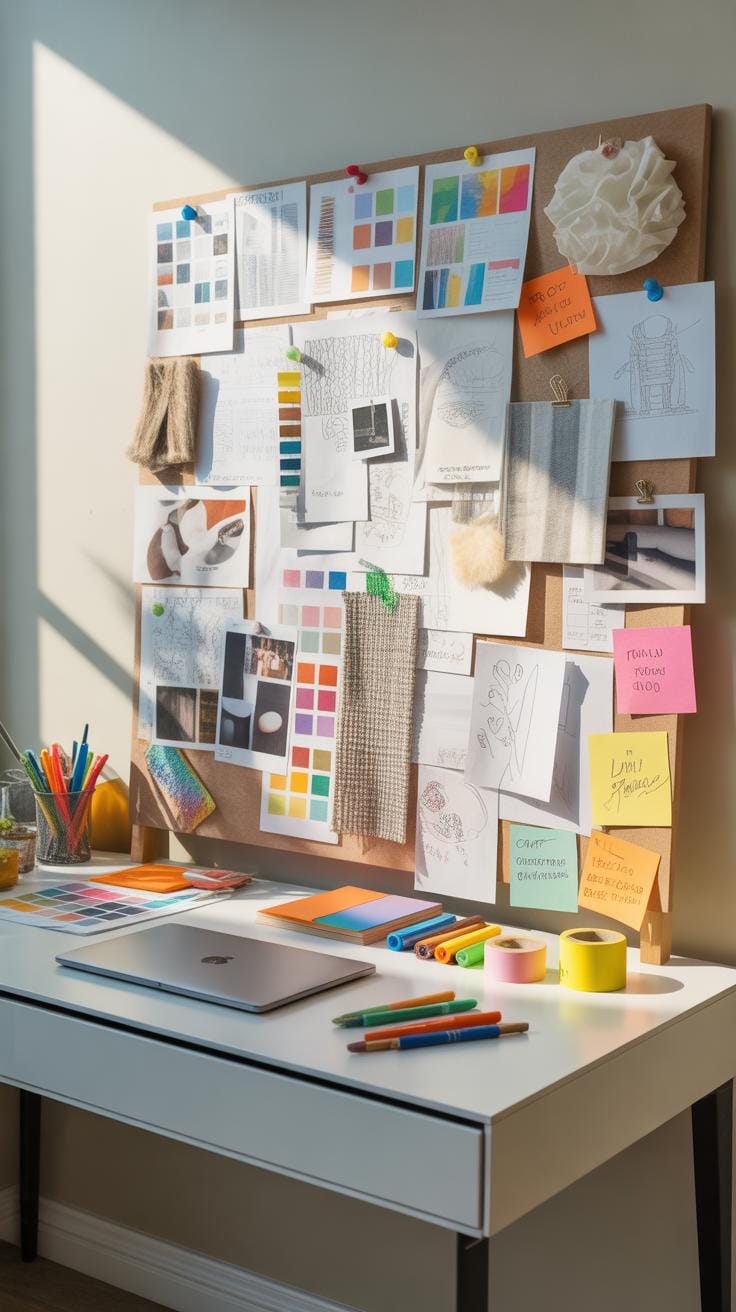
Concept boards typically include a few key components that serve specific roles:
- Images: Photos, sketches, or mock-ups that visually represent the mood or style.
- Colors: Swatches or palettes that establish a color theme. These influence everything from emotion to brand identity.
- Text: Descriptive words or phrases. These might explain ideas, feelings, or highlight essential concepts.
Sometimes, you’ll find fabric samples, materials, or patterns added too — especially in fashion or interior design boards. The goal is to make the intangible feel more tangible, helping you and others to grasp the essence of the concept quickly.
Each element interacts with the others. A bold red color might change how you select images, or a phrase could inspire new visuals. There’s a give and take that fuels creativity and reveals the concept’s personality.
Examples Of Concept Boards
Concept boards vary widely depending on the field or project:
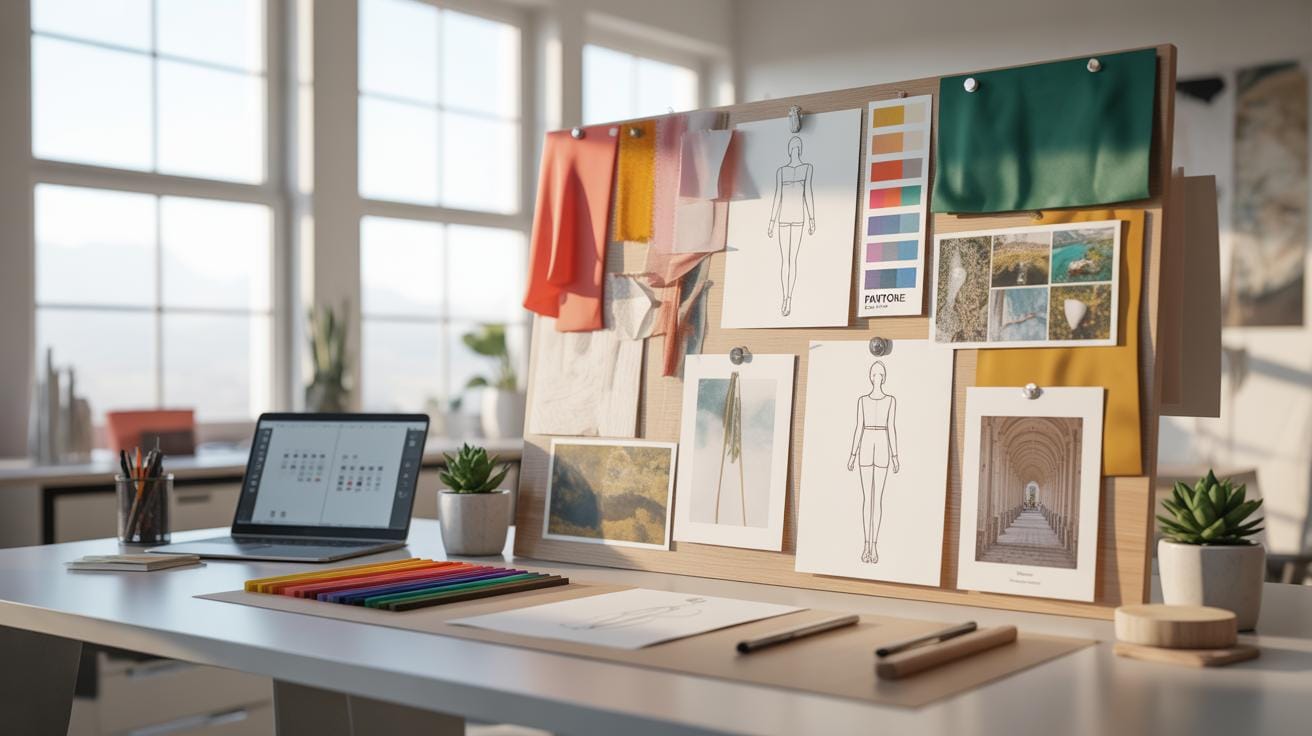
- Interior Design: A board might include photographs of furniture, color samples of paint, fabric swatches, and inspirational room photos to set a comfortable or modern vibe.
- Fashion: You might see pictures of clothing styles, textures of fabrics, a color palette, and keywords that describe the collection’s mood like “edgy” or “romantic.”
- Marketing and Branding: Logos, typography samples, color schemes, and imagery that reflects the target audience or brand identity are common.
For example, a café’s concept board might feature warm coffee tones, rustic wood textures, and inviting photos of communal spaces. Meanwhile, a tech startup might use sleek, minimalistic images with cool blues and sharp fonts to convey innovation and clarity. This variety shows just how adaptable concept boards are—they meet the needs of any creative project.
Why Concept Boards Matter

Concept boards hold an important place for design professionals, even if their value might seem obvious at first glance. They act as a bridge between initial ideas and tangible visuals. Many designers rely on them because they offer a straightforward way to represent abstract thoughts. This is especially useful when fine details are involved, or when multiple ideas need to be weighed.
Imagine trying to explain a design concept without any visual cues – it often leads to confusion or missed nuances. Concept boards help by consolidating images, textures, colors, typography, and other elements in one place. This makes it easier for everyone involved to grasp the essence of the design.
The benefits go beyond just communication though. Concept boards often speed up the decision-making process. When teams and clients see a clear presentation of ideas, they can pinpoint what works and what doesn’t much quicker. They also encourage a kind of dialogue that’s rooted in something concrete, which helps avoid endless debates.
One thing I’ve noticed among designers is that concept boards sometimes reveal unexpected preferences or hidden concerns from clients – things that might not come up in verbal discussions alone. That’s probably because seeing the idea laid out visually triggers different reactions and impressions.
- They distill complex concepts into digestible visuals.
- They serve as checkpoints, helping refine ideas step-by-step.
- They encourage quicker alignment among stakeholders.
So while they might be just one tool among many, concept boards really shape the course of projects by making ideas both clearer and more accessible. It makes you wonder how many projects might have lingered longer without that kind of clarity.
Steps To Create A Concept Board
Creating a concept board might seem straightforward, but it unfolds best when you break it down step by step. First, you want to be clear about the theme or idea you’re exploring. This clarity will guide your material choices and how you arrange them later. It’s tempting to rush this first part, but patience here pays off.
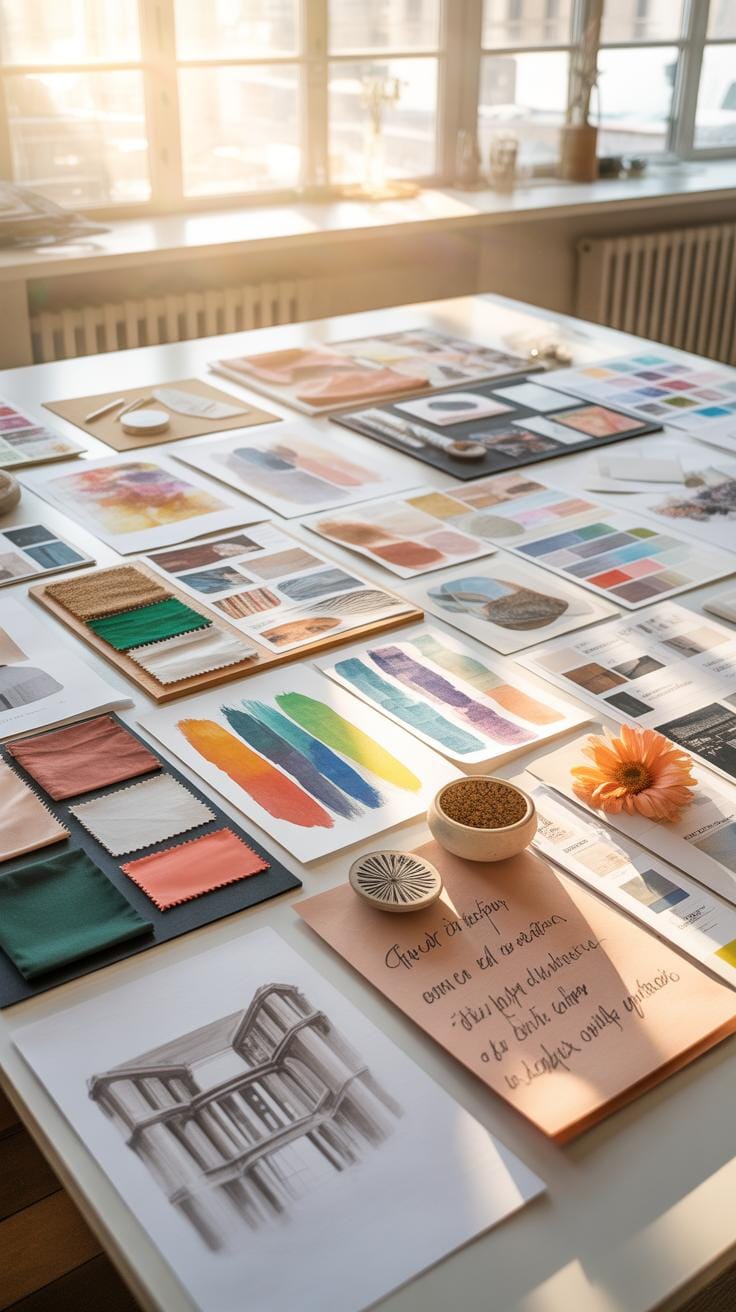
Next up is gathering visuals. Don’t just grab images randomly; look for pictures that truly resonate with your theme. This can include textures, fabric swatches, color samples, or anything tangible that reflects the mood you want. Sometimes the challenge lies in knowing when to stop collecting. You might find yourself with too many options—try to narrow it down to the most impactful ones.
Once your materials are in hand, start placing them on your board. Think about how each piece relates to the others. You might shuffle things around several times. This part is as much about editing as it is about arranging. Some items might need cropping or resizing to fit better or to emphasize a particular angle. Keep asking yourself if each element adds clarity or if it just clutters.
Don’t hesitate to experiment with layering—overlapping textures or colors can create depth, but too much can confuse the message. If something doesn’t fit well, trust your gut and remove it. In the end, a concept board should communicate its idea clearly at a glance, even if the process to get there feels a bit messy.
Compare Physical And Digital Boards
Concept boards come in two main forms: physical and digital. Each has its distinct feel and function, and choosing between them depends on your project needs and workflow style.
Physical boards give you a tactile experience. You get to handle textures, move items around, and see how colors mix naturally under real light. This hands-on approach often sparks creativity and gives a true sense of finality—once glued down, the arrangement feels more intentional. But, on the flip side, they can be bulky, less flexible when changes are needed, and harder to share with remote teams.
Digital boards are supremely flexible. You can swap images, resize elements, add text, and experiment without any mess. Plus, they’re easier to store, duplicate, and collaborate on simultaneously. Yet, somehow, they lack the physicality that can make ideas resonate more deeply. Sometimes the endless options make you overthink instead of decide quickly.
So, it’s a bit of a trade-off. Are you chasing tactile inspiration or digital agility? Both tools serve a purpose. Knowing when to lean on one or the other can shape your entire creative process.
Tools For Physical Boards

Creating a physical concept board requires a handful of basic yet essential tools. You might find yourself gathering:
- Foam boards or corkboards: These serve as sturdy, no-fuss backdrops to attach your pieces.
- Scissors and craft knives: For cutting out images or fabric samples precisely.
- Glue sticks, spray adhesive, or double-sided tape: Each offers different adhesion strengths and ease, depending on your materials.
- Push pins or thumbtacks: Helpful if you want to rearrange elements without permanent bonding.
- Markers and pens: Useful to add notes, titles, or sketches directly on the board or paper snippets.
- Decorative materials: Things like ribbons, washi tape, or fabric scraps that bring texture and personality.
These tools let you build a board that not only informs but also conveys the mood and tactile quality of your concept. Do keep in mind—once you commit glue to an arrangement, you’re somewhat locked in, so some trial and error is inevitable. Despite slight frustrations, the physicality often feels rewarding and vivid.
Popular Digital Software Options
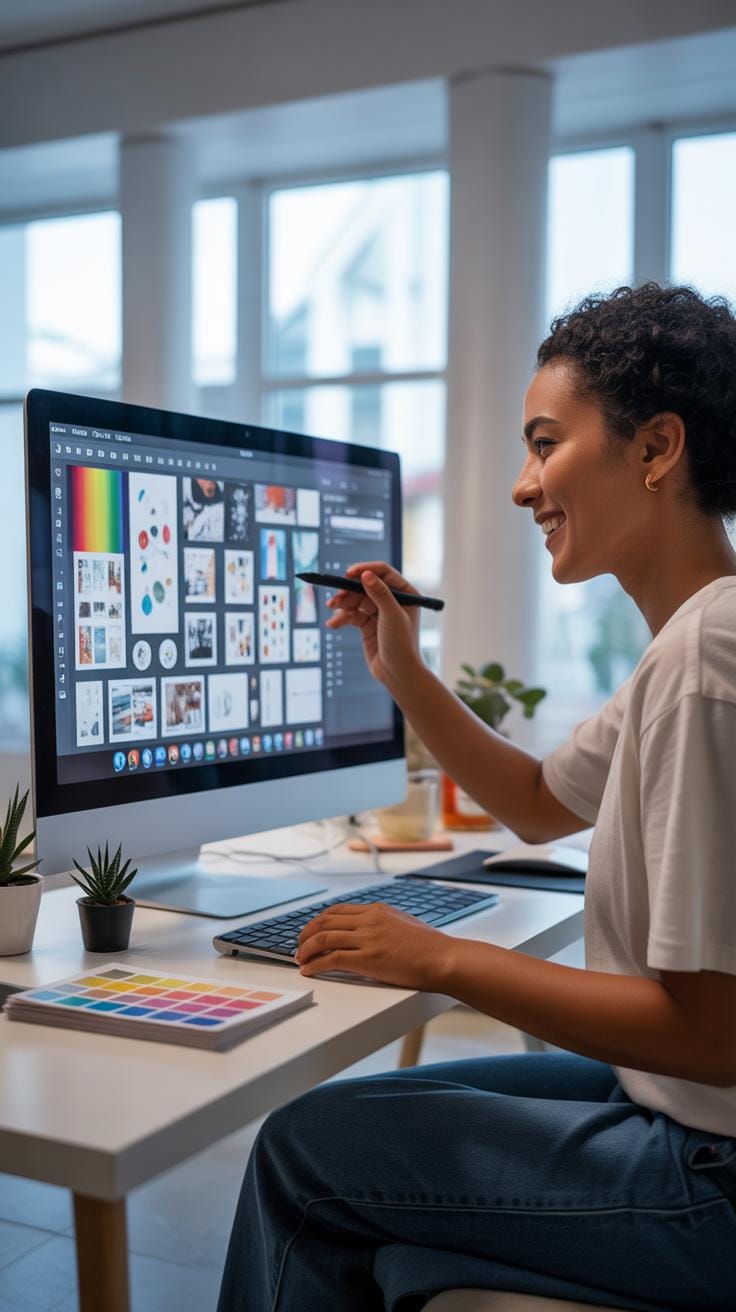
Thanks to technology, countless software options can help you create concept boards without sticky fingers. Some favorites include:
- Adobe Creative Cloud Express: Designed for speed and simplicity, it features drag-and-drop layouts perfect for quick, stylish boards.
- Figma: Known for its collaborative capabilities, especially helpful if you work with teams spread across different places.
- Pinterest: While not a traditional board maker, its virtual pinning system supports mood boarding by collecting images from across the web easily.
- ShopLook and Shuffles: Specialized platforms geared toward styling and fashion boards, providing niche tools that might not be in general graphic software.
Each software varies in learning curve and features. Exploring a few might reveal surprises, like how easy sharing these boards becomes or how swiftly you can pivot your entire layout. Still, sometimes it’s tempting—and a bit nostalgic—to grab scissors rather than clicking a mouse.
Common Mistakes To Avoid

Overloading The Board
When you cram too many ideas onto a concept board, the whole thing can quickly become a jumble. Instead of clarity, you get confusion. It’s easy to think the more ideas, the better—but that rarely helps. The board should guide your focus, not scatter it. Imagine trying to find a single thread in a tangled mess; that’s what happens when a board is overloaded. To prevent this, pick a few strong themes and stick with them. Limit what you add to those essentials only. Sometimes, less really is more, even if you feel tempted to show everything at once. You’ll find your creativity actually gets sharper by narrowing down.
Ignoring Purpose Of The Board
You might overlook why you’re making the concept board in the first place. That’s a mistake that can leave your project drifting without direction. Setting clear goals at the start isn’t just advisable; it’s necessary. What do you want this board to communicate? Who will see it? What decision will it help with? Answering these questions shapes your choices of images, colors, and layouts. Without purpose, a board can feel random or incomplete—like something half-baked. Don’t worry if you’re unsure at first. The key is to keep refining your purpose as you go along. Otherwise, your board becomes a collection of pretty things with no real point.
How To Use Concept Boards Effectively

Concept boards can really shape how you explore and communicate ideas in a project. To make the most of yours, start by clearly defining your core idea—don’t leave it vague or scattered. Pin down key visuals, colors, textures, or words that directly support your concept. This helps keep everything focused. It can help if you lay out your board in sections or themes so you and others can follow the flow easily. Try not to overcrowd it; too much stuff can be overwhelming and dilute the message.
When presenting or working with a team, be open to evolving the board. Encourage feedback, but keep in mind that not every suggestion will fit or be practical. It’s a balancing act—taking enough input to improve but still staying true to your vision. Whatever you do, use your concept board as a conversation starter, not the final word. Ideas can shift, and your board should stay flexible enough to reflect that.
Regular Updates And Revisions
Updating your concept board isn’t just a nice touch; it’s actually crucial. As your project unfolds, new inspirations and challenges appear. If you don’t revise the board, it might become outdated—sort of like keeping old maps when the terrain has already changed. Think of your board as a living document that tracks your thinking process over time.
Regular revisions also prevent stagnation. If you’re stuck on an idea, sometimes revisiting the board with fresh eyes reveals new directions or better solutions. Even simple changes—like swapping an image or reordering elements—can make a concept feel refreshed and more aligned with your current project goals. Don’t hesitate to scrap parts that no longer fit; holding on out of stubbornness only clutters your focus.
Sharing Boards With Teams
Sharing your concept board with others can be tricky but worthwhile. What works best depends on your team’s style and tools. Some prefer physical boards pinned up in a common room for spontaneous interactions. Others opt for digital boards that can be shared remotely, allowing stakeholders from various locations to react in real time or leave comments asynchronously.
When you share, be clear about what type of feedback you want. Do you need technical input? Creative ideas? Or just general impressions? Setting these expectations helps people give useful responses instead of vague or off-track comments. Also, prepare to explain your choices—sometimes what feels obvious to you might need a little context for others to fully understand.
At the end of the day, a concept board should encourage dialogue and collaboration. It’s less about showing a perfect final product and more about inviting others into your creative process. That way, the board becomes a shared space where ideas grow and improve together.
Metrics To Watch For Success

Tracking tangible signs that your concept board is driving the project forward can be surprisingly revealing. It’s not just about aesthetics or how polished your board looks, but about concrete results you can observe.
Speed Of Project Approval
When decision-makers nod “yes” faster, it often means your concept board is hitting the right notes. Quicker approvals suggest the ideas are clear enough to eliminate confusion or hesitation. Maybe it’s the way the visuals connect or how well the message is conveyed. If your project lingers in review, it might hint the board needs tweaking. But if the thumbs-up comes swiftly, well, then it’s probably doing its job. Faster sign-offs also mean less back-and-forth, freeing time for other steps rather than revisiting the same concepts over and over.
Clarity In Team Communication
When team members seem to understand each other better, the concept board is likely lending a hand. Fewer questions and misunderstandings usually mean everyone’s on the same wavelength. It’s like a shared reference point that keeps conversations grounded. If you notice fewer emails asking for explanations or less frequent mix-ups, that’s a good sign the board is clear. Still, sometimes teams jump to conclusions or interpret things differently, so complete clarity isn’t always guaranteed. But generally, if communication flows smoother, your concept board is playing a useful role in aligning perspectives.
Common Styles Of Concept Boards
When you look at concept boards, you’ll notice they come in a couple of popular styles that help convey ideas clearly and attractively. The styles vary, but two frequently seen ones are Minimalist and Collage.
Minimalist Boards
Minimalist concept boards use very few elements. They’re about keeping things clean, leaving room for the main ideas to stand out without distractions. It’s like focusing on the essentials only, which might sometimes feel a bit too bare, but it makes the message straightforward and straightforward.
This style often avoids clutter by presenting a limited color palette, simple fonts, and plenty of white space. You might catch yourself wondering if something’s missing because it’s so stripped down — but that’s kind of the point. By paring back, you can highlight key visuals or text, making your concept instantly digestible.
Collage Style Boards
Collage boards embrace a mix of images, textures, and sometimes even handwritten notes. This style builds a mood around the concept, layering different elements together for a rich, sensory feel. They tend to express emotion and theme rather than strict clarity.
One challenge with collage boards is balance — adding variety without overwhelming the viewer. You might think it’s chaotic at first glance, but if done well, it feels alive and inspiring, like a window into your creative process. It’s an excellent choice when you want to evoke a vibe or tell a nuanced visual story.
Sample Use Case For Teams

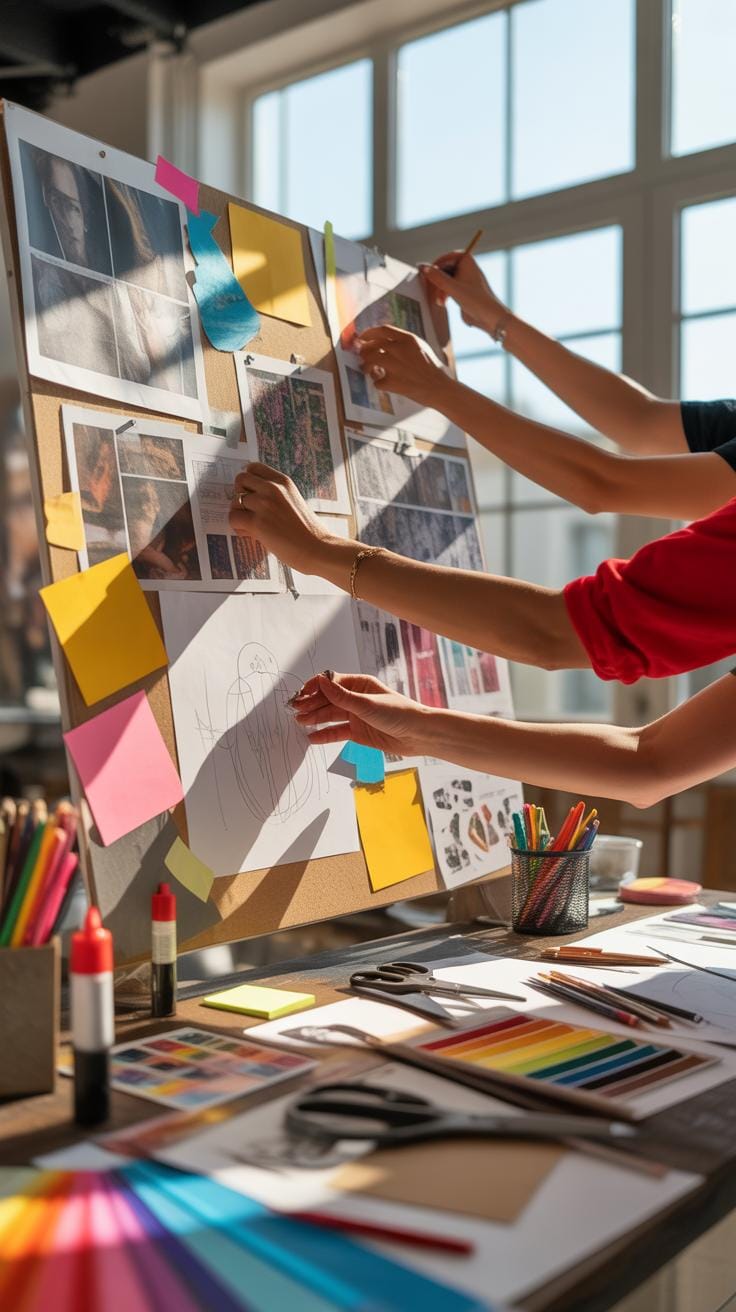
Brainstorming Session Setup
Imagine a design team gathering around a blank concept board at the start of a product design phase. They begin by pinning sketches, color swatches, and snippets of customer feedback onto the board. This creates a visual collage of their initial ideas, making the abstract more tangible. The concept board acts as a living canvas where ideas don’t just sit; they interact. You might see a team member rearranging visuals, linking concepts with strings or annotations to draw connections. This setup encourages everyone to contribute without judgment. Instead of scattered notes or digital files isolated on personal devices, the physical or digital board centralizes creativity in one place. It helps keep divergent ideas visible and organized, which otherwise could get lost in email threads or meeting notes.
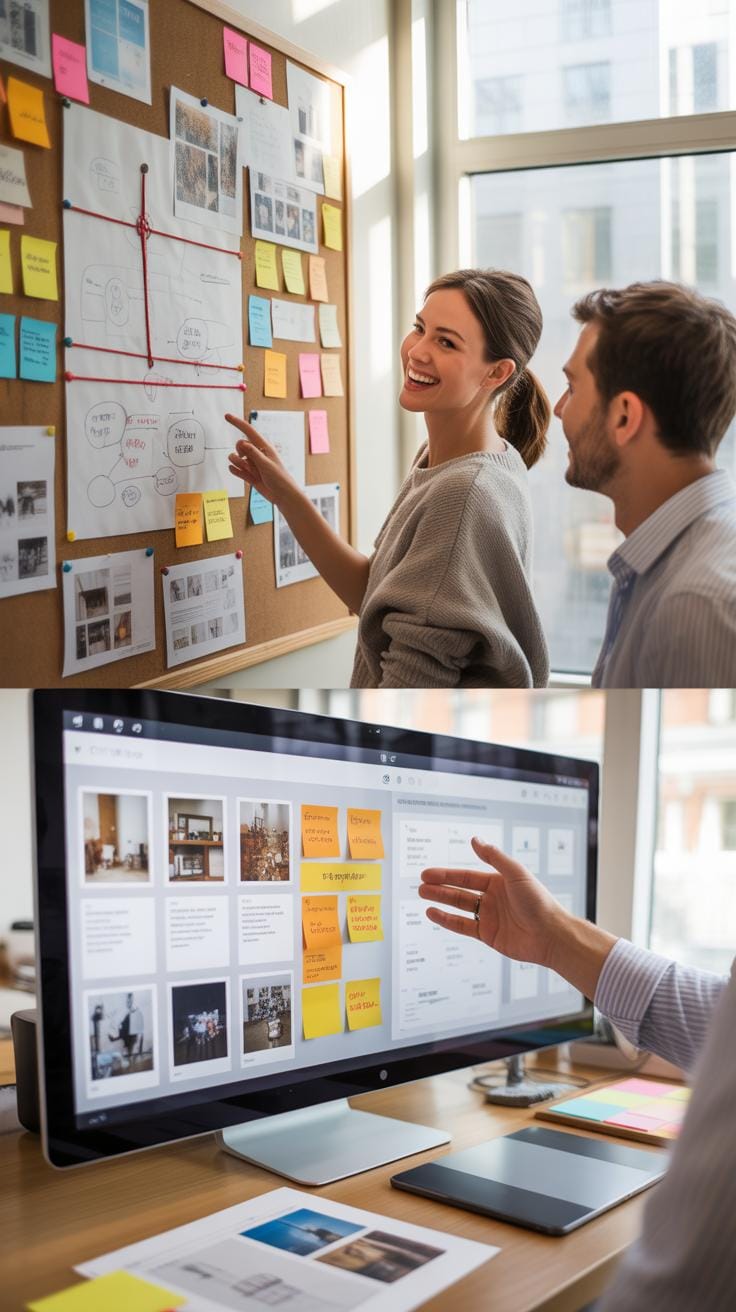
Sharing And Gathering Feedback
Once the board is filled with early concepts, the team comes together again to review what’s there. They walk through each element, discussing potential strengths and weaknesses. This stage often sparks unexpected insights—someone might question an assumption or build on another’s idea. Feedback becomes almost immediate and visual; team members can point to specific items and suggest tweaks or alternatives. For instance, one person might suggest swapping a particular color because it doesn’t align with the target market’s preferences, or another might propose adding user personas to better frame design choices. The board supports a more democratic input process where everyone’s voice can be heard and recorded. This iterative review ensures ideas evolve continuously rather than being fixed early or overlooked.
Checklist For Your First Board
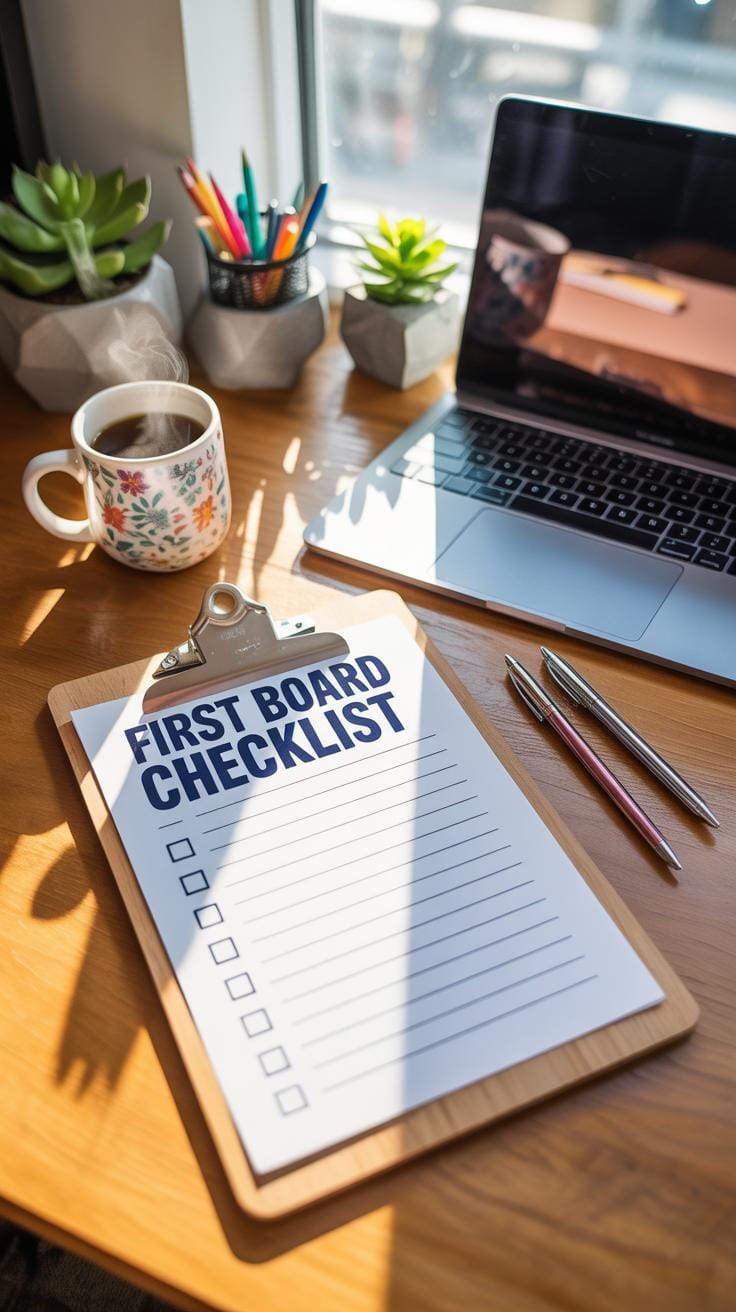
Starting your first concept board can feel a bit overwhelming, right? But breaking it down into smaller steps makes it manageable. Here’s a quick checklist to help you get a solid start:
Needed Materials And Tools
- Images and photos – think about printouts or digital snapshots that fit your theme
- Color swatches – pick a few complementary hues, don’t overdo it
- A physical board or corkboard – or digital tools like design software if you prefer virtual
- Adhesives like pins, glue, or tape for physical boards
- Scissors and cutting tools
- Note cards or sticky notes for quick labels or thoughts
Collecting these beforehand minimizes interruptions. Although, sometimes you discover new stuff as you go – that’s okay too.
Key Steps To Follow
- Plan your board’s purpose: mood, style, or story to tell
- Collect items that relate closely to the concept
- Arrange pieces loosely to see how they interact
- Edit by removing clutter or adding needed elements
- Review the overall feel—does it spark what you want?
- Share with others for feedback or presentation
Every step is a chance to rethink and refine. Don’t rush; let your board evolve at its own pace. Have you tried making one before and felt stuck? Sometimes just stepping back for a moment helps you see where to go next.
Conclusions
Concept boards keep your ideas focused. They help you quickly try different styles and colors. Using design boards reduces mistakes by providing a clear path for your project.
Try making your own concept board for your next project. You will see how helpful it is to organize your ideas and share them with others.