
Introduction
Affordable Costs Of Healthy Hiking Snacks For Fitness Enthusiasts is an important topic for anyone who enjoys hiking and staying fit. Maintaining energy on trails requires good nutrition, but costs can add up quickly. Finding healthy snacks that support fitness goals without breaking the bank helps hikers stay prepared and energized.
This article covers ways to select budget-friendly snacks, how to prepare them economically, and practical examples you can try. It will help you balance cost, nutrition, and convenience for your hiking snacking needs.
Cost Breakdown For Popular Hiking Snacks

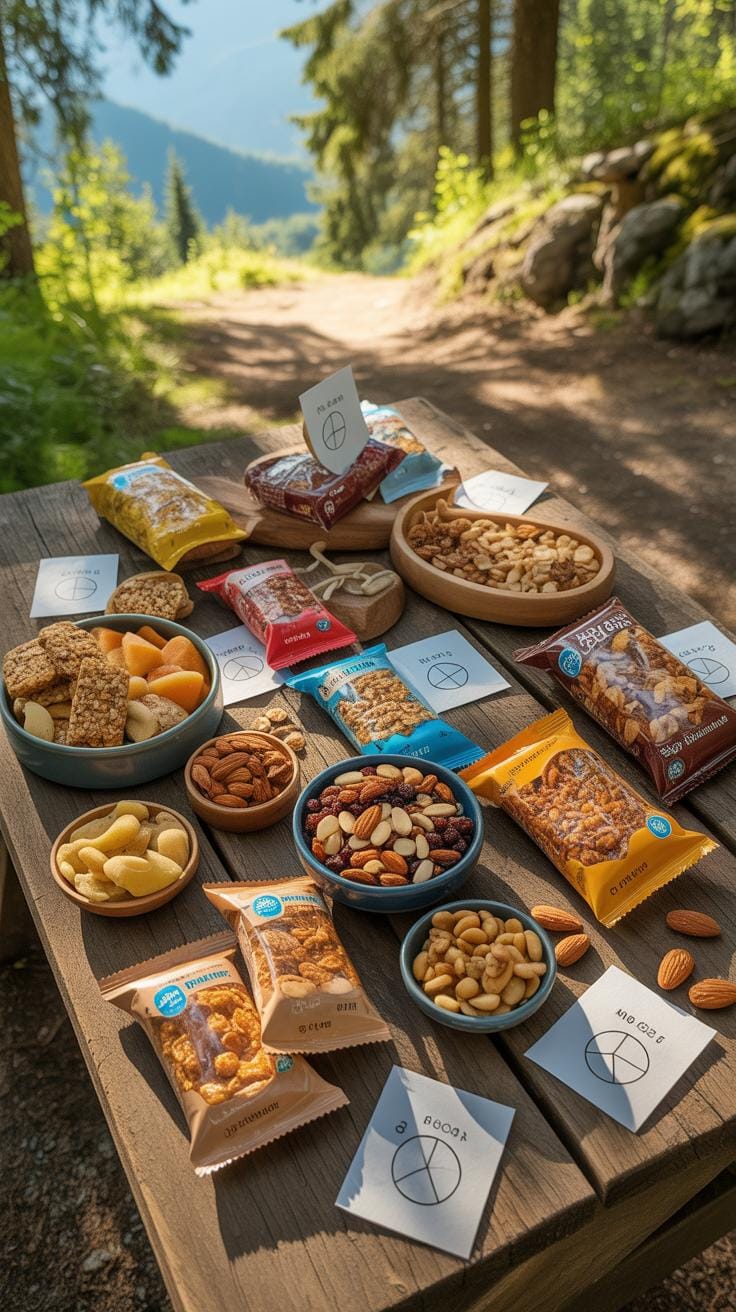
Nuts like almonds or peanuts usually cost between $6 and $12 per pound, depending on whether you buy raw or roasted versions. Trail mix bags at the store often range from $5 to $10 for about 8 ounces, which feels a bit pricey if you eat a lot. Fresh fruits—apples, bananas, oranges—tend to be under $1 each, but they can weigh you down. Energy bars vary widely, anywhere from $1.50 up to $3.50 per bar, depending on brand and ingredients. Dried meats like beef jerky hover around $7 to $15 for a 3-ounce pack, which might be too rich a snack if you’re mindful of budget.

The difference between store-bought and homemade snacks is noticeable. Buying pre-packaged generally costs more per serving but saves time and hassle. Homemade trail mix, mixing nuts, dried fruits, and seeds bought in bulk, can cut costs nearly in half. Making energy bars at home from oats, nut butter, and honey typically costs less, though requires planning and effort. Grinding your own jerky is less common but can be more affordable, if you’re into that.
Store Bought Versus Homemade Snack Costs
Pre-packaged snacks are convenient but often carry a markup for brand and packaging. For example, a 6-pack box of energy bars might run $12 to $18, while the ingredients for similar homemade bars—oats, peanut butter, some dried fruit—cost closer to $5 for the same amount. I find that making trail mix at home saves money, but it does mean buying bulk nuts and dried fruit. Bulk buying reduces cost per serving, but you have to commit to the upfront expense and storage.
Tips to save include watching for sales, using store brands, and mixing your own blends instead of buying fancy premade mixes. Pre-cut dried fruit can be more expensive than whole fruit you dry yourself. You might be surprised how affordable peanut butter and homemade granola bars are compared to store versions, especially if you buy ingredients in larger quantities.
Price Comparisons Among Common Snack Ingredients
Looking closely at staple ingredients, almonds typically cost $7 to $10 per pound. Peanuts are cheaper, often $2 to $4 per pound, and provide a good protein punch for the price. Dried apricots can be around $8 to $12 per pound, which seems steep but offers a concentrated source of vitamins and sweetness. Oats stand out as the most economical, roughly $1 to $2 per pound, and pack decent energy with fiber.
In terms of value, peanuts and oats offer the best bang for your buck nutritionally and economically. Almonds are great but pricier, while dried apricots add flavor and nutrients, though cost more. When crafting your hiking snacks, balancing these ingredients can keep costs manageable without sacrificing nutrition or taste. Have you considered which ingredient you reach for most, and why? Sometimes, the cheapest isn’t always what sticks with you on a long trail.
Where To Find Healthy Snacks Cheap
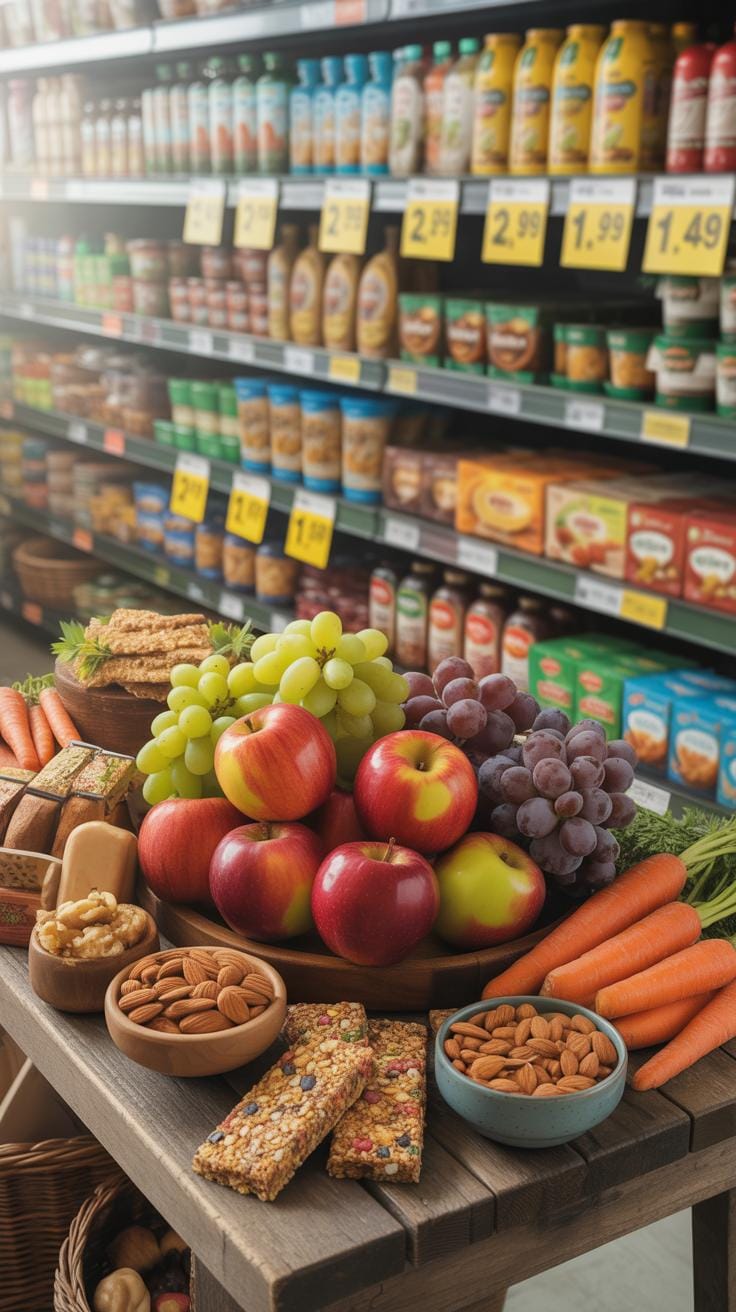
Stores Offering Budget-Friendly Snack Choices
Finding affordable healthy hiking snacks can be easier than you think if you know where to look. Big supermarket chains like Walmart, Aldi, and Target tend to offer good deals on nuts, dried fruits, and whole grain crackers. These stores often have seasonal sales or weekly discounts on pantry staples, and watching for those can really help stretch your budget. Local health food stores sometimes feel pricey, but they often have clearance sections or multi-buy discounts, so it’s worth checking out from time to time.
Don’t overlook farmer’s markets. Prices may vary, but you can score fresh fruit or homemade granola bars cheaper than packaged alternatives if you shop late in the day or talk to the vendors. Some discount stores, like Dollar General or Big Lots, surprisingly stock basics like trail mix, peanut butter, or protein bars. They’re not always organic or premium brands, but the cost savings can be worth it for regular trail snacks.
Buying In Bulk To Lower Snack Costs
Bulk buying is one of the most straightforward ways to cut down the cost per serving. Warehouse stores like Costco or Sam’s Club sell large quantities of almonds, pumpkin seeds, and raisins at prices that are hard to beat. Even Amazon’s pantry or bulk food sections allow you to pick up items like quinoa, oats, or jerky in larger bags, meaning fewer trips and less packaging waste.
Think about snacks that work well in bulk and won’t spoil quickly. Raw nuts, dried fruit, whole grain cereals, and even nut butters can keep a long time when stored properly. Splitting big bags into smaller portions for your hikes is easy and saves cash over the pre-packaged snack packs. Now, that’s a little planning, but it often pays off. Have you tried mixing your own trail mix from bulk ingredients? It’s satisfying and surprisingly budget-friendly.
How To Prepare Healthy Hiking Snacks
Making your own hiking snacks at home can actually be quite simple, and it usually costs less than buying premade options. If you’re the type who worries a bit about what’s going into store-bought bars or mixes, preparing them yourself offers peace of mind—and you can tweak ingredients to your liking. Here’s a basic guide to get you started.
Mixes, Bars, and Energy Balls: Step-by-Step
First, for trail mixes, just combine nuts, seeds, dried fruits, and maybe some whole grain cereals or oats. Aim for a balance between fats, protein, and carbs. Toss everything in a bowl, stir gently, and portion it into resealable bags or small containers.
For bars, melt some nut butter with a sweetener like honey or maple syrup, then stir in oats, chopped nuts, and dried fruit. Press the mixture firmly into a lined pan and chill overnight. Cut into bars the next day. You could experiment by adding some dark chocolate chips or a pinch of sea salt. Just don’t overdo it.
Energy balls are similar but rolled into bite-sized spheres. Mix nut butter, oats, honey, and extras like chia seeds or cocoa powder. Roll and refrigerate until firm. They travel well and you can snack on them easily without crumbs.
Recipe Ideas For Budget Snack Preparation
Here are a few recipes you might try:
- Classic Trail Mix: 1 cup peanuts, ½ cup pumpkin seeds, ½ cup raisins, ½ cup lightly salted pretzels.
- Oat and Date Bars: Blend 1 cup oats, 10 pitted dates, ¼ cup peanut butter, and a drizzle of honey. Press into a pan and chill.
- Cocoa Energy Balls: Mix ½ cup nut butter, ½ cup oats, 2 tbsp cocoa powder, 2 tbsp honey, and a handful of chopped nuts. Roll and refrigerate.
These cost just a fraction of store-bought snacks and you get way more control over what goes in.
Storing Snacks To Preserve Freshness
How you store your snacks makes a difference. Airtight containers or resealable bags work well to keep moisture and air out. For bars and energy balls, popping them into the fridge helps prevent them from turning greasy or crumbly. If you don’t have a cooler during your hike, packing them in insulated pouches might help.
When taking snacks on the trail, portioning into single servings saves hassle and reduces waste. You might find yourself less likely to nibble too much at once—though, honestly, that’s easier said than done.
All things considered, making your own hiking snacks feels like a small effort for a decent payoff—freshness lasts longer, expenses shrink, and your taste buds get some good company on the trail.
Nutritional Needs For Fitness Snacking
When you’re out on the trail, your body craves fuel that keeps you moving without weighing you down. A good hiking snack isn’t just about staving off hunger—it has to support your energy, endurance, and recovery all at once. So, what should you look for? Well, the main players are carbohydrates, protein, and healthy fats. Each serves a unique purpose during your hike.
Carbohydrates act as the quickest energy source. They’re easy to digest and provide the immediate boost your muscles need to keep going. Think dried fruit, whole grain crackers, or even a simple granola bar. Protein, on the other hand, helps with muscle repair and recovery, especially if you’re hiking for several hours or tackling steep climbs. Nuts, jerky, or yogurt-covered snacks can fill this role. Fats are slower to digest but offer a sustained release of energy. They also help keep you full longer. Trail mix that combines nuts and seeds, or a bit of cheese, can be good options here.
Picking snacks that balance these nutrients with calorie control can be tricky. You don’t want to carry extra weight in your pack, nor do you want empty calories that leave you sluggish. So, it helps to choose whole-food snacks that deliver meaningful nutrition without excess sugars or processed ingredients. Sometimes, that means a small handful of almonds outperforms that bigger, sugary bar you thought would be a quick fix.
Have you ever noticed how certain snacks leave you feeling energized longer? That’s likely because they hit this balance well. Maybe next time, consider where your snack’s calories come from, not just how many there are. That can make all the difference on a long hike.
Snacking Mistakes To Avoid On Trails
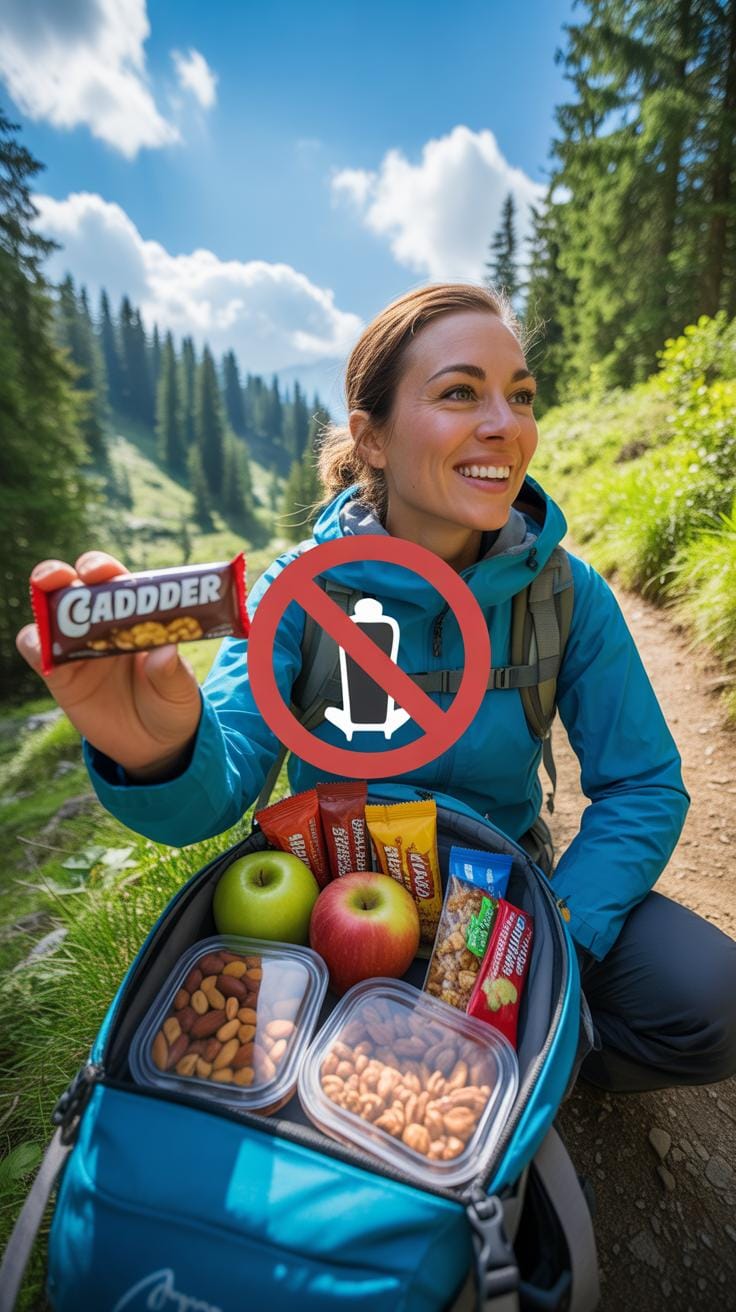
When it comes to hiking snacks, some mistakes are surprisingly common but can really hurt your energy and budget. One big issue is overbuying. It’s tempting to pack a wide variety of snacks “just in case,” but this often leads to waste. You might end up carrying food that spoils before you even take a bite or forcing yourself to eat snacks you don’t really enjoy, which isn’t motivating at all.
Another frequent misstep is loading up on sugary, processed snacks. Yes, they’re convenient and tasty, but they tend to provide quick bursts of energy followed by crashes. That leaves you feeling drained rather than fueled. Plus, buying lots of these snacks doesn’t line up well with healthy hiking goals or your wallet. You’re spending money on junk that doesn’t keep you going.
Storage problems also cause trouble more often than you’d think. Leaving snacks exposed to heat or moisture can spoil them fast. I remember a time I packed trail mix in a flimsy bag, and by midday, it was soggy and unappealing. Using airtight containers or resealable bags can prevent this hassle. And if you’re hiking multiple days, think about snacks that hold up well without refrigeration. It’s a small step, but it saves food and money.
Snack Planning Checklist For Hikers
Assessing Duration And Intensity
Start by understanding how long you’ll be on the trail and how hard you plan to push yourself. A short, easy hike might only need a light snack or two. But if you’re tackling steep climbs or long distances, you’ll burn more calories—in which case, packing extra snacks is wise. Think about your usual pace and how often you typically stop. That gives you a rough idea of how much fuel you’ll need. For example, on a moderate three-hour hike, one snack every hour usually works for me, but if the trail is tough, I bump that up a bit. The trick is not to underpack and then find yourself hungry mid-hike—or overpack and carry unnecessary weight.
Estimating snack amounts can feel tricky, but a simple formula often helps: about 200 calories for each hour of moderate effort. That’s flexible though—if you get tired easily, you might want more, or if you’re lighter, less might suffice. The goal is steady energy without a heavy pack.
Selecting Snacks For Your Budget
Choosing snacks that match your wallet can be a balancing act. But you don’t have to spend a lot to get good energy boosters. Think about cost per serving rather than just the sticker price. Buying nuts in bulk or cutting up fresh fruit at home usually costs less than pre-packaged trail mixes, even if the latter seem convenient.
It helps to prioritize snacks with multiple benefits—energy, nutrition, and taste—that last well on the trail. For example, oatmeal packets, peanut butter sandwiches, or homemade granola bars can satisfy hunger and keep costs down. Don’t overlook simple options: baby carrots or apples often do the trick and cost far less than packaged alternatives. You might wonder if buying inexpensive snacks means compromising on quality, but with some planning, that’s rarely the case.
Lastly, consider portioning your snacks into small packs before the hike. This reduces waste and temptation to eat more than necessary, which can be both costly and unhelpful mid-hike. It’s a step that adds little effort but really keeps your snack game on point and budget-friendly.
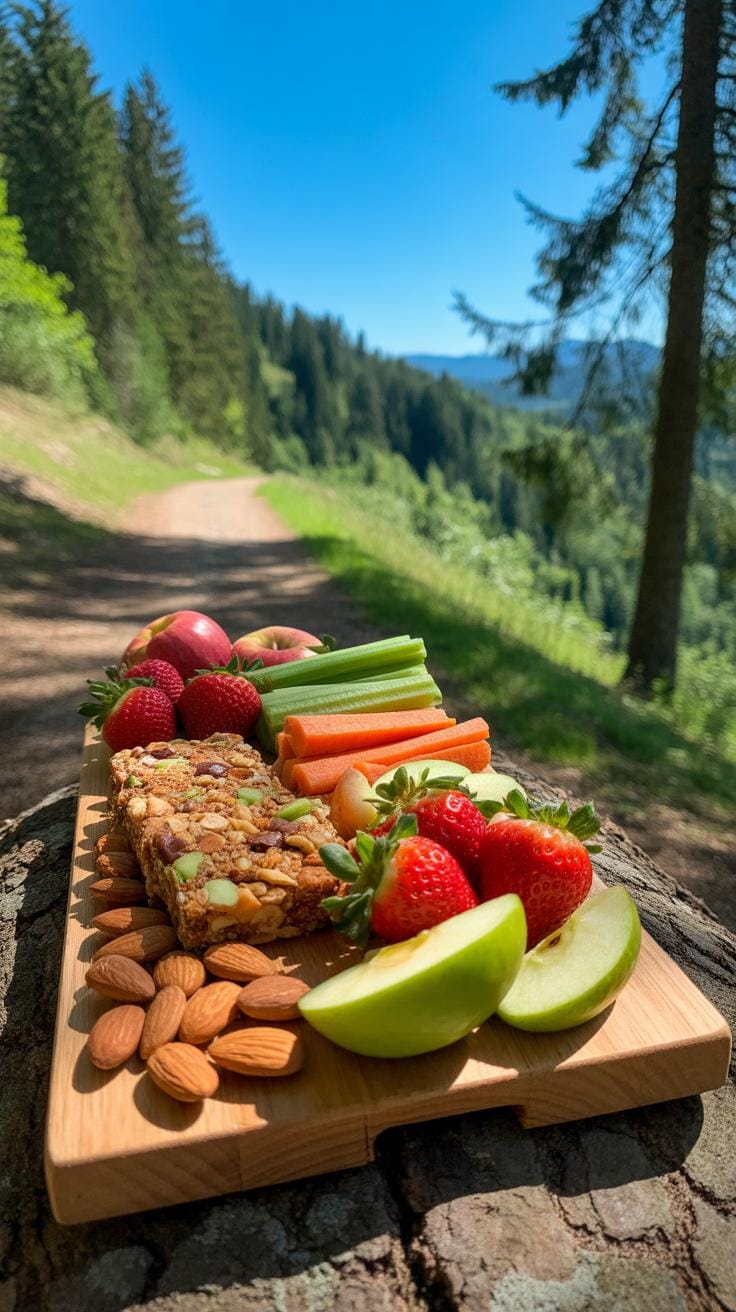
Examples Of Affordable Healthy Hiking Snacks
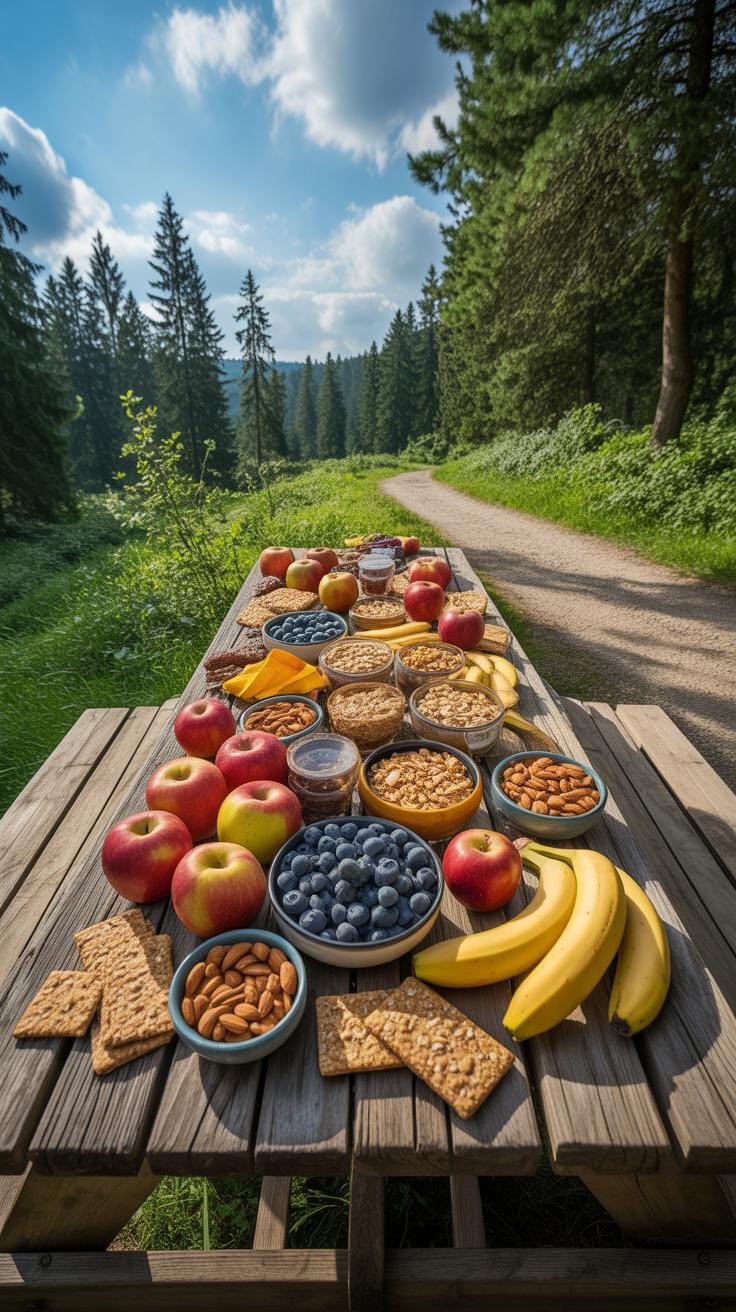
When it comes to snacks for hiking, finding something that’s both healthy and budget-friendly can feel tricky. But really, you don’t need fancy or expensive options to fuel your trail walks well. A balanced snack offers protein, carbs, and some vitamins—that keeps energy steady without breaking the bank.
Nut And Fruit Trail Mix Mixes
Trail mixes are a classic, and for good reason. You can make them almost entirely from bulk nuts and dried fruits, keeping costs quite low. Try these combos:
- Peanuts paired with raisins and dried apricots – peanuts offer good protein and the dried fruits add natural carbs plus some vitamin A.
- Almonds mixed with dried cranberries and banana chips – almonds bring healthy fats and vitamin E, cranberries add antioxidants, and bananas lend quick energy.
- Sunflower seeds combined with dried cherries and unsweetened coconut flakes – sunflower seeds provide magnesium, cherries add flavor, and coconut adds a bit of healthy fat.
Buying nuts and dried fruits in bulk or on sale can make these mixes really affordable. Plus, you can tweak amounts depending on what’s on hand or your taste that day—flexibility helps with budgets and boredom alike.
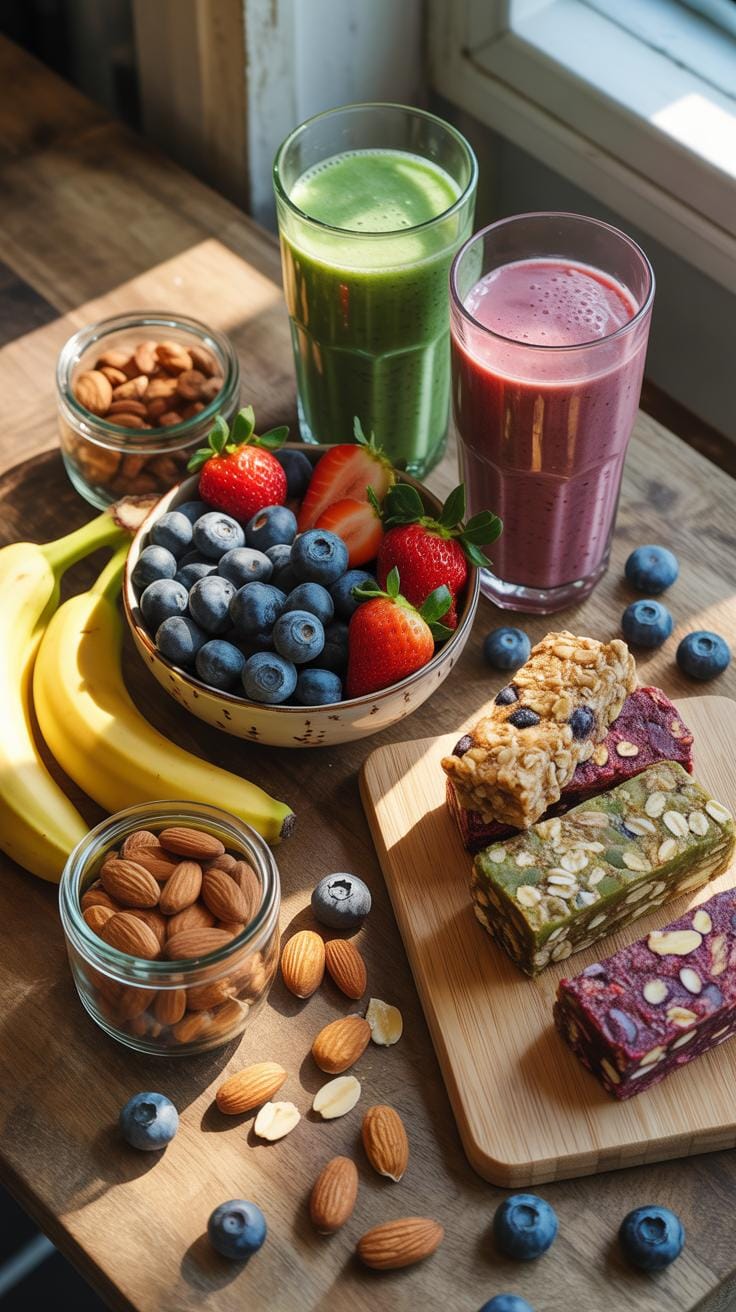
Homemade Energy Bars And Balls
Pre-packaged bars can get pricey and sometimes pack in sugar or fillers you don’t want. Making your own is surprisingly simple and cheap. Consider blending oats, peanut butter, and honey in basic recipes like:
- Oats (quick or rolled) mixed with peanut butter, a little honey, and chopped nuts, pressed into bars and chilled.
- Energy balls combining oats, peanut butter, honey, and handfuls of raisins or chocolate chips to satisfy cravings without overdoing sweetness.
These homemade snacks keep well and give you control over ingredients. I tried a batch using sunflower seed butter once—it cost less and was just as filling as peanut butter. Maybe experiment with what you’ve got in the pantry before buying more.
Are you someone who enjoys sweet or salty? Both versions work. It’s about finding what feels right for your energy needs on the trail while keeping the cost down. What’s your go-to hiking snack now? Maybe it’s time to mix it up.
Role Of Hydration With Hiking Snacks

When you’re out on the trail, snacks alone only tell part of the story. Hydration plays a crucial role in how your body uses those snacks. Eating without enough water can actually slow digestion and make you feel sluggish, which is the last thing you want when pushing up a steep incline.
It’s easy to overlook just how much fluids impact energy levels and muscle function during a hike. If your snacks provide quick energy—say, a handful of nuts or fruit—you’ll want water to help your body process those calories effectively. But grabbing water only isn’t always enough on longer hikes where sweat means electrolytes are lost.
Staying hydrated affordably can feel tricky but doesn’t have to be. Carry refillable bottles and fill up at reliable trail sources or visitor centers, which reduces cost and waste. A simple insulated bottle keeps water cooler longer, so you’re more likely to drink consistently throughout the day. Some hikers swear by small amounts of flavor—like a lemon slice or cucumber—to encourage sipping regularly.
Water Versus Sports Drinks For Hikers
Water remains the simplest and cheapest way to hydrate. It’s calorie-free, widely available, and does what it needs to—keeping you hydrated. For most short to moderate hikes, water is perfectly fine. But when hikes get intense or last several hours, electrolytes come into play, which is where sports drinks become tempting.
Sports drinks provide sugar and electrolytes like sodium and potassium, which replenish what you lose through sweat. They can boost endurance, especially in hot, humid conditions. On the downside, they cost more, contain extra calories that might not be necessary for everyone, and often come in single-use containers.
So, when should you pack a sports drink? Think longer hikes, heavy sweating, or if you’re prone to cramping. Otherwise, water plus salty snacks might cover your needs just fine—and for less money.
Simple Electrolyte Drink Recipes
Making your own electrolyte drinks is surprisingly simple and saves cash. With just a few kitchen staples, you can whip up hydration that rivals store-bought options.
- Lemon-Lime Electrolyte: Mix 1 cup water, 1 tablespoon fresh lemon or lime juice, a pinch of salt, and 1 teaspoon honey or maple syrup. Adjust sweetness and salt to taste.
- Orange and Salt Boost: Combine 1 cup orange juice (fresh or no sugar added), 1 cup water, a quarter teaspoon salt, and a little bit of sugar if desired.
- Coconut Water Variant: Half cup coconut water, half cup water, splash of lemon, pinch of salt. Adds natural potassium with low cost if you buy coconut water in bulk.
These recipes don’t require special ingredients. You can try them out at home before hitting the trail. The benefits? Control over sweetness, fewer additives, and a lighter wallet. Plus, they taste way better than you might expect from something homemade.
Tracking Snack Costs And Benefits

Keeping track of what you spend on hiking snacks might sound boring, but it’s surprisingly useful. You can start with a simple notebook or even a note app on your phone—jot down each snack you buy, its price, and where you got it. Over time, this log reveals patterns you may not notice otherwise, like repeated purchases of pricey bars or impulse buys at trailheads. I once found out I was spending twice as much on snacks buying small packets from convenience stores versus stocking up at the grocery store.
Don’t just record costs; note how your energy holds up on the trail after eating certain snacks. Did a bag of mixed nuts keep you going longer than a granola bar? Or did the cheaper energy bites leave you hungry quickly? You might find some snacks aren’t worth the cost if their boost fizzles fast. If your budget is tight, balancing between cost and actual energy gained becomes a bit like a personal experiment—tracking, testing, and adjusting as you go.
Ask yourself: Are you paying more for convenience, or is the snack genuinely giving you enough fuel? Over weeks, you’ll see which items bring you the best bang for your buck—and your legs. It’s not always clear-cut, and sometimes a pricier option may save you from having to buy more food later. But being mindful about your spending and energy can help keep both your wallet and your hike on track without any guesswork.
Conclusions
Choosing affordable and healthy hiking snacks is achievable when you understand where to shop, how to prepare your own snacks, and what nutritious ingredients to prioritize. You don’t need to spend a lot to fuel your hikes effectively. Simple items like nuts, dried fruits, and whole grain foods provide lasting energy.
By planning and preparing your snacks, you control both nutrition and cost. This approach supports your fitness goals while keeping your budget in check. Consider experimenting with homemade options and cost-saving shopping to make your next hike enjoyable and wallet-friendly.