Introduction
Refashion clothes on a budget is a smart way to save money while keeping your style fresh. Instead of buying new clothes, you can transform the ones you already have. This helps you avoid spending too much and also reduces waste. Many people want to look good without paying high prices, and refashioning is an answer.
In this article, you will learn why refashion clothes are a good choice, easy steps to update your wardrobe, what tools you need, common problems to avoid, and examples to inspire your creativity. You will find practical advice to get started today and keep your clothes stylish and unique.
Benefits of Refashioning Clothes

Refashioning clothes offers more than just a way to save cash—it’s a practical approach to reducing waste and showing off your unique style. When you breathe new life into old garments, you avoid spending on brand-new items that can quickly lose their appeal or sit unused.
Did you know the average person throws out about 81 pounds of clothes per year? That’s a lot of fabric ending up in landfills. Refashioning helps intercept that cycle by transforming what you already own. For example, turning a worn-out sweater into cozy mittens or reshaping oversized jeans into shorts cuts down the need to buy replacements.
Plus, this process lets you experiment with style without following mass market trends. Maybe you’re after a vintage touch or a bold twist no store sells. Refashioning lets your personality come through—sometimes better than new clothes because they carry a story, your story. So yes, there’s saving money, but there’s also something more personal at stake.
How Refashioning Saves Money
Think of refashioning as tuning your wardrobe instead of buying a whole new car. It cuts several usual costs:
- Buying new clothes. Refashioning puts your existing pieces first, which means fewer shopping trips and fewer impulse buys.
- Tailoring expenses. Instead of paying a tailor, basic sewing or simple adjustments can be done at home, saving fees.
- Dry cleaning. Some refashioned items can be treated at home with gentle washing—no pricey cleaning needed for every wear.
Materials like thread, patches, or fabric paint usually cost just a fraction of a garment purchase. Setting a modest budget for supplies helps you stay on track and avoids overspending on unnecessary new stuff. Even buying secondhand fabric scraps or leftover yarn can be cheaper than full clothes.
Environmental Impact of Refashioning
Fast fashion produces 92 million tons of textile waste each year, much of it polluting oceans or filling landfills. Refashioning interrupts this harmful flow. Every time you transform a piece instead of discarding it, you reduce demand for fresh fabric production, which involves water, chemicals, and energy.
Reusing fabrics means less dye runoff and fewer microfibers released during washing. It also encourages mindful consumption—you begin to see your clothes not as disposable but as raw material. This shift could add up collectively. If more people refashioned, imagine how much pollution and waste could be avoided.
So, while you might start refashioning just to save a few bucks, suddenly you’re connected to a broader effort. It’s a small step, but every altered cuff or redesigned shirt lessens your personal impact on the planet.
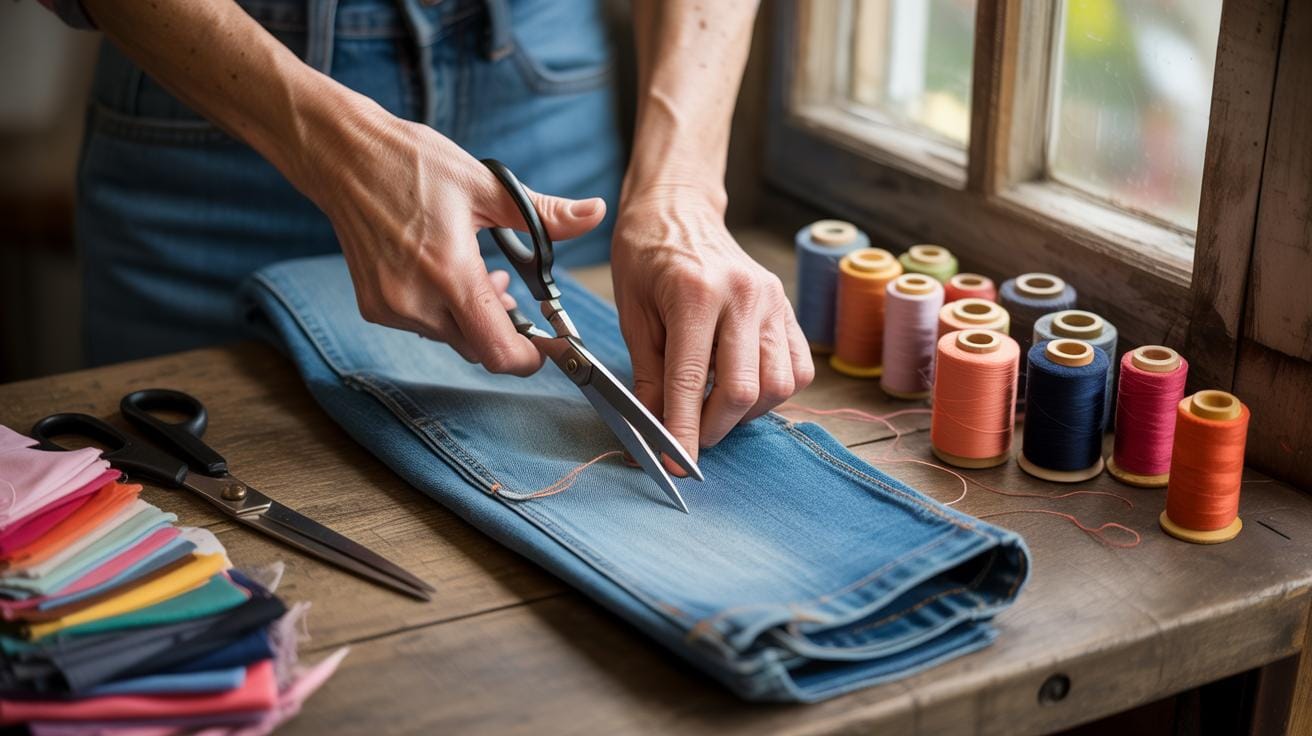
Tools Needed for Clothes Refashioning

When you start refashioning clothes, having the right tools really makes a difference. You’ll want reliable scissors—sharp fabric scissors, not paper ones—to make clean cuts. Cheap scissors seem fine at first, but they’ll frustrate you if they tug or leave rough edges. A measuring tape is crucial, too. It might feel basic, but guessing sizes rarely works well. I always keep one handy, and it’s surprisingly affordable at most craft or dollar stores.
Sewing needles and thread come next. Pick needles that suit your fabric type—thicker fabrics call for sturdier needles. Thread doesn’t have to be a huge set; just grab basic colors like black, white, and a neutral shade. Fabric glue offers a no-sew alternative for quick fixes or minor alterations, handy for those who avoid needles.
For budget options, thrift shops or clearance sales at fabric stores usually have what you need without breaking the bank. Online stores often offer starter kits at reasonable prices, but sometimes hunting local options is more satisfying—and cheaper.
Basic Sewing Tools Checklist
Here’s a simple list to get you started without overwhelming yourself:
- Fabric Scissors – For precision cutting of fabric only. Keep them sharp and separate from household scissors.
- Measuring Tape – Flexible and essential for accurate sizing adjustments.
- Sewing Needles – Hand sewing needles in various sizes. Usually a pack is cheap and lasts a long time.
- Thread – Basic colors and a couple of spools; polyester thread works well for most fabrics.
- Pins or Clips – To hold fabric pieces together while sewing or gluing.
- Fabric Glue – A quick fix when sewing isn’t an option; look for washable and flexible formulas.
Try not to buy everything at once. Start with scissors, needles, and thread—you can add more as you take on new projects.
Optional Tools to Enhance Refashioning
If you find yourself enjoying refashioning and want to take it further, some extra tools make the process smoother. A sewing machine, for example, speeds things up drastically, although it’s an investment. Used machines can often be found at thrift shops or online at reasonable prices. Specialty scissors—like pinking shears for preventing fraying—are handy too, but not necessary right away.
Patterns help to plan and visualize your redesign. You can find free downloadable templates online or buy inexpensive paper ones from craft stores. They add structure but can feel restrictive if you prefer a more freestyle approach. I’ve played with patterns sometimes and tossed them aside other times, depending on the project.
These additional tools aren’t essential but can open doors to more ambitious refashioning. If budget’s tight, maybe wait until you’re sure you’ll use them regularly. On the other hand, trying something new with upgraded tools might just spark your creativity in unexpected ways.
Common Refashioning Techniques Explained
When it comes to refashioning clothes, a few techniques pop up often because they work well and don’t demand too many tools. Let’s talk about some popular methods like hemming, resizing, adding patches, dyeing, and embellishing—and where you might want to try each.
Hemming and Resizing Clothes
Hemming is probably the simplest way to adjust clothing, especially if your jeans are too long or a skirt drags on the floor. You’ll want to measure carefully—fold your fabric, pin it, then double-check the length before cutting or sewing. Sewing the hem neatly takes practice; some people find a sewing machine helps, but hand sewing can work if you don’t mind taking your time.
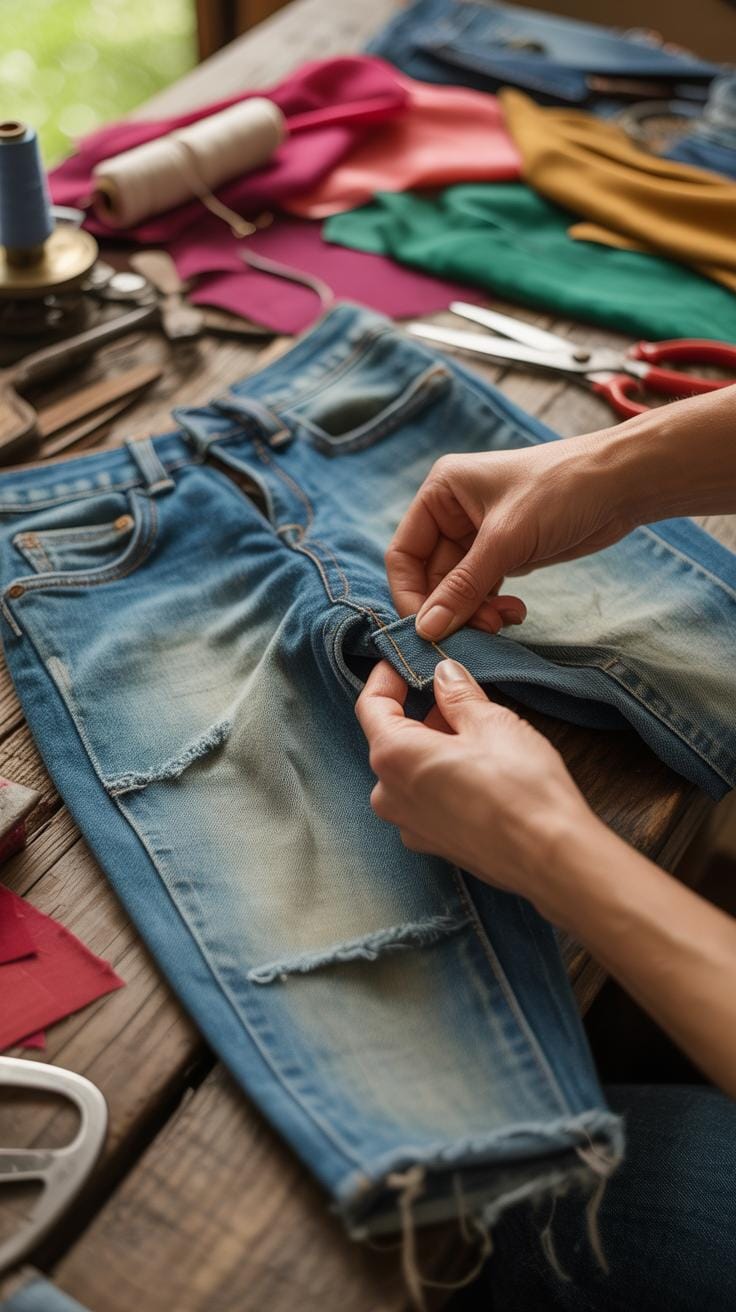
Resizing can be trickier. For example, taking in a loose shirt or letting out a seam in pants involves a bit more skill. You often need to undo some existing stitches, adjust the fabric, and sew it back carefully. If you’re not confident, start with simple areas like side seams before trying more complicated changes like altering shoulders or armholes.
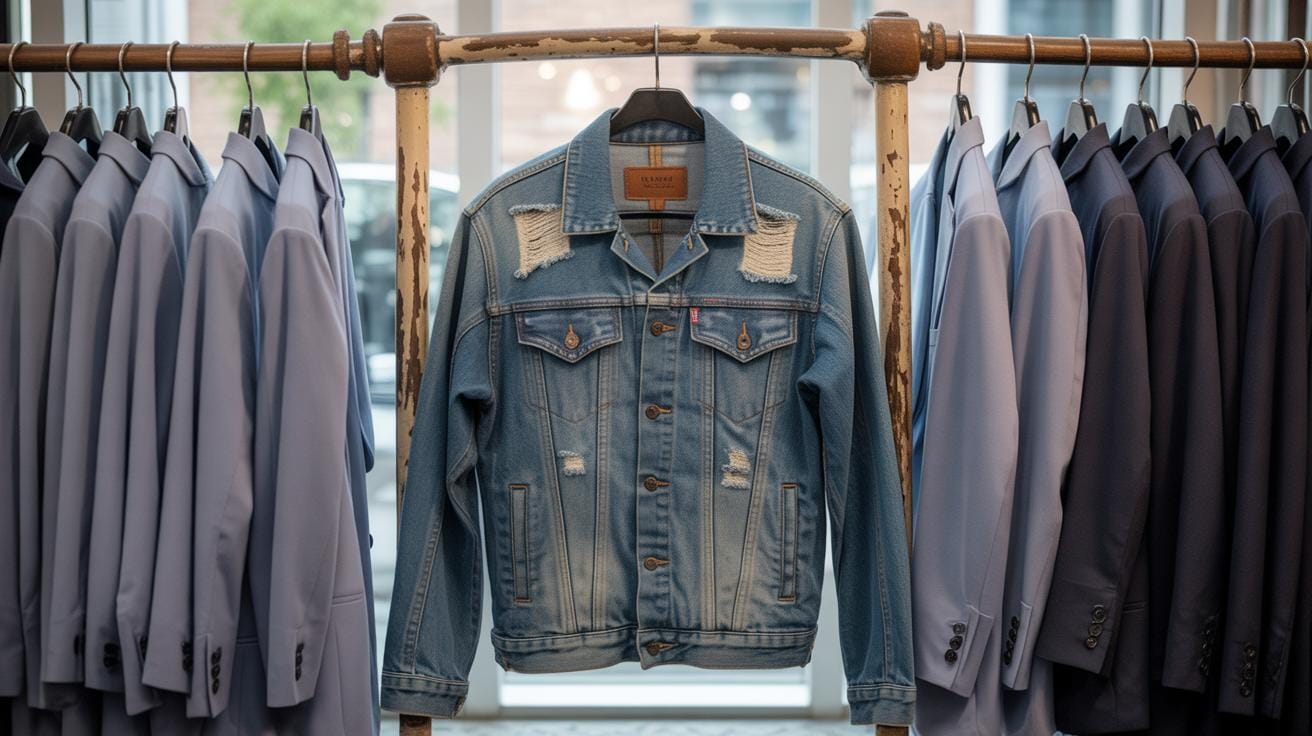
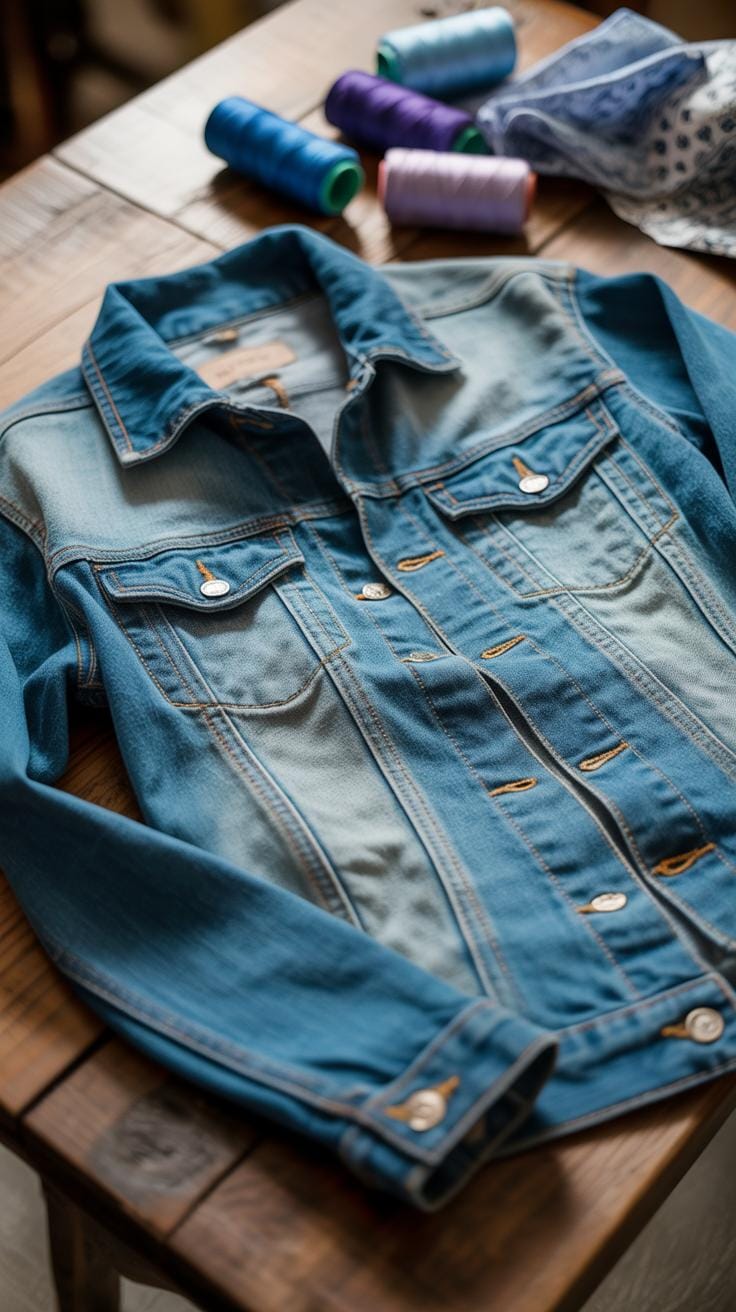
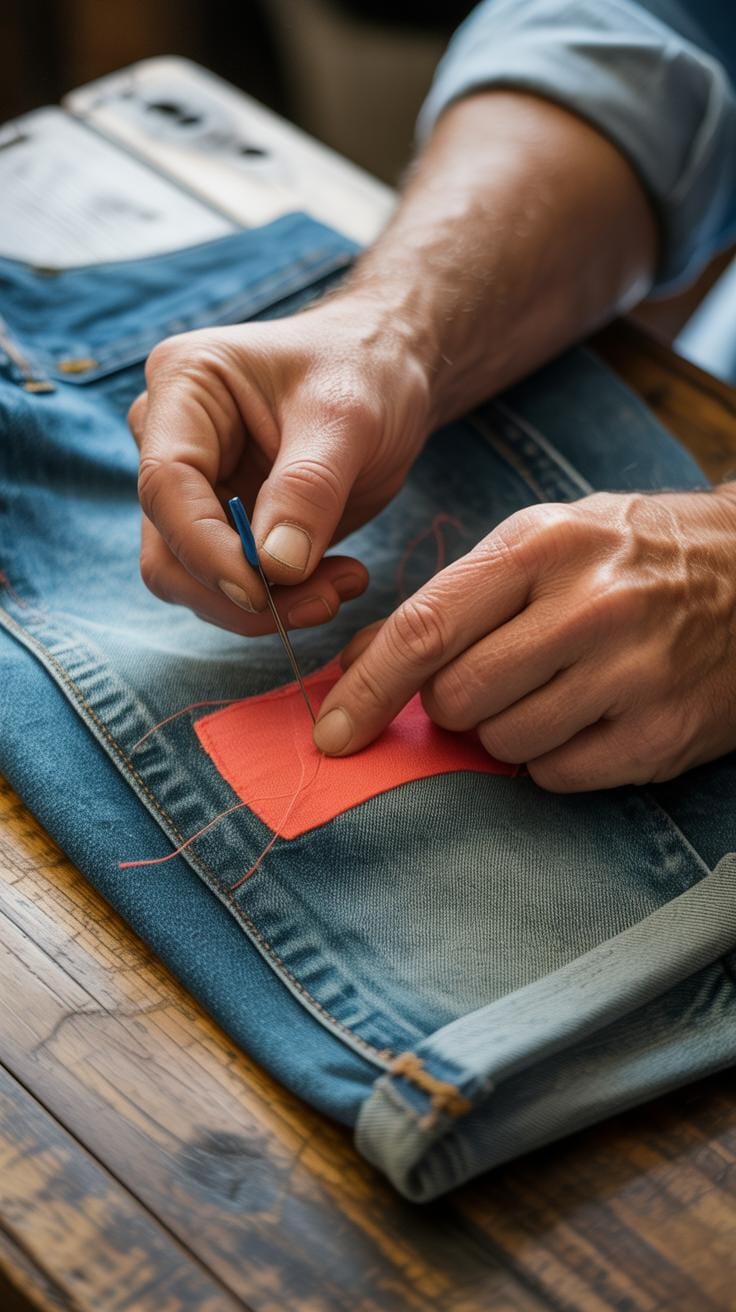
Adding Patches and Embellishments
Adding patches is great for covering holes or stains—and it’s a fun way to personalize a piece. You might sew on a denim patch over a torn elbow or iron on a colorful patch to brighten a plain jacket. Embellishments, like embroidery or fabric paint, do a similar job but can make clothes strictly yours. I once added small floral patches on a plain tote bag, and it suddenly looked way more interesting, even if the bag itself was old and worn.
Sometimes you want to add beads, studs, or buttons for a bit more flair. These can change the vibe of a top, turning something basic into a statement piece. Just watch how much you add, or the garment might get heavy or uncomfortable.
Each method works best with different goals. Hemming and resizing fit when you want better fit and comfort. Patches and embellishments shine when your goal is to hide damage or boost personality. Have you tried any of these techniques yet? What worked—or didn’t?
Step by Step Refashion Projects for Beginners
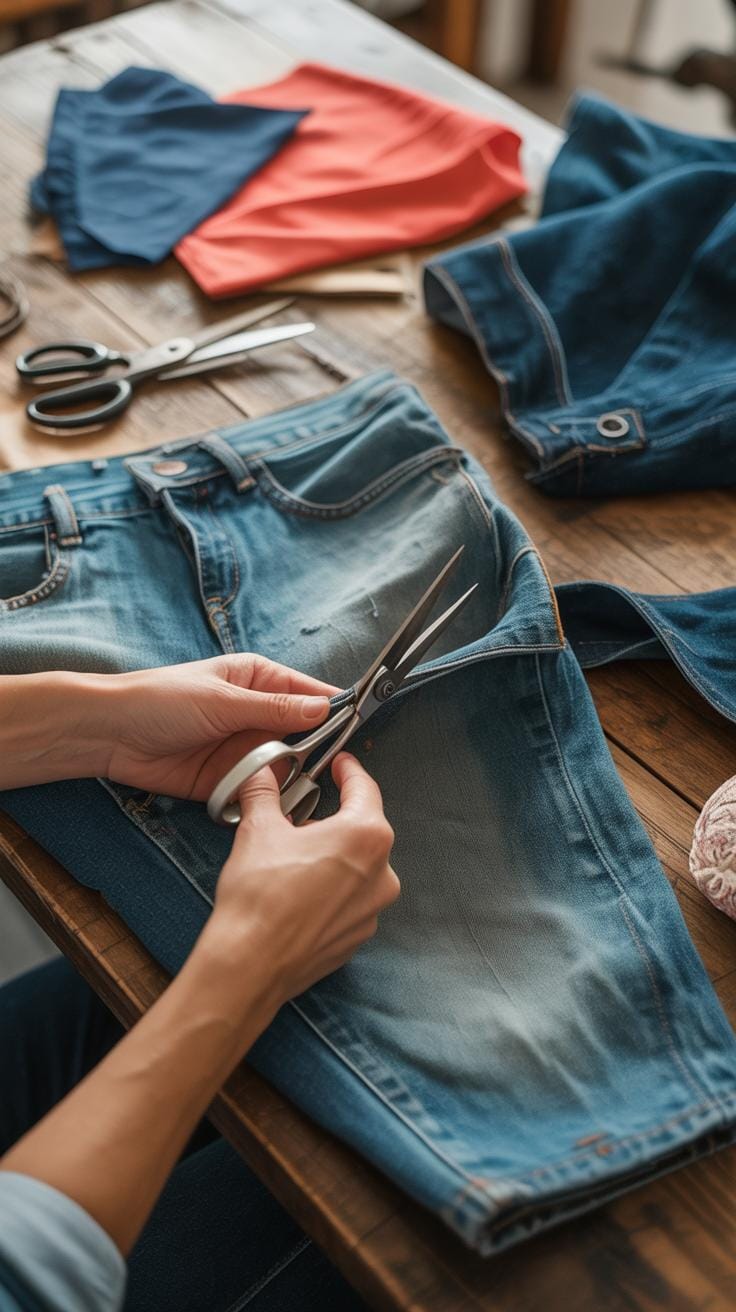
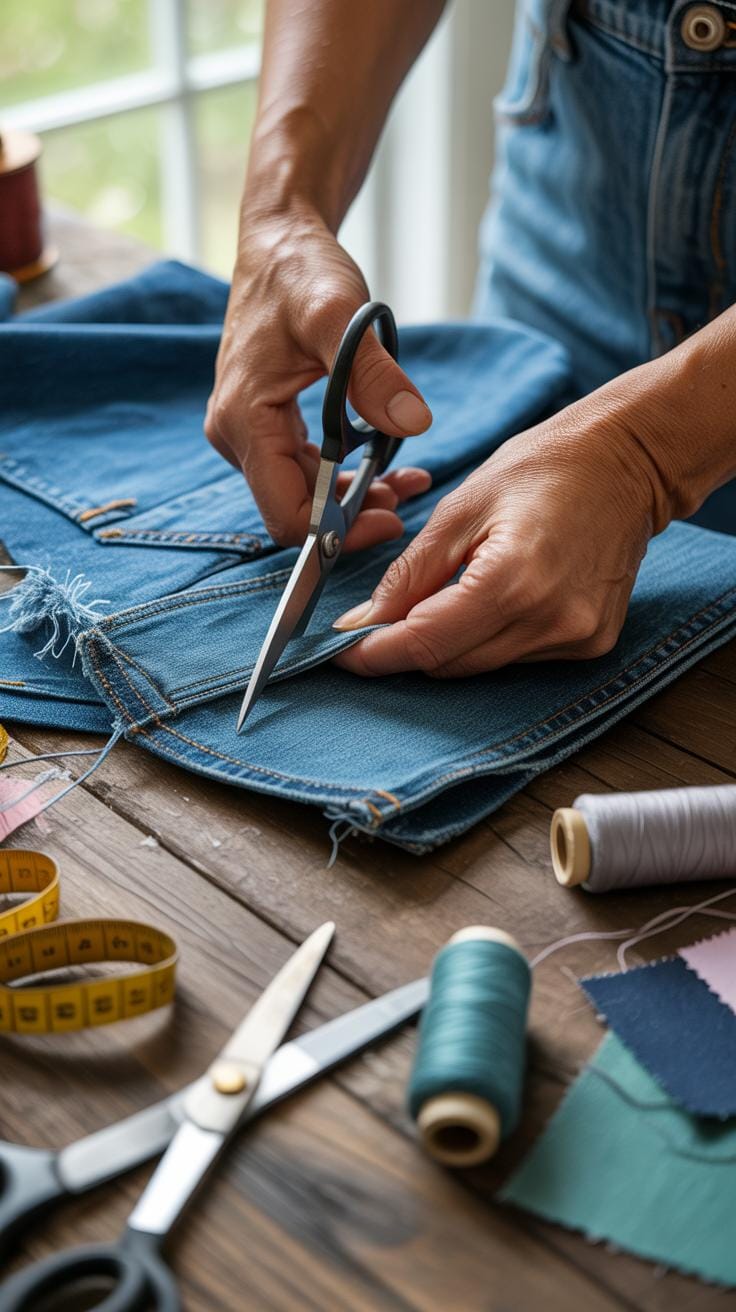
If you have a pair of old jeans lying around, turning them into shorts is a straightforward way to refresh your look without spending much. Start by trying on the jeans and deciding how short you want them—maybe just above the knee or a bit higher if you’re feeling bold. Mark the spot with chalk or a fabric pen. Then lay them flat on a table and draw a straight line across both legs. Cut carefully, keeping the edges uneven if you want a frayed look.
Next, fold the edges inwards about half an inch and pin them in place. If you’re sewing by hand or machine, a simple straight stitch works fine. You may skip the hemming for a raw, casual style, but a quick sew gives durability. Washing them afterward will help the edges fray naturally if you left them unhemmed.
For adding lace trim to a plain top, first measure the area where you want the lace—usually along the hem or sleeves. Cut the lace a little longer than this measurement to avoid tightness around curves. Pin the lace carefully to prevent shifting as you sew. Using a needle and matching thread, stitch along the lace edges slowly, checking the alignment often.
It might feel fiddly, especially if you’re new to sewing, but keep going. Attaching lace can instantly change a basic shirt into something more delicate or dressy. Playing with lace color and placement could surprise you—why not try a contrast? Both these projects take just a few hours and cost almost nothing but can really lift your wardrobe.
Common Mistakes to Avoid When Refashioning
Refashioning clothes can be rewarding, but it’s easy to slip into some typical mistakes that derail your efforts. One common error is cutting too much fabric at once. It’s tempting to dive in and transform a piece quickly, but overcutting leaves you no room for adjustments. I remember rushing on a blouse I liked and, well, let’s just say it became an unwearable mess because I got ahead of myself.
Mismatching materials can also spoil your project’s harmony. Combining fabrics with very different textures or weights often leads to discomfort or awkward shapes. You might end up with a garment that looks uneven or feels odd to wear.
Another pitfall is rushing the entire process. When impatient, stitching or fitting mistakes happen. You might overlook small problems that would be easy to fix if you took a bit more time, but add up to frustration later.
Measuring Twice Before Cutting
This advice isn’t just a cliché—it really matters. Measuring carefully can save you from wasting fabric or ruining a favorite item. When you double-check measurements before cutting, you avoid cutting pieces that won’t fit or look right. Sometimes, even when you’re confident, it’s worth pausing and remeasuring to be sure. It’s a small step that prevents big regrets.
Choosing Suitable Fabrics and Materials
Picking the right fabric is more than just about color matching—though that’s key, too. The type of fabric influences how your refashioned piece will drape and wear over time. Combining a heavy material with a light, fragile one often creates imbalance. That can mean the final piece feels uncomfortable or looks odd in the movement.
Think about how each material behaves. For example, stretchy fabrics mixed with rigid ones might pull or bunch strangely. Also, colors might clash unexpectedly when fabrics reflect light differently. Sometimes it takes a few tries to find a combination that actually works well together. Don’t rush the selection—you might end up wishing you did.
Comparing Refashioning and Buying New Clothes
When you think about refashioning clothes instead of buying new ones, the costs immediately jump to mind. Refashioning typically involves small expenses like thread, buttons, or patches, which might add up to $10 or $20 for a few projects. In contrast, a new shirt or dress from a store often starts around $30 and can go much higher. Over time, those small DIY expenses can save you a lot, especially if you enjoy tweaking several items rather than replacing your entire wardrobe.
For example, turning an old pair of jeans into shorts or adjusting a worn-out sweater can cost less than buying something fresh. But, it’s not just about money; the environmental impact also matters. Refashioning reduces waste and the demand for new production, which means fewer resources used and less pollution. That might not be obvious until you calculate how much energy and water goes into making new clothing.
On style, refashioning offers something new stores can’t easily match. Garments get a second life with unique cuts, added embellishments, or personal touches that stand out. Mass-produced clothes might look fine, but they rarely offer that sense of individuality. So, if you want your wardrobe to reflect your creativity and personality, refashioning can do that better than picking the latest retail release.
Creative Ideas to Inspire Your Refashion Projects

Mixing fabrics can really change the whole vibe of a piece, making something old feel fresh. Imagine taking a denim jacket and replacing just the sleeves with a softer fabric like cotton or even a light knit. It adds contrast in texture and sometimes even color, giving a simple jacket a totally new personality. I once swapped out the cotton sleeves of an old flannel shirt for a velvet fabric I had lying around—it quickly became my go-to cozy top. You don’t have to stick to similar fabrics either; sometimes the unexpected combos, like pairing leather with lace or linen with satin, catch people’s attention because they challenge what we expect to see together.
Patterns offer another chance to mix things up. If you have a plain skirt, sewing a band of floral or striped fabric at the hem can make it pop. I tried this with a basic black skirt, adding a colorful scarf as a trim, and wore it through summer and fall just by swapping simple shoes and tops. It’s a small change that really changes the outfit’s mood.
When it comes to seasonal updates, small adjustments go a long way. Adding detachable sleeves or simple liners can make dresses survive through colder months. One friend of mine turned a summer dress into a fall favorite by sewing on a layer of lightweight jersey sleeves—she told me it felt like getting twice the use out of one garment. Sleeve additions aren’t the only trick: layering can transform too. Wearing a thin turtleneck or a shirt underneath a sleeveless dress refreshes the piece for winter without expensive buying.
So, maybe you have a favorite old shirt just waiting for some fresh ideas. What if adding a few patches, playing with texture, or swapping out parts makes it new again? It’s easy to get overwhelmed, but sometimes a small step—like changing the fabric in one panel or adding a removable collar—can feel surprisingly rewarding and a tiny rebellion against fast fashion.
Maintaining Refashioned Clothes for Longevity
Keeping your refashioned clothes looking good for longer often depends less on the initial makeover and more on how you treat them afterward. Washing is a common culprit for wear and tear, especially when seams have been altered or delicate fabrics combined. Try to wash these pieces gently, using cold water and a mild detergent whenever possible. Hand washing is ideal, but if that feels like too much, use the delicate cycle on your machine and skip the spin cycle to avoid strain on those patched or resewn areas.
Storage plays a tricky role too. Hanging refashioned garments can help keep their shape, but some heavier items might stretch if left on thin hangers. Fold heavier sweaters or reshaped tees carefully to prevent new wrinkles or stress in altered parts. Also, consider how you organize your closet; stuffed clothes can cause unnecessary friction and damage seams you’ve just fixed.
Care Tips for Refashioned Clothes
- Use cold water and mild detergent to avoid fabric breakdown or color fading.
- Prefer hand washing or delicate cycles and air dry flat to preserve shape.
- Avoid wringing or twisting clothes; it’s rough on new stitches and fabric.
- Store refashioned clothes on padded hangers or folded neatly to keep their form.
- Keep your closet uncluttered to reduce friction and snagging against other items.
Easy Repairs to Extend Wear
Minor repairs can feel tedious but pay off by giving your clothes a second, third, or even fourth life. Fixing loose seams is usually just a matter of reinforcing the stitch line. If you don’t sew, fabric glue or iron-on patches can also hold things together temporarily. Buttons often come loose or fall off after refashioning. Keep a small kit with extra buttons, a needle, and matching thread handy. These small fixes might seem obvious, but they really do save you from replacing an entire garment sooner than necessary.
Sometimes you might hesitate to bother with repairs, thinking, “Will it look right after?” Often, it does more than you expect. Even if the fix isn’t perfect, it keeps your piece wearable and personal. Why discard something that just needs a little care?
Conclusions
Refashioning clothes lets you save money and express your style in creative ways. You don’t need to buy new clothes to have a fresh wardrobe. By using tools and following simple steps, you can make old clothes look new and fit better. This approach supports saving resources and cutting down fashion waste.
Remember to plan your projects carefully, choose the right materials, and enjoy the process. Each refashion project is a chance to learn and improve your skills. By trying the ideas and tips shared here, you will create clothes that are both stylish and budget-friendly.