Introduction
Portrait photography captures the personality and style of a person or group using thoughtful lighting, poses, and settings. This article provides practical and stylish photoshoot inspiration tailored for portrait photographers looking to develop unique and compelling images.
You will learn how to apply professional lighting setups, select effective backgrounds, and explore creative concepts that make portraits stand out. These ideas serve both beginners and experienced photographers aiming to enhance their portfolio with fresh, actionable tips.
How To Use Lighting For Portraits

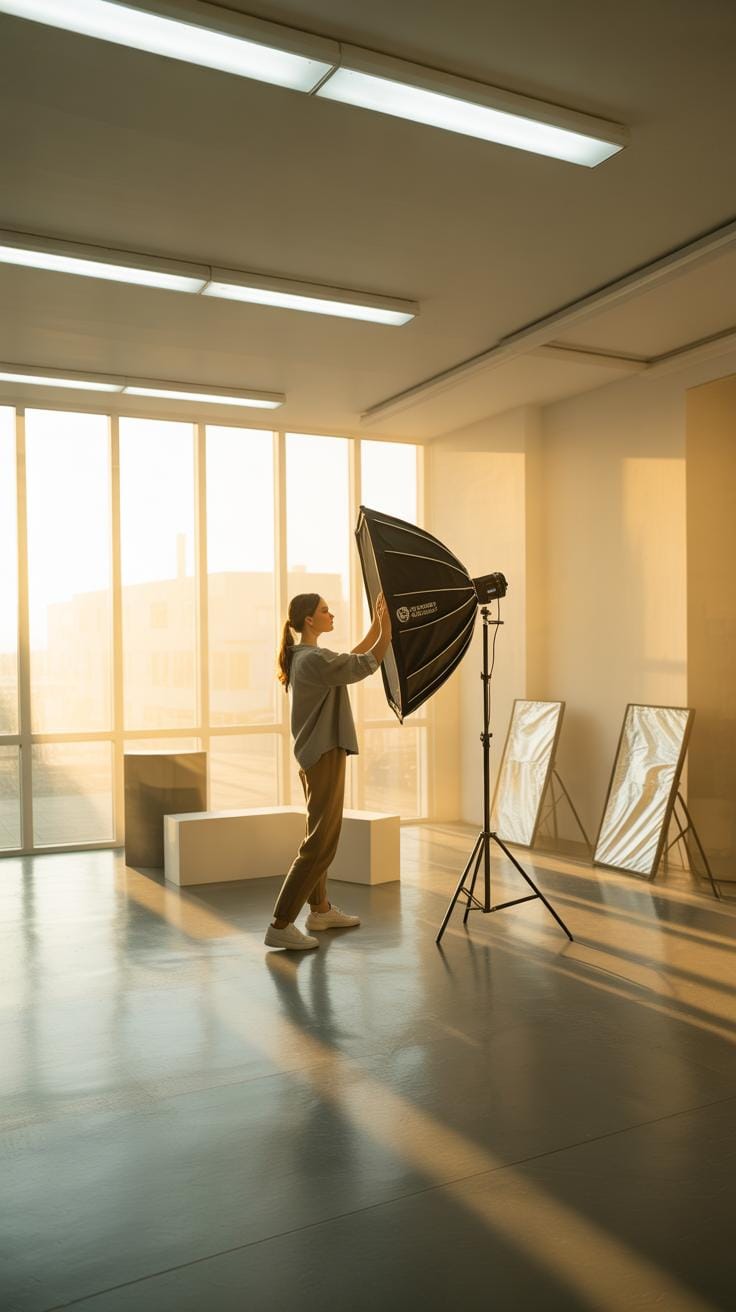
When you begin experimenting with portrait lighting, the classic three-point lighting setup is a great place to start. It involves three essential lights: the key light, fill light, and backlight. The key light is your strongest source, typically positioned at an angle to one side of your subject, setting the overall lighting tone. Then there’s the fill light, softer and placed on the opposite side, which helps soften shadows created by the key light. Without the fill, you might end up with harsh shadows that can sometimes feel a bit too dramatic for casual portraits.
The backlight, or hair light, is like the secret weapon. It hits the subject from behind, giving a subtle rim that defines them against the background, adding depth to your image. For instance, when shooting outdoors on a sunny day, the sun can act as a natural backlight, highlighting hair and shoulders beautifully.
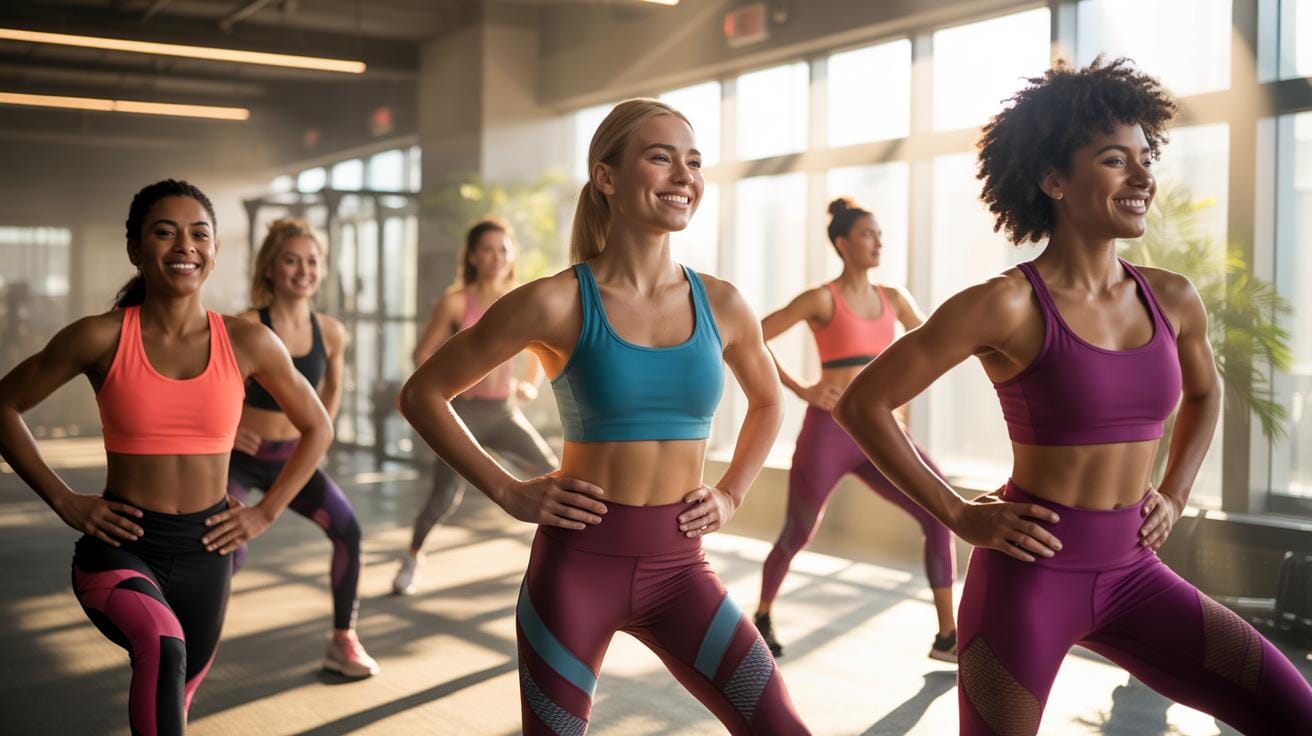
Lighting style also plays a big role in mood. High-key lighting uses bright, even illumination with minimal shadows, often creating a cheerful or clean vibe. Think of fashion shoots or corporate headshots where everything looks polished and airy. Low-key lighting, conversely, leans into shadows and contrast, giving portraits a mysterious or intense mood—like in dramatic movie posters or fine art portraits. Both styles pull out different facial details and emotions, so how you pick your lighting can completely change the story your photo tells.
Pick Backgrounds That Enhance Style
Choosing the right background for a portrait can shift the entire mood of your photo. Look for options that complement the subject’s style rather than compete with it. A plain backdrop can work wonders to focus attention, but sometimes textured or environmental backgrounds add more character.
Consider color carefully: does the background contrast enough with attire and skin tone? You want the subject to pop, not blend in. Yet, too strong a contrast might draw the eye away. It’s a delicate balance, and honestly, you might have to experiment a bit to find what clicks.
Be wary of distractions—patterns or bright objects in the background can pull focus. If the texture or items in the background add to the story, great. Otherwise, simplicity often wins. Remember, the goal is enhancing style, not overwhelming it.
Use Plain Backgrounds For Focus
Simple backgrounds can be a real gift. A solid color—be it white, black, or a muted tone—helps highlight your subject by stripping away visual noise. I find this especially useful when the subject wears something intricate or colorful themselves.
When picking colors, think about the skin tone and outfit hue. Light backgrounds can brighten shadows but might wash out paler skin tones. Dark backgrounds add drama but can hide subtle details. If unsure, mid-tone hues often strike a decent middle ground.
Plain backgrounds let you control lighting and shadows without interference. They create a clean canvas that tells the viewer exactly where to look. It’s minimalism with purpose.
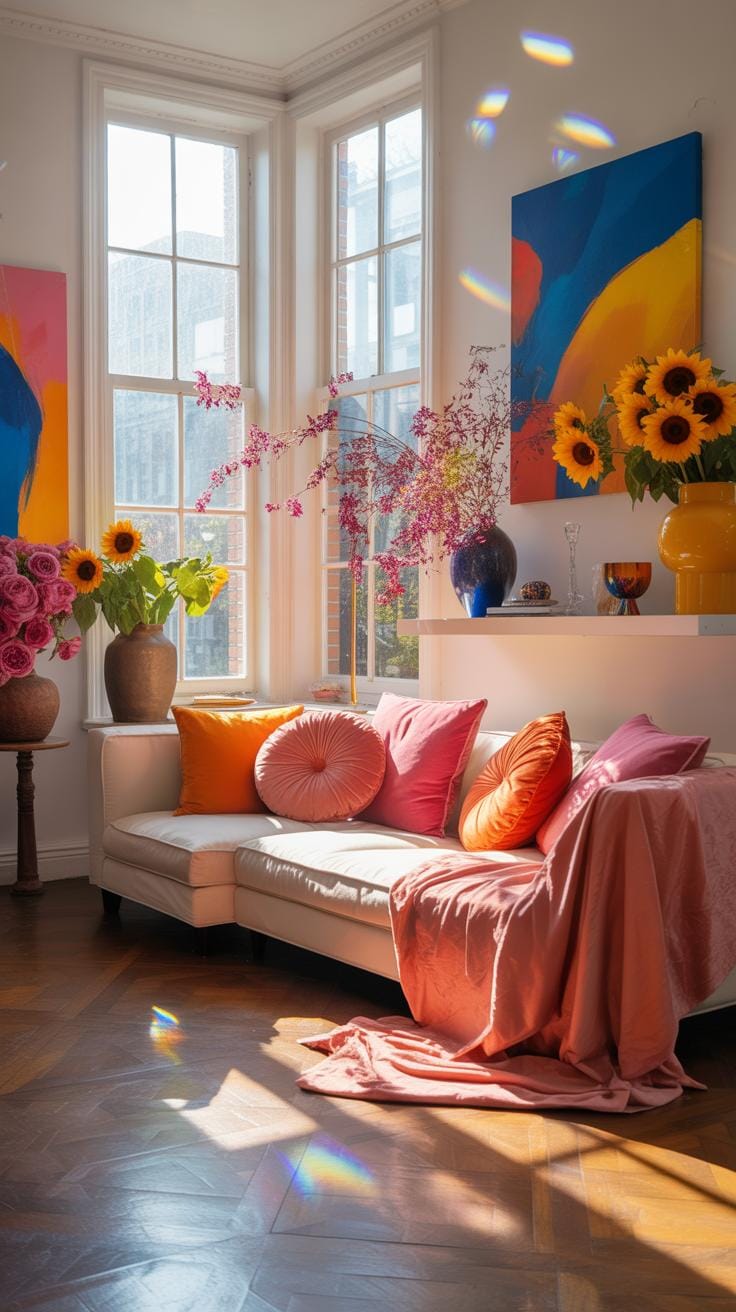
Integrate Environmental Backgrounds
Sometimes, the setting itself becomes a character. Environmental backgrounds—like a bustling café, a quiet street, or even a meaningful room—can add layers to your portrait. They don’t just sit behind the subject; they tell part of the story.
Including objects in the frame can hint at personality, history, or mood. Yet, it’s tricky to avoid clutter. The key is to choose locations and props that resonate with the subject’s style and the shoot’s concept.
Environmental shots can ground the portrait in reality or create intriguing contrasts between subject and setting. They invite viewers to linger, piecing together the narrative behind the image.
Plan Your Poses And Angles
Guiding your subject to pose naturally can feel a bit tricky, but it’s often about encouraging them to relax and try a few things out. You might ask them to shift their weight slightly or tilt their head — even subtle moves make a big difference. For a joyful mood, suggest playful stances like looking back over a shoulder or hands in pockets. For something more serious, a strong stance with arms crossed or a contemplative gaze downward might work well.
Suggest Simple Poses For Comfort
To keep subjects at ease—especially beginners—start with simple, grounded poses. For example, standing with feet hip-width apart and one foot slightly forward feels balanced. Hands can rest lightly on hips, brushes through hair, or loosely held in front. Seated poses with relaxed shoulders and crossed ankles can also help. These options reduce tension and create more authentic expressions, even if they seem basic at first.
Explore Angle Variations For Impact
Changing camera angles can transform a portrait dramatically. Shooting from slightly above eye level softens features and adds a hint of vulnerability. Shooting from below can make subjects seem more powerful or authoritative. Even rotating the subject’s face slowly toward or away from the lens alters shadows and highlights, producing different moods. These variations invite a playful exploration of perspective, helping you find what best highlights your subject’s unique presence.
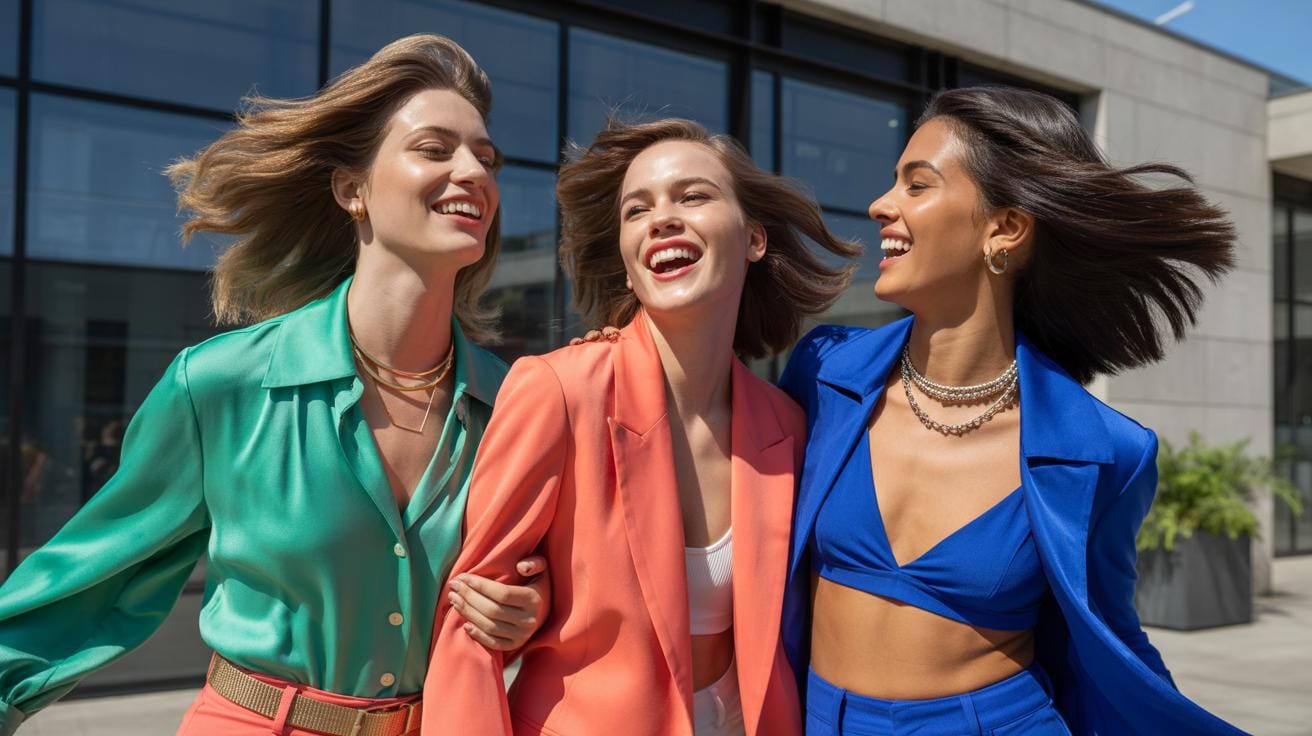
Choose Outfit Colors To Pop
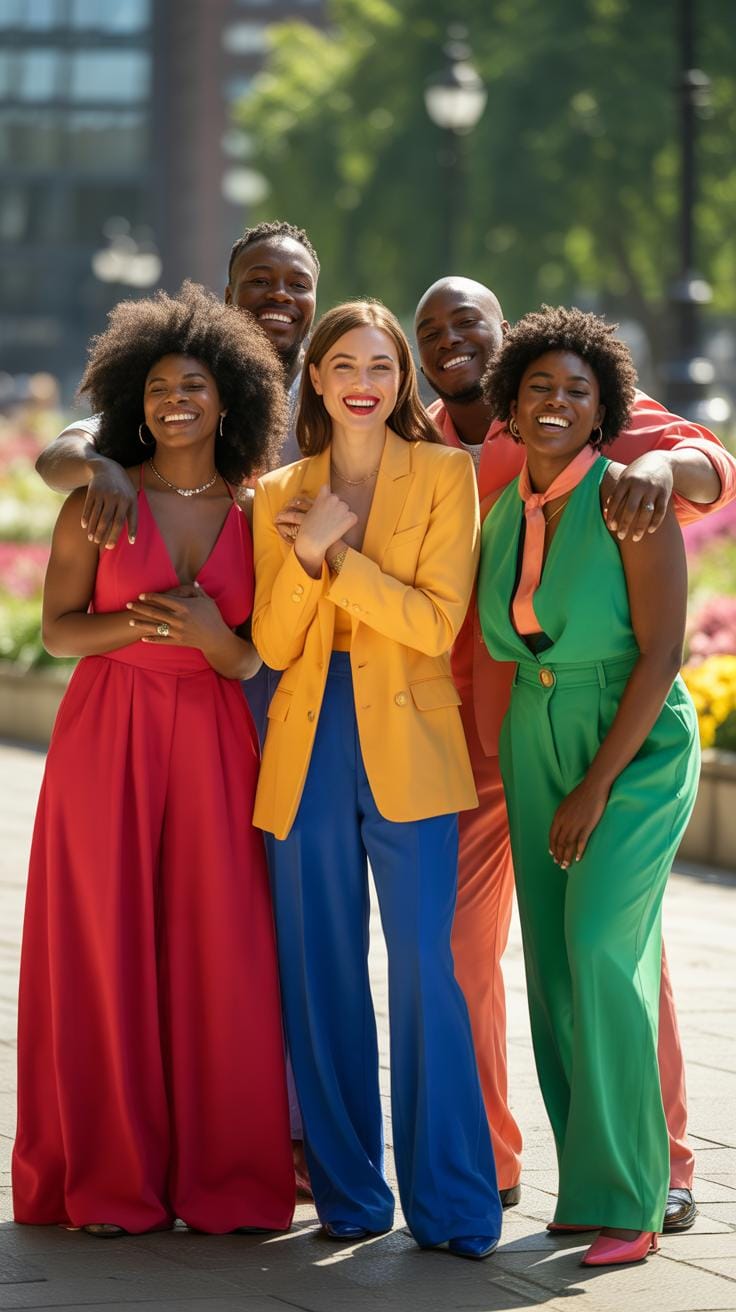
When planning your outfit colors for a photoshoot, especially portraits, think carefully about how they will interact with the lighting and background. Bright, saturated colors can really pop against neutral or muted backgrounds but might overpower a vibrant, busy setting. Conversely, soft pastel tones might get lost if the background is too colorful or chaotic.
Color coordination in photography typically leans on principles of contrast and harmony. For instance, complementary colors (those opposite on the color wheel, like blue and orange) can make features stand out sharply. But sometimes a softer, analogous palette (colors next to each other on the wheel) creates a more blended, cohesive look—less jarring, more subtle.
It’s a bit of a balancing act. You don’t want your subject’s outfit to disappear into the background, but at the same time, clashing colors can distract the viewer or make the portrait feel disjointed. So, consider the quality of light too; warm natural light calls for different color choices than harsh studio lighting.
Coordinate Clothing With Background
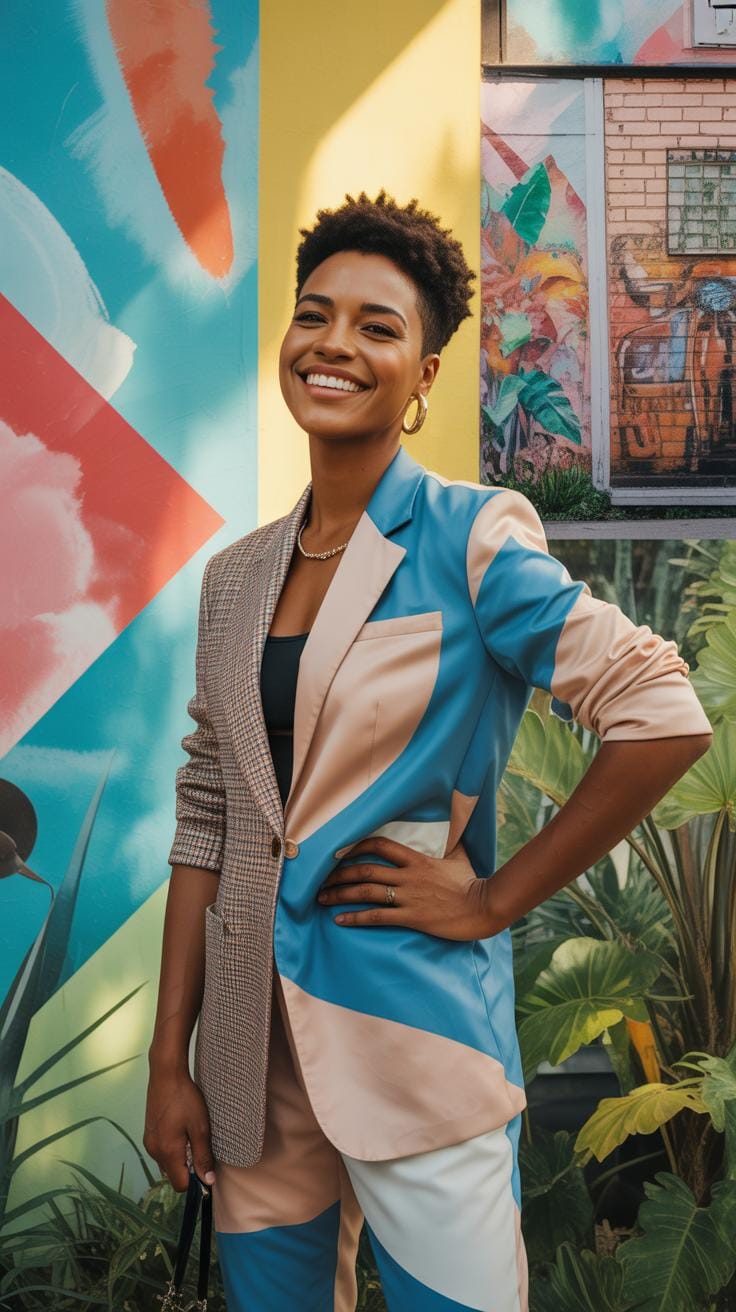
Matching or contrasting outfits with backgrounds is an intuitive way to guide the viewer’s eye in a portrait. Matching tones can create a serene, balanced feel but might risk the subject blending in too much. On the other hand, bold contrasts immediately attract attention—they’re striking but can feel a bit aggressive or unnatural if not done thoughtfully.
Using the color wheel as a reference helps here. For instance, if your background is a lush green park, wearing shades of red or burgundy might highlight the subject nicely due to the complementary contrast. If shooting against an urban gray wall, an outfit in vibrant yellows could lift the mood and create a visual spark.
Pick Colors For Skin Tones
Colors tend to interact differently depending on one’s skin tone—this isn’t always addressed but making the right choice can genuinely enhance the portrait’s appeal. Generally, cool skin tones look good in jewel tones like sapphire or emerald, while warmer skin tones compliment earth tones like rust and olive.
Consider the subtle undertones of your subject’s skin; they sometimes shift during shoots under different lighting—making a color choice that looked perfect on paper feel off in reality. Testing colors is a good idea, but also trust your eye and the mood you want to create.
Select Equipment For Best Results

When it comes to gathering gear for your portrait shoot, the choices can seem overwhelming, but it really boils down to what fits your budget and style. For cameras, many hobbyists find DSLR or mirrorless models in the mid-range price bracket deliver solid image quality without the heavy investment. Think brands like Canon EOS Rebel or Sony Alpha series. They’re flexible and user-friendly.
Regarding lenses, prime lenses often get the nod for portraits. A 50mm or 85mm prime can create that desirable background blur—what photographers call bokeh—making subjects pop. Zoom lenses offer versatility but might sacrifice a bit of sharpness or aperture depth, so your choice depends on whether you want range or richness in your shot.
Reflectors and diffusers might seem like minor details, but they drastically influence your lighting game. A simple silver or white reflector can bounce natural light into shadows, softening harsh contrasts. Diffusers help spread the light more evenly, especially with artificial sources, preventing overexposed highlights. These tools are affordable and easy to carry—perfect for fresh photoshoot ideas without breaking the bank.
Create Mood With Color And Light
Color temperature plays a subtle role in how your audience feels about a portrait. Warm lighting, with its orange and red hues, suggests comfort or intimacy. Cool lighting, leaning blue or green, often reads as calm or distant. You may find the mood shifts noticeably with just a few tweaks in light color.
White balance is key. It controls how the camera interprets these colors and can tilt your image towards warmer or cooler tones. Manually adjusting white balance allows you to align the photo’s mood with your artistic intent, whether you want to deepen shadows or brighten skin tones.
Colored gels offer an easy way to experiment. Placing gels over your light sources can add unexpected flair—red for passion, blue for melancholy, or green for edginess. You might even mix gels to create nuanced moods. It’s about layering color to reinforce your story.
When I first started using gels, I was surprised how just a small touch of color transformed a standard portrait into something memorable. It’s not just about making things look pretty but about evoking emotion, sometimes subtly, sometimes boldly.
Do you find yourself sticking to natural light because artificial setups feel too staged? Try this out next time: mix a warm gel with daylight-balanced bulbs and play with white balance. Notice any difference in how your viewer connects with the image?
Edit Photos For Final Touches
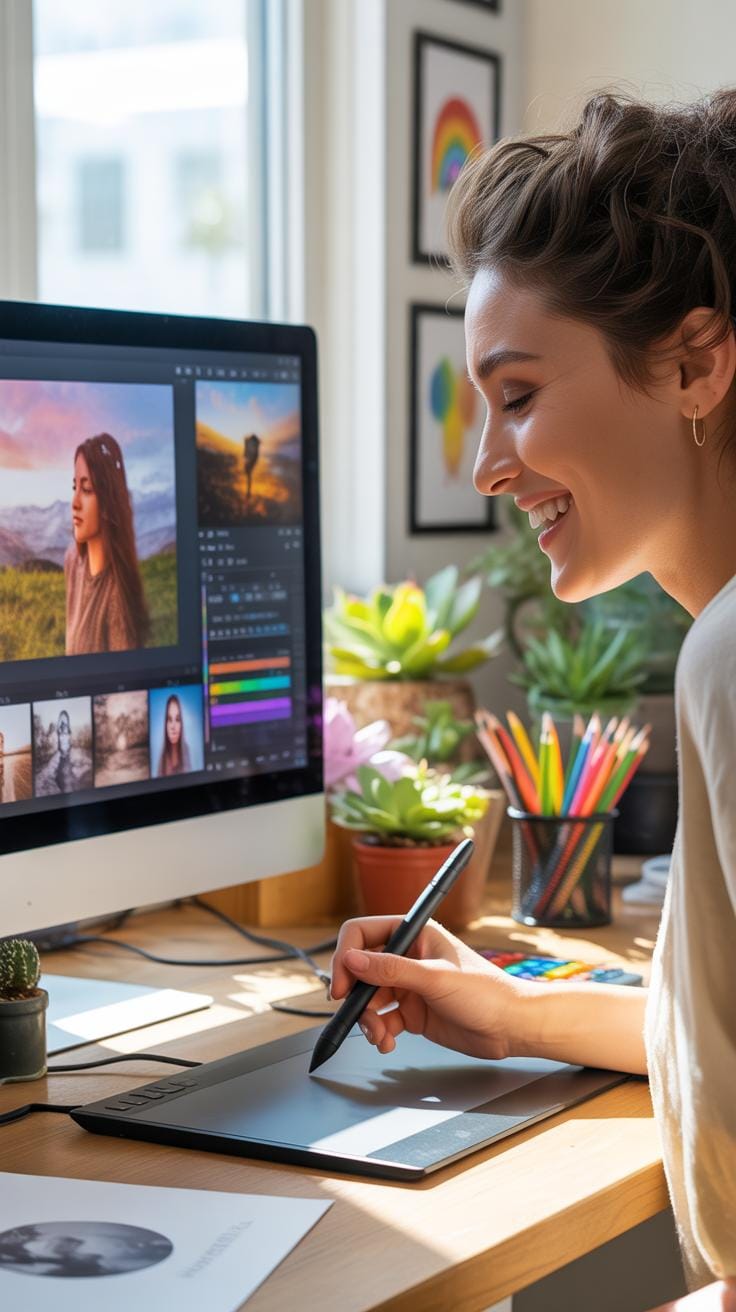
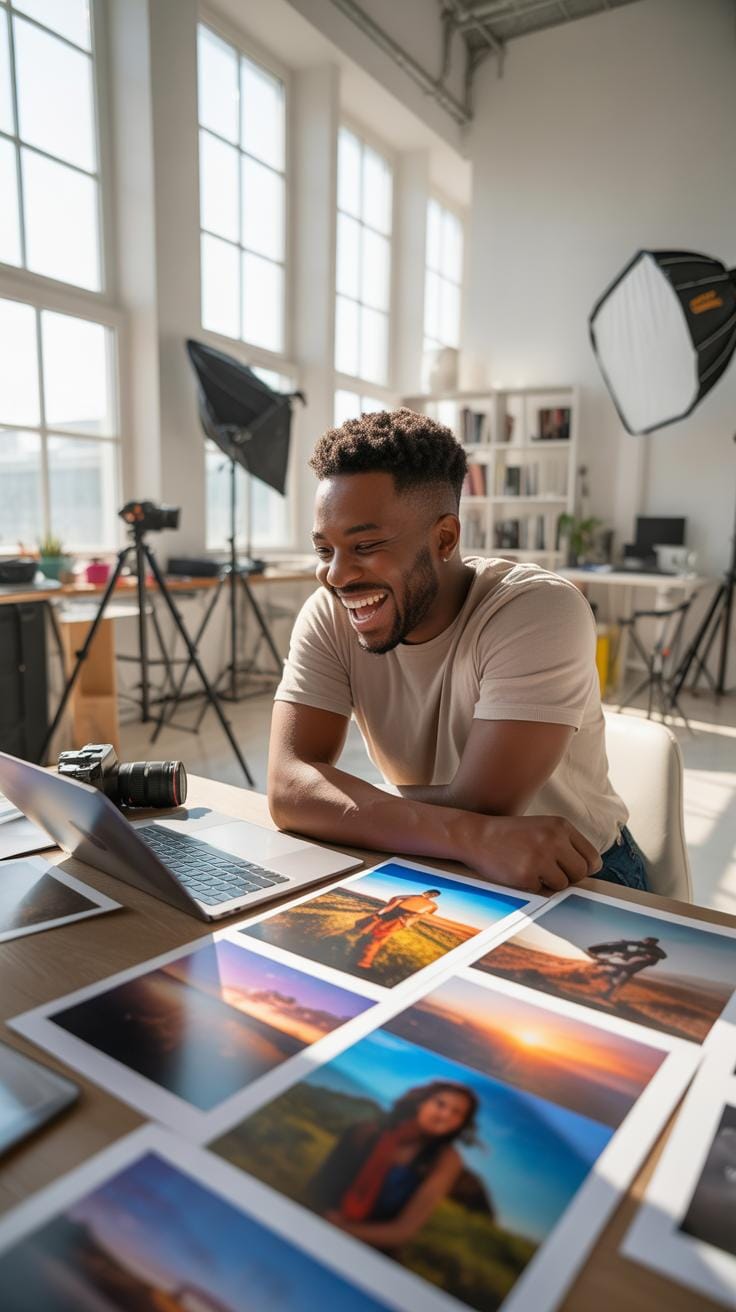
When you reach the stage of editing portraits, the focus shifts to making subtle improvements that enhance your subject’s natural features without crossing into artificial territory. It’s a balancing act—too much editing can strip away personality, while too little can leave imperfections distracting. Start by gently smoothing the skin texture and tone to even out blemishes. Aim to maintain pores and natural skin details so the results don’t look overly airbrushed. I’ve found that a light hand here works better, especially for fresh faces.
Adjusting exposure and contrast is another key step. Images often need small tweaks to brightness and shadows to look crisp and lifelike. A touch of contrast can make colors pop without sacrificing subtle details in the highlights or shadows. Often, the difference between a good portrait and a great one comes down to these fine adjustments.
For beginners, software like Adobe Lightroom and Photoshop Elements offers user-friendly tools perfect for these tasks. There are also free options like GIMP that support detailed retouching and exposure correction. Take your time, and perhaps experiment with different settings on duplicates of your photo to find the ideal edit. Does this photo feel too flat or is it too harsh? Judging exposure and tone might not come naturally at first, but with practice, your eye will sharpen.
Avoid Common Lighting Mistakes
Lighting can make or break a portrait photo. One of the most frequent issues is harsh shadows. These shadows can create unwanted contrast, emphasizing lines or features in ways you likely don’t want. You might think you need stronger light, but that often backfires.
Control Harsh Shadows
Softening shadows requires a bit of finesse. Using a fill light opposite your main light helps reduce those bold shadows. If you don’t have access to an extra light, a simple reflector will do wonders. Just place it where it bounces light into the shadowed parts of your subject’s face. This trick diffuses harsh edges without changing your primary lighting dramatically. Sometimes, natural light filtered through a white curtain can also serve as an effective fill.
Prevent Overexposed Highlights
Highlights are tricky. Overexposure washes out details and leaves bright spots that distract from the overall image. You want to check your camera’s histogram to see if the highlights are clipping. If so, dialing down the exposure or adjusting ISO can help. Also, position lighting to avoid hitting reflective surfaces head-on, since these create bright, blown-out spots. It’s about balance—too little light loses detail in shadows; too much, and you lose structure in highlights.
Have you tried slightly angling your key light or diffusing it with a softbox? This can both reduce harsh shadows and prevent blowouts. Lighting doesn’t have to be complicated, but you do need to watch those tricky areas carefully. Experiment with small changes rather than big shifts to find what works best for your particular shoot.
Incorporate Props To Add Interest
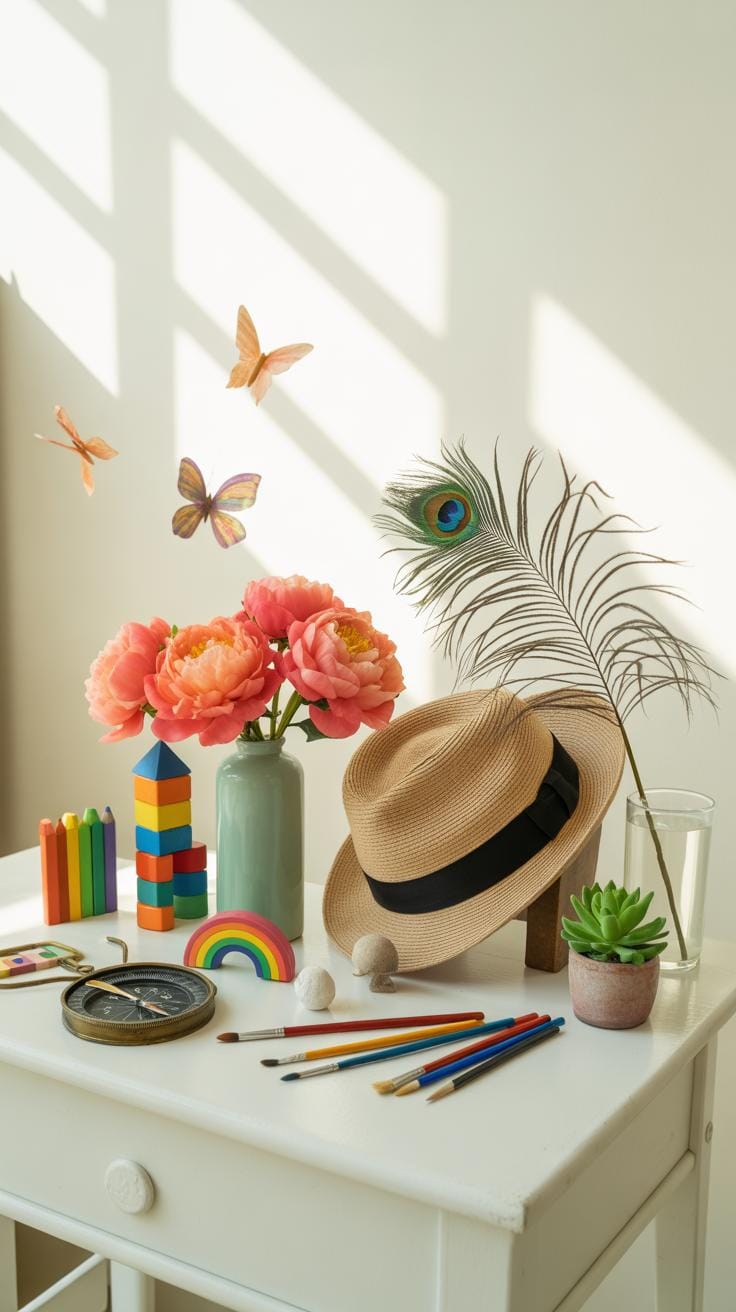
Using props in a portrait photoshoot can definitely add that extra layer of visual intrigue—if you’re careful. You want to pick items that enhance the subject and your theme without stealing all the attention. It’s a bit like seasoning in cooking: too much, and the main flavor disappears.
Simple props usually work best. Think of things like a vintage chair, a delicate scarf, or a pair of sunglasses. These are easy to position—rest a hand on the chair’s arm, let the scarf drape naturally, or casually hold the sunglasses. The key is subtlety; props should almost whisper, not shout.
Matching your props to the concept of the shoot helps pull everything together visually. For a minimalist look, clean lines and neutral objects fit well. For a retro vibe, maybe a classic book or an old camera does the trick. When props echo your theme, they strengthen the storytelling rather than distract.
Have you ever noticed how a well-chosen prop can tell a tiny story about the person being photographed? It’s like giving the viewer a small window into their world. But don’t overthink it—sometimes less really is more, and the best prop might be just a glance or a gesture.
Review And Learn From Each Shoot
Check Composition And Focus
After a shoot, one of the first things to do is look closely at the composition. How did you frame the subject? Sometimes, a slightly off-center subject can bring more life to the photo than perfect symmetry. Check if the focus is sharp where it matters most—usually the eyes. A blurry or soft focus doesn’t always ruin an image, but if it’s unintentional, note that for next time. You might also want to examine if the background complements or distracts from the subject. Alignment plays a big role here. For example, if the horizon is tilted just a bit too much, it can take away from the impact. Did the framing help tell the story or did it leave too much empty space? These questions matter.
Gather Feedback From Others
Seeking opinions is a step that many skip but it can be surprisingly revealing. Ask your clients what they felt about the photos—did the images match their vision or surprise them in a good way? Getting feedback from other photographers or friends can bring new angles you hadn’t considered. Sometimes, what you thought was a minor flaw might actually be a creative spark to someone else. Or the opposite—what you’re proud of might not read as well to fresh eyes. It can feel uncomfortable, sure, but this kind of openness helps grow your skills. After all, photography isn’t just about technical skill but also about connecting with people.
Conclusions
Bringing your portrait photography ideas to life requires careful setup, from lighting to environment. By adapting the lighting techniques and background choices outlined, you gain tools to craft images with personality and clarity. Experimentation within these parameters sharpens your skill.
Regularly exploring different styles and poses increases your creative range. Use these guidelines as a foundation to develop your own distinctive approach to portrait photoshoots and consistently produce attractive, professional photos that highlight your subject’s unique style.