Introduction
If you want to capture powerful and inspiring images, a women fitness photoshoot can showcase your strength and dedication. This article walks you through important steps and tips to get great fitness photos that highlight your hard work and progress. With careful planning and simple techniques, you can make your photoshoot session run smoothly and produce stunning results.
From selecting the best location to knowing how to pose effectively, these tips cover what you need to prepare and think about. Whether you are an athlete, trainer, or fitness enthusiast, this guide will help you present your fitness journey confidently and beautifully in your photos.
Plan Your Fitness Photoshoot
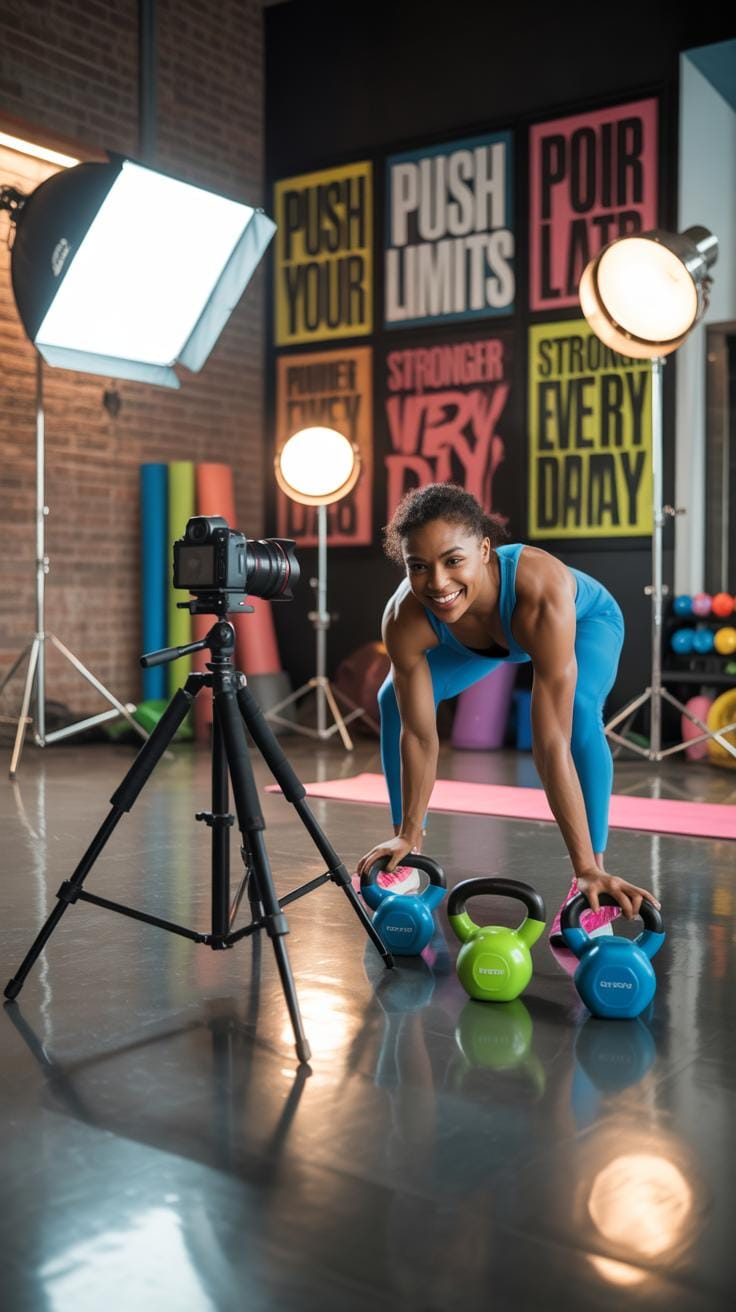
When planning a fitness photoshoot, several elements come into play. The location you pick matters a lot. For example, an indoor gym gives a different vibe compared to an outdoor park or urban setting. Think about the energy you want in your photos. Sometimes, simple backgrounds work best—they keep the focus on you and your form. Cluttered or busy backgrounds can distract or take away from the strength you want to convey.
Timing is crucial since natural light drastically changes how photos turn out. Early mornings or late afternoons—those golden hours—offer soft, warm light that enhances muscle tone with gentle shadows. Midday sun can be harsher, casting strong shadows that may or may not be flattering, depending on what you want. You might experiment or even shoot at multiple times to see what suits your style.
Clothing choices also impact the final look. Solid, contrasting colors often highlight muscle definition better than busy patterns. Breathable, well-fitted activewear not only looks sleek but helps you move freely, so your poses feel natural, not forced. Layering can add interest but be cautious that it doesn’t overwhelm the shot or hide your physique.
- Pick locations with clear, simple backgrounds
- Shoot during early morning or late afternoon for best natural light
- Choose fitted, solid-colored workout clothes to emphasize shape
Planning well is about balancing these factors to suit the mood and story you want your photos to tell. What kind of energy do you want? How do you want your strength and effort to show? Your answers will guide your choices, perhaps more than any strict rules.
Fitness Photoshoot Setup Checklist
Starting a fitness photoshoot, you might want to double-check your essentials to avoid scrambling mid-shoot. The basics often include your camera—preferably one that can handle quick movements and low light. A sturdy tripod can help when you want to frame precise shots or experiment with self-timed photos. Reflectors come in handy to bounce natural light back onto your subject, brightening up shadows without needing complex lighting setups.
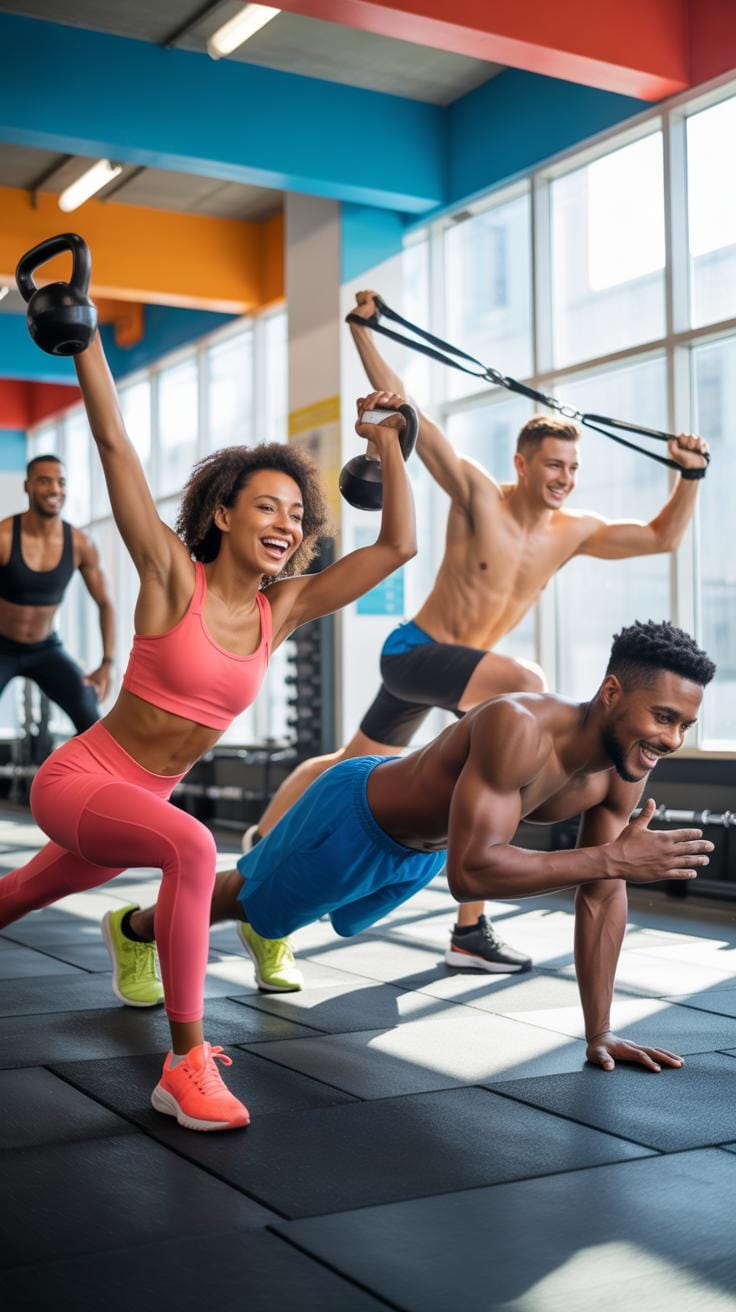
For workout gear, gather items that not only connect with your fitness theme but also offer visual variety. Think kettlebells, dumbbells, resistance bands—props that feel authentic, not forced. Setting them up nearby but not cluttering the space can add depth without distraction. You might even consider props that tell a story about your fitness journey or goals. Sometimes, the simplest items spark the most compelling shots.
Finally, prep the space well in advance. Check the floors, backgrounds, and light sources. You want your scene ready so you can focus fully on capturing energy and movement once the camera’s rolling. Do a quick walkthrough with your chosen props—to see how they fit and adjust as you go. There’s a fine line between well-prepped and overdone, so maybe trust your instincts a bit here.
How To Pose For Impactful Photos
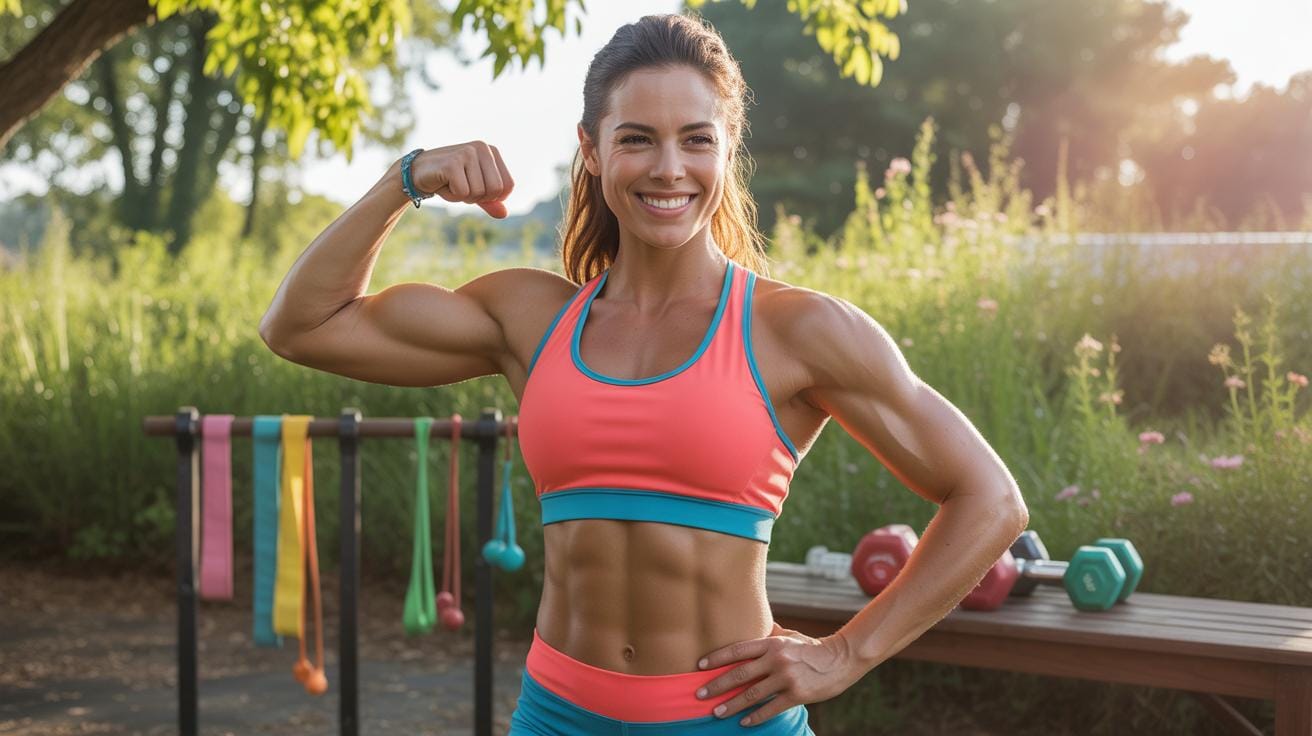
When you step in front of the camera for a fitness photoshoot, how you pose can truly dictate the final outcome. It’s not just about standing there and flexing; posing is an art that amplifies muscle definition and shows your confidence clearly. Think about how you can subtly adjust your body to catch the light better or accentuate shadows on your muscles. For example, turning your torso slightly away from the camera can create a more dynamic look by highlighting your waistline and muscles more than facing the camera head-on.
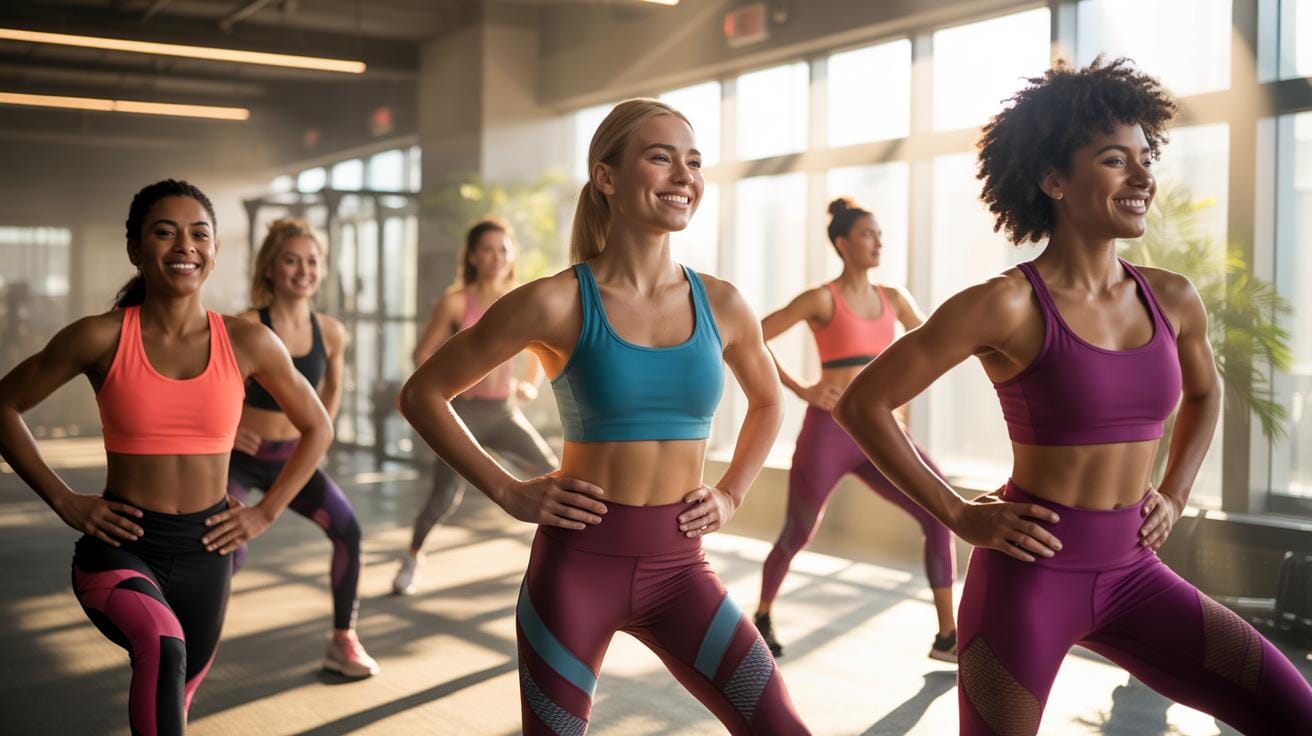
Standing poses work best when you actively engage your posture. Pull your shoulders back, lift your chest slightly, and tighten your core—this naturally emphasizes muscle tone and strength. Poses like the classic “power stance,” with feet spaced apart and hands on hips or crossed over the chest, can project confidence and control.
Angles matter greatly. Shooting from a lower angle can make your physique appear more imposing and muscular. Alternatively, a slight tilt of the head or positioning one arm forward can help draw attention to specific muscle groups. It’s a bit of a balancing act figuring out what works best for your body shape—but experimenting with angles really pays off. Have you tried asking your photographer to change positions frequently? Small shifts often reveal surprisingly great shots.
In sum, impactful poses rely on muscle engagement, smart use of angles, and a confident mindset. Don’t hesitate to try a variety of stances and angles during your shoot. Sometimes, what feels uncomfortable or awkward may photograph brilliantly. So, be open to some trial and error—and keep your focus on celebrating your hard work and fitness journey.
Clothing Choices Matter

Choosing the right fitness attire is more than just about comfort – it significantly impacts the overall look of your fitness photoshoot. The right clothing can enhance your body’s natural shape, bringing out muscle tone and curves in the most flattering way.
Think about how certain fabrics cling or flow; they interact differently with lighting and movement. Wearing pieces with clean lines or strategic cutouts can highlight your physique. But, it’s not only about shape. Color plays a role too.
Bright or contrasting colors can draw the eye to specific body parts or create visual interest, while more muted tones might blend too much with the background. I’ve seen photos where a pop of color made all the difference, turning a good photo into a striking one. So, it’s worth considering how your clothing’s shape and color work together to create a cohesive image.
Colors That Pop On Camera
Colors behave interestingly on camera. Some just seem to *pop* in photos, making the subject stand out vividly.
Bright reds, blues, and emerald greens often look great on many skin tones. They bring a certain energy without overwhelming the image. Pastels can work well too, especially when you want a softer vibe, but they risk looking washed out under harsh lighting.
It’s useful to think about your skin tone when selecting colors. Warm skin tones tend to look better with earthy colors like olive, coral, or mustard. Cooler tones might find jewel tones like sapphire or amethyst flattering. And yet, these guidelines are flexible – sometimes a color that “should” work doesn’t quite hit the mark because of lighting or background.
Comfort And Fit For Movement
Now, comfort is key, but it’s often overlooked. Fitness photoshoots usually involve active poses, so restrictive or ill-fitting clothing can kill the vibe and your movements will look unnatural.
You want clothes that fit well – snug but not tight, that allow you to stretch, twist, or hold poses freely. Fabric with a bit of stretch is almost always the right choice.
Remember, if you’re uncomfortable, it will show in the photos. Tried that myself – it was an awkward shoot with stiff, unyielding clothes, and the images reflected that tension. So, if you want your photos to convey ease and strength, start with what feels good on your body. And maybe bring options, so you can switch if something doesn’t feel right once you’re in front of the camera.
Natural Lighting Versus Studio Lights
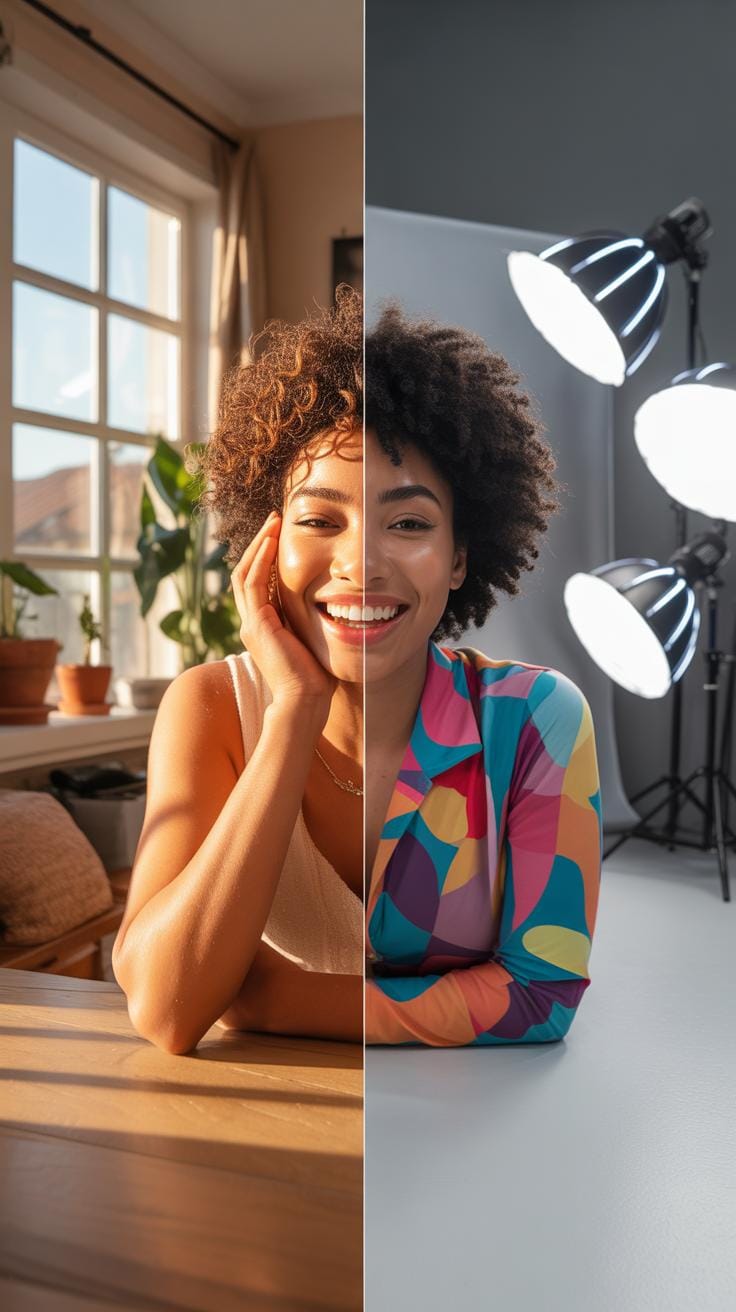
When it comes to fitness photoshoots, one choice you’ll often face is between natural light and studio lighting. Each has its own quirks, advantages, and, well, drawbacks that you might want to consider in relation to your goals and setting.
Natural lighting tends to be… forgiving in many ways. It creates soft, flattering shades with less harshness, ideal for outdoor shoots or indoor spaces near large windows. Positioning yourself so the sunlight falls evenly on your body can reveal muscle definition realistically without being too dramatic. Morning or late afternoon light is often preferred because midday sun can cast strong shadows that aren’t always flattering. On the downside, natural light is unpredictable. Weather changes, timing, and location all impact your shoot, making consistency a bit tricky.
Studio lighting, on the other hand, offers control you can’t easily get outdoors. If you want precise highlights and shadows or to emphasize specific muscle groups, artificial lights give you that power. Plus, you’re not at the mercy of the weather or daylight hours. Setting up involves careful placement of key lights, fill lights, and sometimes backlights — which can sound complicated but is manageable with practice or professional help. The catch? Sometimes studio lights can feel less organic or slightly harsh if not balanced right, and they demand more prep time and equipment.
So when is one clearly better than the other? If your shoot needs to be consistent over several days or focuses on dramatic, controlled effects, studio lights might be the path to go. Conversely, if you want natural vibes with soft, realistic tones, and have the space to work with daylight, natural lighting can work exceptionally well. Balancing these pros and cons based on your specific shoot will help you achieve the best fitness photos possible.
Common Mistakes To Avoid

When planning your fitness photoshoot, there are a few common pitfalls you should watch out for if you want to get the best images possible. One big mistake: ignoring background distractions. Even if you’re perfectly posed and lit, a cluttered or busy background will pull attention away from you. It’s worth checking your shoot location beforehand and clearing anything that might compete for focus. Simple steps like shooting against solid colors or natural settings can make a big difference.
Overdoing poses and expressions is another trap. I’ve seen shoots where people end up looking stiff or overly dramatic, which takes away from the natural vibe fitness photos usually benefit from. Instead of exaggerated smiles or tense postures, try keeping your face relaxed and your poses fluid. Small changes, like shifting your weight or a subtle smile, often work better than anything too forced.
Think about balance. You want energy and confidence in your shots, but without it feeling like a performance. When in doubt, remember that the camera tends to pick up authenticity over anything else.
Editing Tips For Fitness Photos
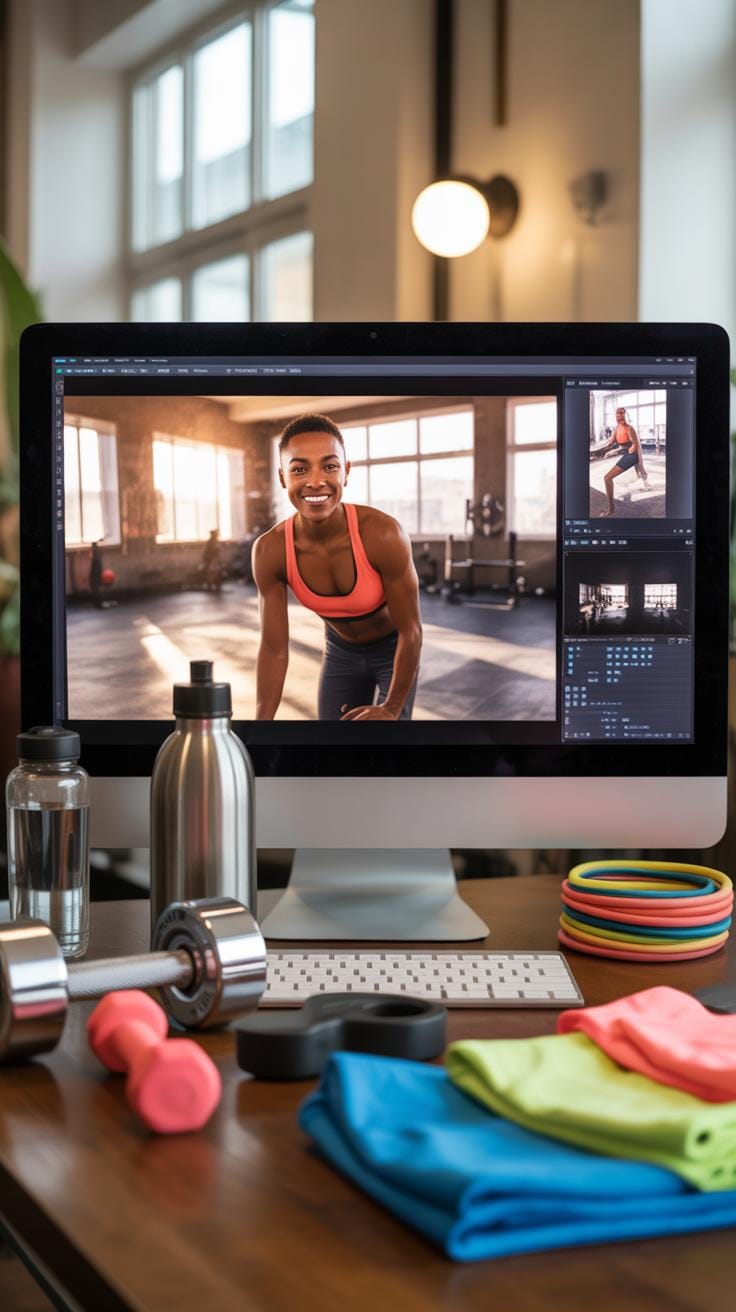
Editing fitness photos can be a fine balance. You want to bring out the best in your images but without pushing them into the realm of the unnatural. Simple tweaks often do more than heavy edits, which can sometimes erase the real, raw feel of a fitness shot.
Adjusting Brightness And Contrast
Brightness and contrast adjustments can make a surprising impact on how well muscle tone shows up in your photos. Brightness controls overall light, while contrast makes the darks darker and the lights lighter. By tweaking contrast carefully, you can deepen shadows in the right places—like around muscle curves—highlighting definition and giving more depth to the image.
Imagine a photo where muscle details look flat. Increasing contrast just a bit can bring those details back to life. But too much contrast can result in harsh lines or loss of subtlety. It’s almost like tuning a radio where you want things clear but not distorted.
Color Correction Basics
Color balance is crucial for fitness photos. Skin tones especially can look off if colors are too warm or cool. Basic color correction helps bring skin back to a natural shade, matching clothing and background colors better as well.
Try small shifts toward warmer shades if the skin looks pale or dull, or cooler tones if the photo feels too yellow. Sometimes, a slight tint adjustment improves the overall feel, making the photo inviting without feeling artificial. It’s surprising how a subtle fix here can change the mood entirely.
In practice, editing is a bit of experimenting and stepping back. Your goal: enhancement that feels genuine, so the strength and effort shown in the photo remain real. The photo should still look like… well, you.
Fitness Photoshoot Cost Breakdown
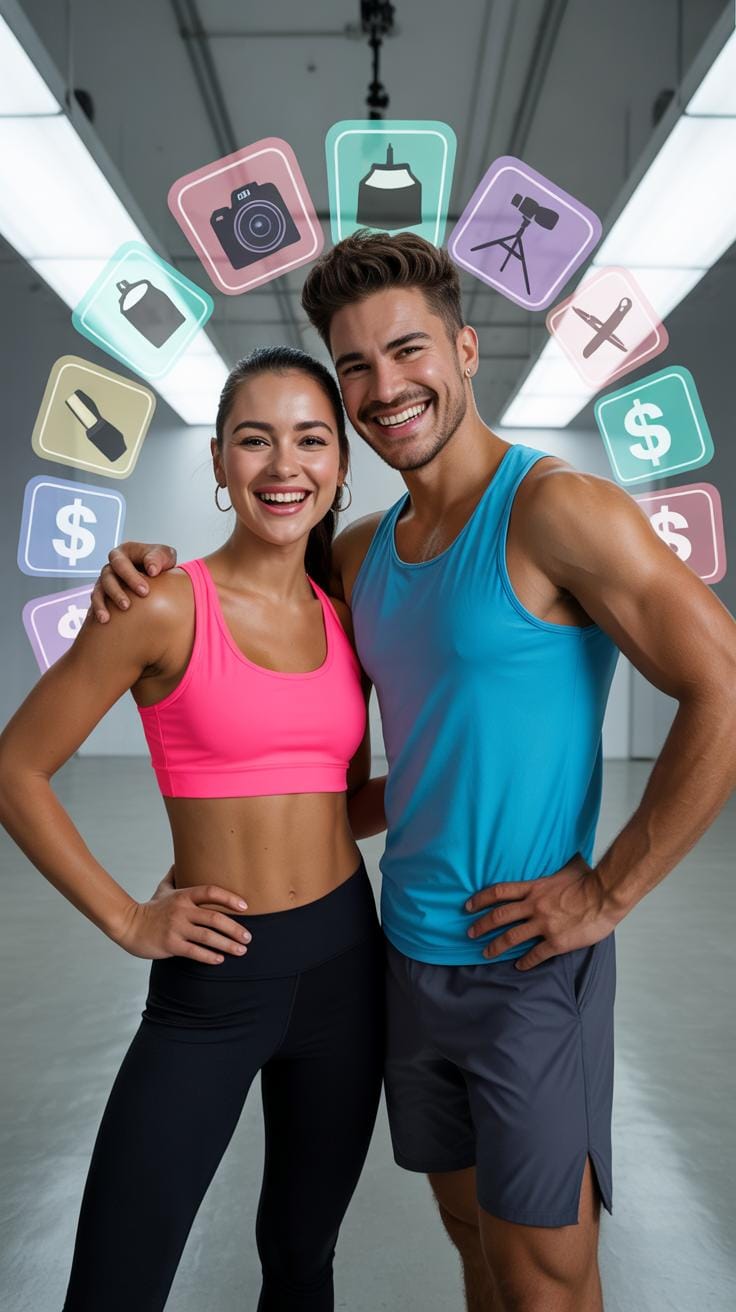
Organizing a fitness photoshoot involves various costs that can quickly add up. First, think about the gear. Cameras, lenses, lighting equipment, and props all have prices. Renting professional gear might save money on upfront costs but still requires a budget. Then there’s location—studio rentals can vary greatly depending on city and amenities. Outdoor shoots might have permit fees or transportation costs. Don’t forget professional help: photographers, makeup artists, stylists, and assistants. Skilled professionals usually mean higher expenses, yet they bring expertise that’s often needed for top results. While every session differs, knowing where your money will go helps you avoid surprises and plan better.
Budget Gear Options
If you’re working with a tight budget, quality photos are still possible without breaking the bank. Consider entry-level DSLR or mirrorless cameras from brands like Canon, Nikon, or Sony—they offer good image quality and versatility. Affordable lighting options include ring lights or softbox kits, usually under $100. A sturdy tripod and reflector can improve shots on a budget too. Using a smartphone with a high-quality camera can occasionally substitute, especially with apps that adjust exposure and focus. Remember, creativity and understanding your gear often count as much as expensive equipment. I sometimes get surprised by how far basic gear can take me if used right.
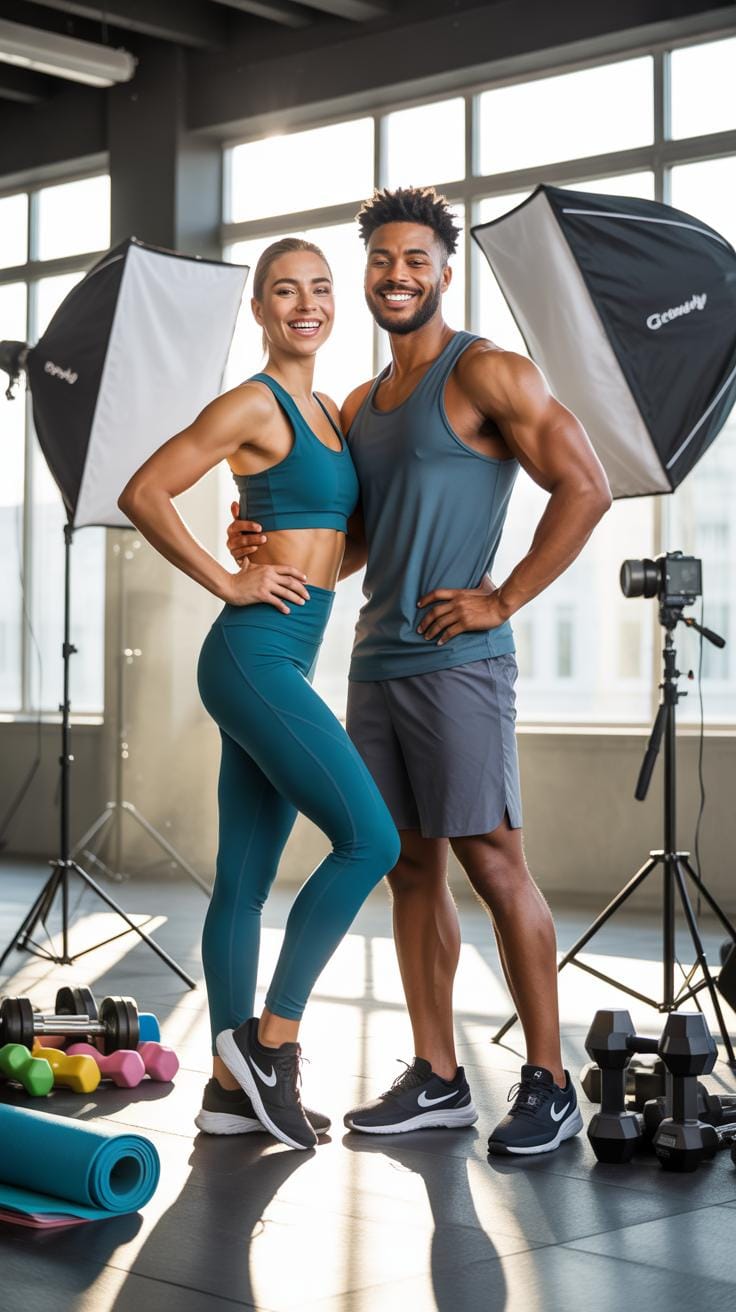
When To Hire A Professional
Hiring a professional photographer or stylist can feel like a big step, especially if you’ve never done it before. But think about the value—professionals bring experience with lighting, posing, and editing that often makes the difference. You might want to invest in a pro if the photos are for business, marketing, or serious portfolio use. They can save time and stress, too. On the other hand, if it’s a casual project or practice run, going solo or with a friend might work perfectly. Sometimes, mixing both approaches—doing a few shots yourself and reserving a session with a pro—can be a smart compromise. What’s your priority for the shoot? That question can guide your choice here.
Examples Of Successful Fitness Photos
Looking through some striking fitness photos, you start to see what genuinely makes them tick. Take the images that catch your eye immediately: it’s often the athletic poses that seem effortless yet packed with energy. These poses communicate strength and motion without looking stiff or staged. I’ve noticed photos where the subject is mid-action — say, a powerful jump or a stretch — tend to carry a natural intensity that stills the moment in a compelling way.
What’s really intriguing is how lighting plays a role in emphasizing muscle tone and mood. A well-placed side light, for example, carves out muscle layers, giving depth and definition that might otherwise go unnoticed. In some photos, shadows add mystery or drama, while in others, bright, even lighting highlights the form in a crisp, clear way. It makes you wonder: how much does the photographer prep this? Or is it luck with natural light?
Consider how certain athletes in photos hold their poses — it’s not just about flexing muscles but about projecting will and presence. When you look at these photos, it’s clear that successful fitness photography isn’t just technical; it’s emotional too. You want your photo to feel as if the energy could burst out of the frame.
Post Shoot Care For Skin And Gear
Skincare After The Shoot
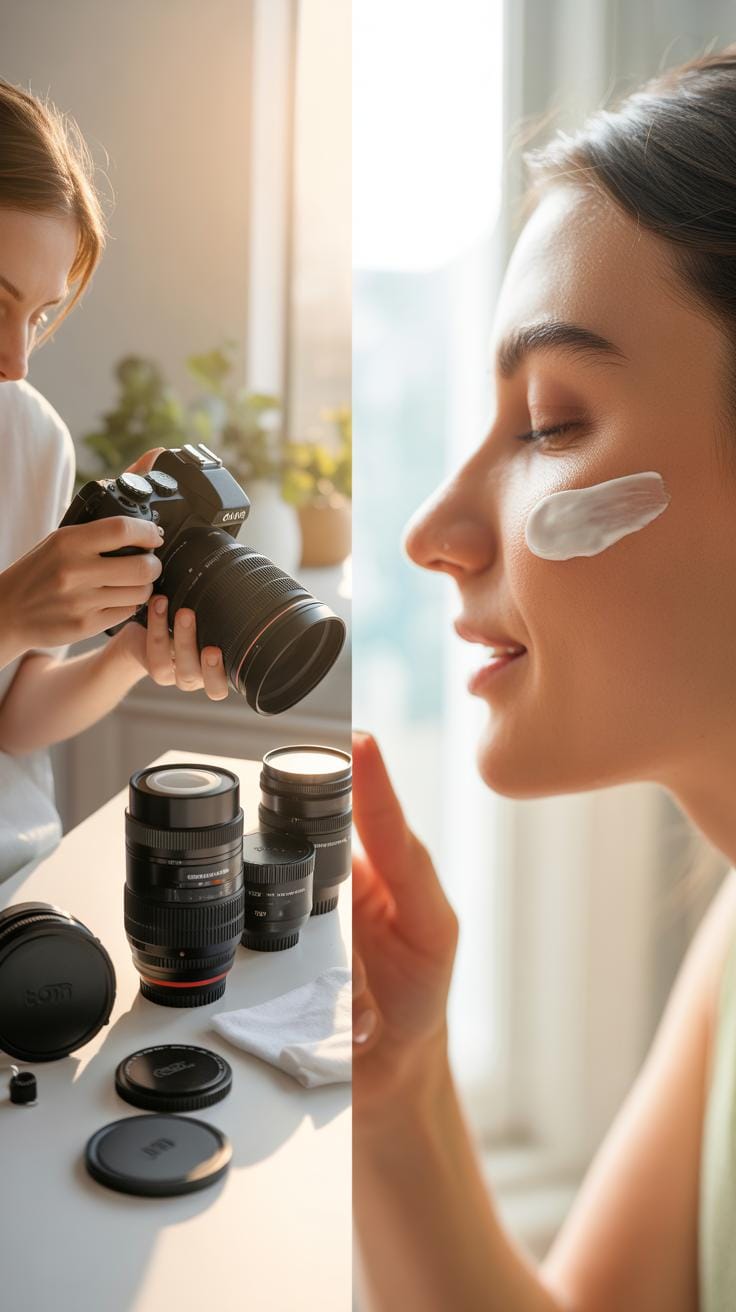
After a fitness photoshoot, your skin has been through a lot—sweating, exposure to makeup, possibly powders or sprays. It’s tempting to just skip the care routine and relax, but taking a few minutes to cleanse and soothe your skin can make a big difference. First, use a gentle cleanser to remove sweat, oils, and any makeup residue. Avoid harsh scrubbing; your skin might be sensitive from the shoot.
Next, applying a toner can help bring your skin’s pH back to normal and close pores that opened during sweating. Following that, a lightweight moisturizer will lock in hydration without feeling heavy. If you notice redness or irritation, calming ingredients like aloe vera or chamomile might help calm things down. Oh, and don’t forget to drink water—hydration works from the inside out.
Keeping Equipment Ready For Next Use
Your photo gear deserves attention too. Fitness shoots often lead to significant sweating and sometimes dust or dirt in the environment. After the shoot, wipe down camera bodies, lenses, tripods, and any light modifiers with a microfiber cloth. It’s best to avoid spraying liquids directly on equipment; instead, lightly dampen the cloth if needed.
Check your lenses for smudges and clean with a proper lens cleaning solution using lens tissues. Battery packs and memory cards should be removed and stored safely to avoid corrosion or damage. Keeping your gear in a dry, dust-free case will extend its life and save you stress before the next shoot. Maybe make a checklist for post-shoot care? Sometimes, it’s easy to rush and forget these steps, but your gear will thank you later.
Conclusions
Careful preparation makes a big difference in your fitness photoshoot experience and outcomes. Picking the right settings, clothes, and poses lets you highlight your strengths and show your fitness level clearly in the photos. Pay attention to light and camera angles to get images that impress and motivate.
Using these practical tips, you can create photos that tell your fitness story well. Remember, every detail from warm-ups to shooting angles counts. With practice and thoughtful setup, your fitness photoshoot will reflect your hard work and inspire others.