Introduction
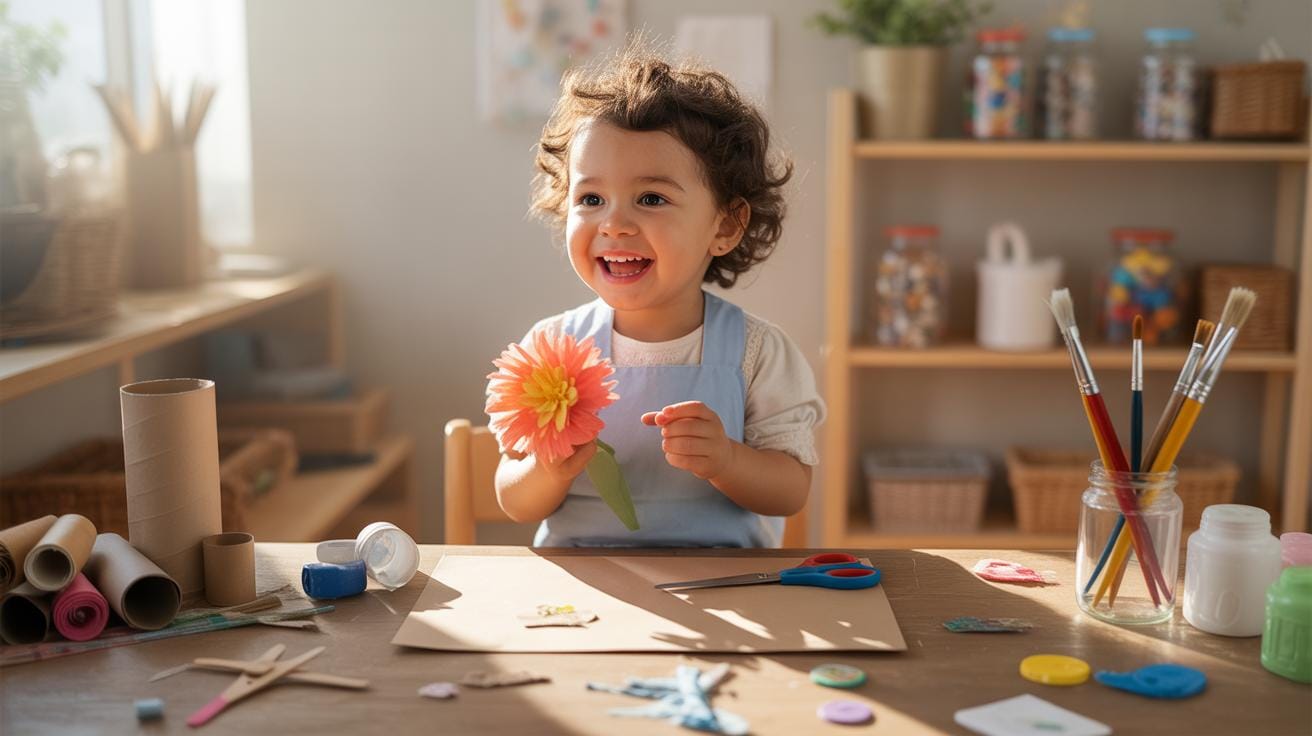
Recycled art projects are a wonderful way to turn everyday waste into something beautiful and useful. When you use simple materials found around the house, you save money and help the environment. Many people don’t realize that things like old magazines, bottle caps, or scraps of fabric can become art.
This article explores different recycled art projects you can try at home using these everyday materials. You will find easy and creative ideas to kickstart your journey in making art that is both fun and eco-friendly. Using what you already have means less trash and more creativity.
Materials to Collect for Art


You’d be surprised how many everyday items around your home can turn into art supplies. Paper is an obvious one—old newspapers, magazines, junk mail, or even scraps from packaging. These come in various textures and colors, offering lots to work with. Plastic, like bottle caps, containers, or packaging film, can be reshaped or combined into interesting pieces.

Fabric scraps, whether from worn-out clothes or leftover sewing projects, are great for adding texture. Metal bits, such as bottle caps, old keys, or aluminum foil, have a distinct look and feel, even if you only use tiny pieces. Glass is trickier for safety reasons but small pieces from broken jars or bottles can be embedded carefully in art projects—just make sure to smooth out any sharp edges.
If you’ve never thought about collecting these things, maybe start noticing the bits you toss away or recycle. What’s junk to one person might be treasure to another. You might even find odd materials like corks, buttons, or string. Keep an eye out; sometimes the best things appear when you’re not looking for them.
Where to Find Art Materials
Look around your kitchen for empty containers, egg cartons, or even twist ties. Offices can be full of scraps too—think used file folders, binder clips, or old stationery. Parks and gardens are full of natural materials like leaves, twigs, or pebbles that can add a unique element to your work.
Don’t overlook your recycling bin. It often holds a variety of potential materials waiting to be reclaimed. Sometimes you might hesitate rummaging there, but it’s honestly a goldmine for plastics, metals, and papers. Local community centers or schools might also have leftover supplies or scraps they’re willing to share if you ask.
How to Prepare Materials
Before using anything, cleaning is key. Sometimes bits of trash or dirt can interfere with glue or paint. Wash plastic containers and bottles, wipe off glass, and shake out fabric scraps to remove dust. Sorting your materials by type and size helps keep your workspace organized—you’ll find it easier to grab what you need quickly.
Some materials need extra care. For example, glass should be carefully handled and edges smoothed with sandpaper or left to professionals if you’re unsure. Metals might require drying thoroughly to avoid rust. Also, removing any labels, sticky residues, or grime improves the final look and adhesion. Preparing materials can take some time, but it sets the stage for smoother creative work.
Basic Art Tools You Need

When working with recycled art projects, having a few simple tools really helps. Scissors are a must—they cut paper, fabric, even light plastic. You don’t need anything fancy; a pair of regular craft scissors often does the job. Sometimes, you might want smaller detail scissors for precision, but it depends on your project and patience level.
Glue comes next, and it can get a bit tricky because not all adhesives work the same on every material. White school glue is great for paper and light fabrics. But for plastics or heavier materials, tackier glues or hot glue guns are often better. Paint and brushes add color and texture. Cheap brushes work fine, but if you’re aiming for fine details or different strokes, you might want a variety of sizes.
Other tools to think about include a ruler to measure or fold with accuracy, a pencil to sketch your ideas, and even a needle and thread if you want to sew bits of fabric or thread together. For texture, sponges or old toothbrushes can be fun for painting. You don’t need to stock up all at once; just start simple and add tools as you go.
Choosing the Right Glue
Picking glue can take a moment because every material reacts to adhesives a little differently. White glue is great for porous stuff like paper or fabric, dries clear, and is easy to clean. For plastics, something stronger like a craft epoxy or hot glue might be necessary. Hot glue sticks quickly but can be a pain if you need time to reposition pieces.
If you’re working with metal scraps or glass, a specialized super glue or epoxy resin usually works best. You might want to test a small snippet first to see how the glue holds and dries. Sometimes, a combination of different adhesives for various parts works better than relying on a single one. It can be a little trial and error, honestly.
Safety Tips for Using Tools
Using tools safely, especially if you’re crafting with kids or trying something new, is a must. Scissors should always be handled carefully; teaching kids to cut away from their body prevents accidents. Hot glue guns can cause burns, so it’s good to supervise young crafters or let them handle only once they’re older.
Paints can have fumes or stain skin and clothes. So, working in a well-ventilated space and wearing old clothes or aprons helps. Also, washing hands after painting keeps paint from getting into eyes or mouths by mistake. Sharp objects like needles or craft knives require focus—putting tools down safely between uses avoids injuries. A simple, tidy workspace goes a long way toward keeping art fun and safe.
Easy Paper Art Projects

Paper is one of the simplest materials you can recycle into art, and it offers endless possibilities. If you’ve got old magazines lying around, they’re perfect for making collages. Start by tearing or cutting out colorful images and interesting shapes. Lay them out loosely on a piece of cardboard or thick paper before gluing anything down. This lets you play with the arrangement and balance colors or themes. I find it helps to pick a focal point first, then build around it. Sometimes random bits come together in surprising ways, so don’t get too caught up in making it perfect.
Another project to try is paper beads. Cut strips of magazine pages or scrap paper into long, thin triangles (or rectangles if you want chunkier beads). Roll each strip tightly around a toothpick or skewer, starting wide and tapering to a point. A dab of glue at the narrow end keeps it from unraveling. After making enough beads, you can string them for jewelry or decorations. It’s a slow but oddly calming process, perfect for when you want to focus without distractions.
Paper mosaics work similarly but in reverse. Instead of large pieces, break paper into small bits or squares. Glue these down piece by piece to fill in a shape or pattern. It demands patience but offers creative control, letting you choose how detailed or abstract the final work will be. Have you tried mixing textures, like glossy magazine pages with matte newspaper? The contrast can really add depth.
Creative Plastic Art Ideas

Plastic waste can pile up fast, but it doesn’t have to be just trash. You might be surprised at how many art projects you can make using things like bottle caps, containers, and even plastic bags. There’s a raw charm in turning these common items into something creative—and sometimes, honestly, it feels like a small victory to give them a second life.
Take bottle caps, for example. They come in all sorts of colors and sizes, perfect for creating sculptures or bright, playful jewelry. Containers—like yogurt cups or discarded tubs—can be reshaped or cut and combined, adding dimension to your work. And plastic bags, which often seem flimsy or useless, can actually be woven into surprisingly sturdy mats or eye-catching wall hangings.
The key is to think beyond “waste” and start seeing these plastics as materials with potential. You don’t need fancy tools, just some patience and maybe a bit of trial and error to find what works best for you. Plus, crafting with plastic can be pretty satisfying—you don’t get the usual mess that comes with paper or paint, which is a nice bonus.
Building with Bottle Caps
Using bottle caps for mosaics or pictures is more straightforward than it seems. Here’s a basic way to do it:
- Collect caps in various colors and sizes. The more variety, the better the pattern possibilities.
- Sketch the image or mosaic pattern you want on a sturdy base, like wood or thick cardboard.
- Start gluing the caps following your sketch. Hot glue works best, but strong craft glue can do the job too.
- Fill every inch carefully; the spaces between caps add texture, so don’t worry if they’re not perfectly aligned.
- Once complete, you’ll have a colorful, tactile piece that can brighten a plain wall or become an interesting tabletop decoration.
It’s a project that offers enough structure to keep you on track but enough freedom to get creative. I recall making one with old soda caps; the uneven edges made the image feel quirky, not perfect—but in a good way.
Plastic Bag Weaving
Plastic bags might feel like the least promising at first glance. They’re flimsy and tend to tear, but cut them right, and they transform. Here’s a simple approach to weaving:
- Flatten the bags and cut them into long strips, removing handles or thick seams.
- Tie or tape these strips together to create continuous lengths (sometimes called ‘plarn’ or plastic yarn).
- Create a simple loom frame—this could be a piece of wood with nails or even a cardboard frame.
- Set up vertical strands (warp) and weave horizontal strands (weft) through them, just like fabric weaving.
- Repeat, adding more strips as needed, adjusting tightness for a firm mat or loose fabric-like texture for hangings.
Honestly, it takes a bit of patience because the strips don’t behave like real yarn—and sometimes you get a snag or tear—but it’s quite rewarding when you see the plastic transform into something functional or decorative. The result can look surprisingly neat, almost like a textured fabric, even though it’s all made from discarded bags. Have you ever tried something that required more patience than you expected? This might be it, but it’s worth sticking with it.
Fabric and Textile Reuse

Working with old clothes or fabric scraps offers many ways to transform what might seem like trash into something useful and even beautiful. There’s a kind of quiet satisfaction in piecing together odd bits of fabric into a cozy quilt, for instance. It doesn’t require fancy materials—just patience and a little planning.
Making Fabric Scrap Quilts
Start by sorting your scraps by color or pattern; this helps create some order out of the jumble. Then, cut them into uniform shapes—squares or rectangles work best for beginners. Sewing squares together row by row is a straightforward way to build the quilt’s surface. It’s a repetitive process but somehow calming. You don’t need a professional sewing machine; even hand stitching works if you don’t mind the time. Layer the top patchwork with some batting and a backing fabric, then sew the layers together. Quilts made this way carry memories from old clothes and can be surprisingly warm and durable.
Crafting Bags from Old Clothes
Turning an old t-shirt or worn-out jeans into a bag is both practical and creative. For t-shirts, the process can be as simple as cutting off the sleeves and neck, then sewing the bottom shut—no sewing machine required here if you’re careful. Jeans make sturdier bags but require more effort to dismantle and stitch. Use the legs for handles or the pockets as built-in compartments. These bags are not only eco-friendly but often unique, capturing the character of the original garment. You’ll probably find your friends curious about how a simple shirt became a carry-all. It’s a neat reminder that reuse doesn’t have to be complicated. Would you have guessed that your old clothes could carry so much? Sometimes small projects like these spark ideas for bigger ones, too.
Metal and Glass Art Projects
Creating Metal Wind Chimes
Working with small metal pieces can be surprisingly fun—once you get past the initial clanging and sharp edges. Using bottle caps, old cans, or bits from broken gadgets, you can create wind chimes that catch the breeze and make a soft, random melody. Start by punching holes or attaching sturdy strings through the metal parts. If you don’t have a heavy-duty hole punch, a hammer and nail on a scrap wood piece will do the trick, though it takes patience.
Arrange your pieces by size and sound—heavier ones make lower tones, lighter bits chime higher. Tie them at varying lengths to a circular frame, maybe an old embroidery hoop or sturdy wire. Don’t rush; test the sound as you go. Some pieces might be too dull or too loud, so adjusting their positions is key. You might find the best placements only after a few tries. It’s worth noting that metal parts with paint or rust add character—even if the look isn’t perfect.
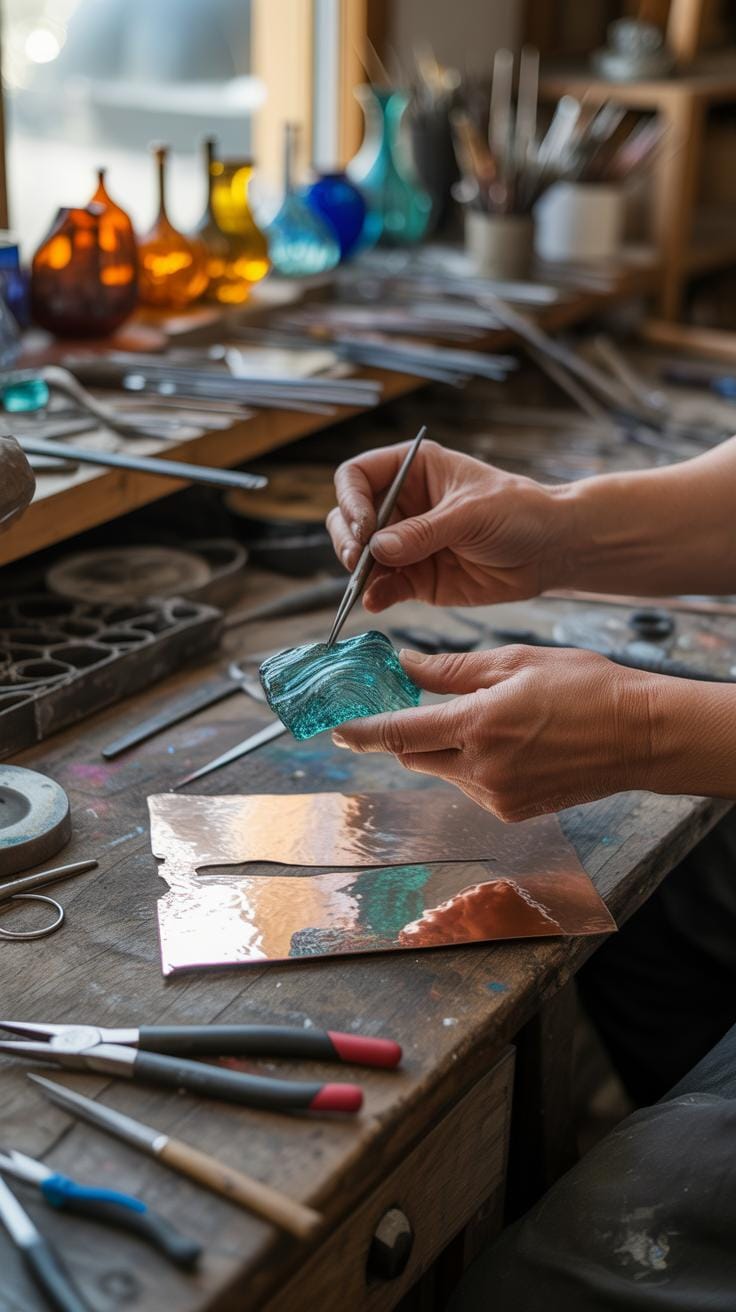
Using Glass Pieces Safely
Glass can be tricky but rewarding. When working with broken glass or jar lids, safety must be your top priority. Always wear thick gloves and eye protection—you don’t want to learn the hard way. Before you start, rinse off any dirt or sticky residue, and dry the pieces thoroughly. Sharp edges are part of the charm, but they can hurt if you’re not careful.
Here’s a simple way to handle broken glass for art: sand the edges with fine-grit sandpaper or use a glass file to smooth out the sharpest points. If you’re using jar lids, you might hammer small holes near the edges for hanging or stringing. Broken glass can become mosaic tiles for frames or trays, which adds a rugged beauty—just take your time placing the pieces so fingers don’t get sliced. At times, I’ve second-guessed whether spending time sanding is worth it, but safer edges make the whole project more enjoyable and less stressful.
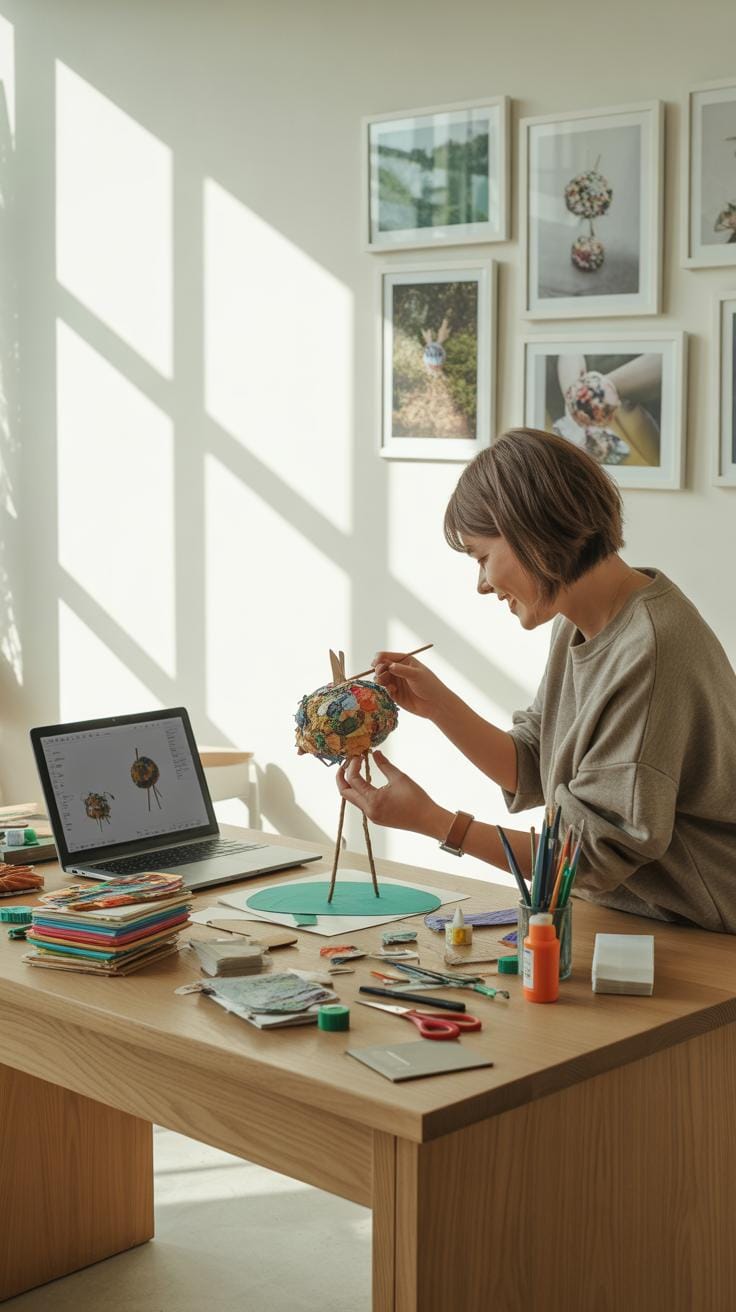
Inspiring Mixed Media Art

When you mix different recycled materials, the results can be surprisingly rich and textured—far beyond what a single medium usually offers. Combining paper and fabric, for instance, opens up a whole palette of tactile experiences. Paper can be torn, folded, or layered, while fabric scraps add softness and depth. You might glue bits of torn magazine pages onto a canvas and then stitch or glue strips of fabric over or under them. That contrast between smooth, sometimes shiny paper and the roughness or fuzziness of fabric catches the eye in unexpected ways.
It’s not just about texture, though. Using fabric alongside paper can also play with opacity and color. Some textiles let light filter through slightly, while paper blocks or reflects it. Even patterns on old clothing can add a personal or nostalgic element, making your artwork feel more lived-in or intimate.
On the other side of mixed media, pairing plastics with metal parts can create sculptures that feel industrial yet organic. Plastic can be bent, cut, or melted, and metals bring a sturdiness and shine to the assemblage. Attaching plastic bottle caps to wire frameworks or embedding small metal gears inside plastic containers lets you explore shapes and forms that neither material alone could achieve. It’s about play—seeing how hard and soft, rigid and flexible, smooth and textured react when they meet.
Some artists even layer plastics over metal sheets for a sort of translucent effect that shifts as you move around it. Making these pieces requires patience, as plastic likes to warp if heated too fast, and metal edges can be sharp. But the challenge makes the process more hands-on, more involving.
Have you tried combining such materials before? What surprised you about how they interacted? Sometimes the messiest ideas yield the most unexpected results.
Displaying Your Recycled Art
Showing your recycled art can feel both rewarding and a bit tricky. Where do you start? At home, you might try turning small sculptures or wall hangings into focal points in your living spaces. Think beyond the usual frame—maybe a cluster of recycled bottle cap mosaics brightening up a kitchen backsplash or a jar lid mobile dangling in a sunlit corner. Gardens offer another great spot. Weatherproof pieces, like tin can planters or old CD wind chimes, can add quirky charm outside. It’s funny how these found-object displays sometimes draw more curious looks than traditional decorations.
If you’re leaning toward community involvement, local art exhibits are a great way to inspire others. Schools often welcome recycled art displays, which can make for a fun group project too. Organizing a small neighborhood show doesn’t require much—community centers, libraries, even coffee shops might host your work with enthusiasm. Sometimes, just reaching out can unearth unexpected opportunities. You might find out that your neighborhood has little-known events where recycled art fits perfectly.
One thing I’ve learned is that displaying recycled art isn’t just about showcasing items. It sparks conversation. Ask yourself: How can your pieces encourage others to rethink waste? Sometimes, a simple plaque with a short story behind the materials can make a big difference. Display isn’t just decoration—it’s sharing a message, one piece at a time.
Benefits of Recycled Art

Making art from recycled materials isn’t just about creating something unique—it actually has some clear benefits for the environment, your wallet, and even your mind. When you use scraps and old items, you help keep trash out of landfills. Think about all those plastic containers or paper bits that might otherwise pile up. Turning them into art means less waste, which in turn reduces pollution and the demand for new raw materials. You might not change the world overnight, but every small project helps.
On the economic side, recycled art can save you money. Instead of buying expensive supplies, you repurpose what’s already around. Plus, it might encourage others to do the same, creating a ripple effect that values resourcefulness over consumption.
And then there’s your creativity. Working with recycled materials forces you to look at ordinary objects differently. You puzzle over shapes, textures, and how things might fit together. This kind of problem-solving hones your creative thinking—sometimes in ways you didn’t expect. You might start seeing potential in a broken spoon or old fabric where you never did before. It’s a challenge, yes, but an enjoyable one. Have you noticed how making something out of “trash” makes the finished piece feel oddly more rewarding?
Conclusions
Recycled art projects invite you to look at waste differently. You can transform scraps into art that decorates your space or serves a purpose. These projects not only save material from landfills but also inspire creativity. Trying these ideas helps you see value in everyday items you might throw away.
By starting simple and moving to more advanced projects, you build skills and confidence. Remember, every small effort counts toward reducing waste. Your art can be beautiful, meaningful, and earth-friendly. Now, gather your materials and start creating your own recycled art today.