Introduction
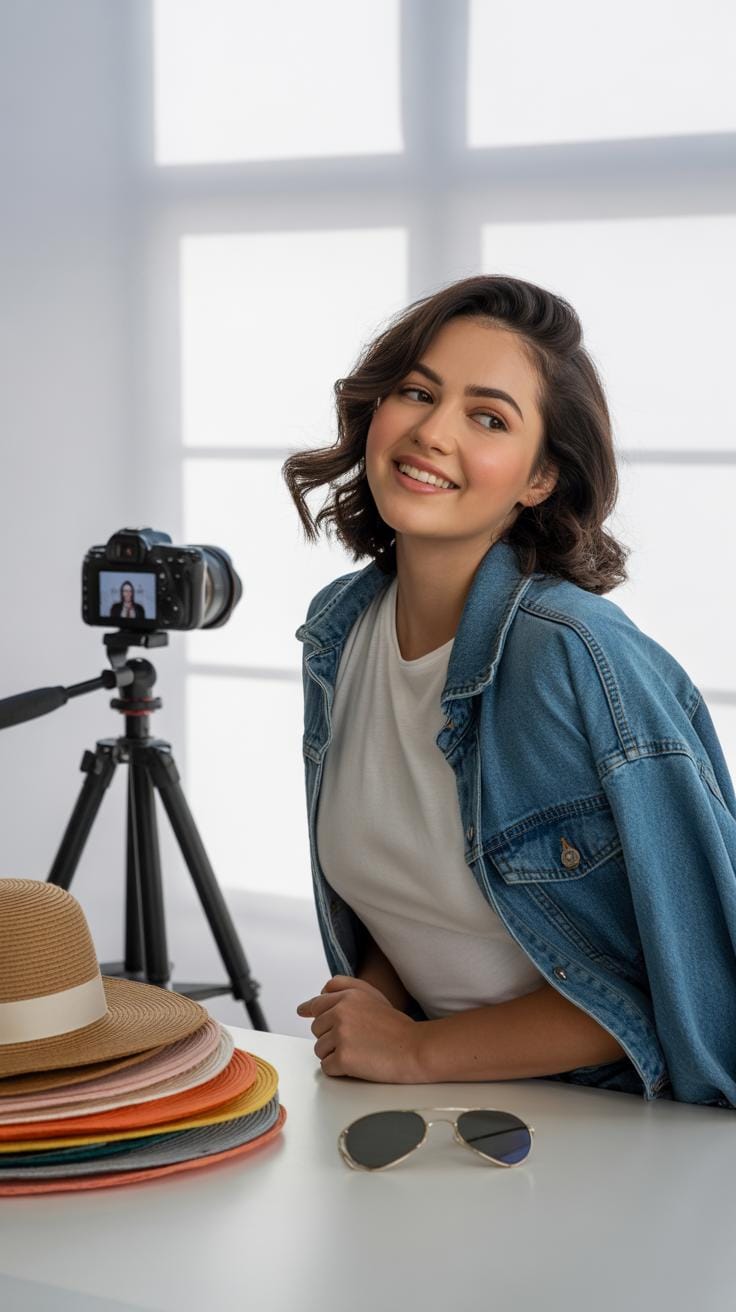
Getting ready for a fashion photoshoot can be exciting and a bit challenging. You want to look your best and pose in a way that shows off your outfit and your personality. This guide will walk you through the important steps to prepare your outfit and get confident with your poses so you shine in front of the camera.
We will explore how to pick the right clothes, plan your accessories, and find the right poses that make you look natural and stylish. By following these easy steps, you can make your photoshoot smooth and successful, capturing your best look effortlessly.
Choose Your Outfit Wisely

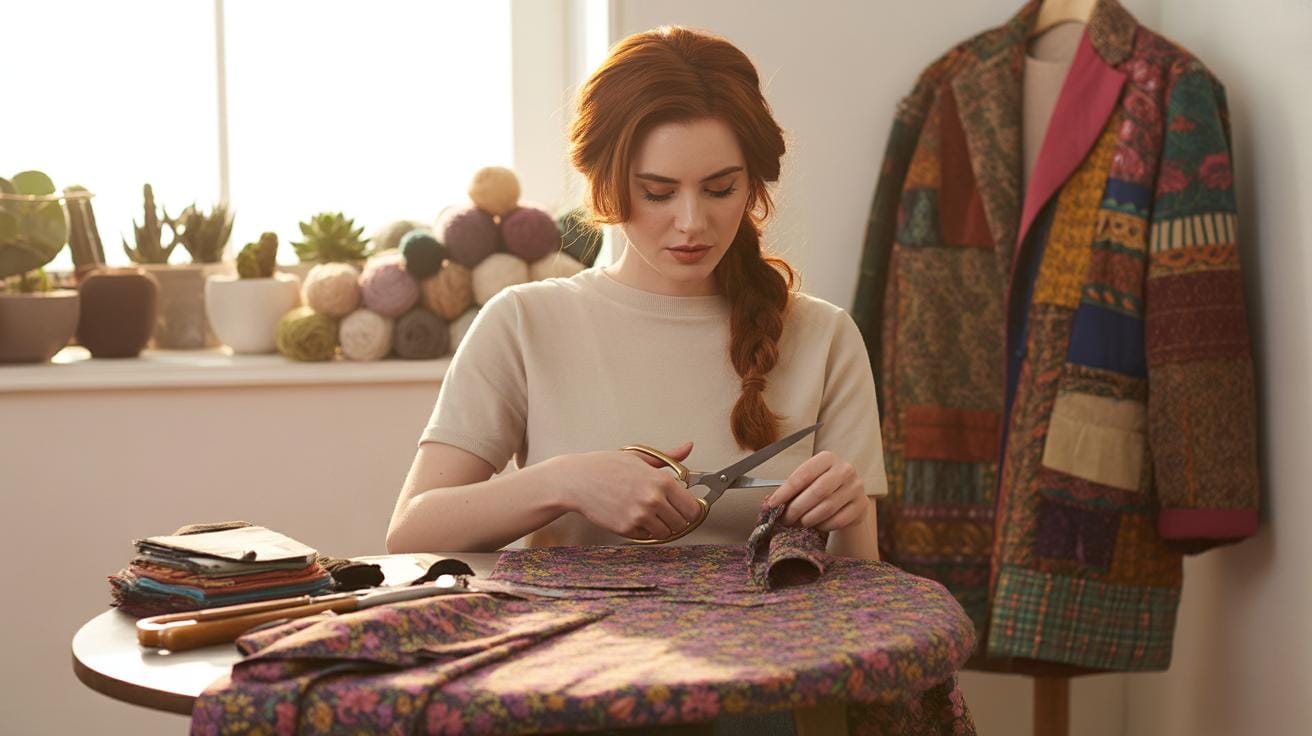
Picking the right outfit for a fashion photoshoot can feel tricky, especially when you think about how it needs to fit multiple factors at once. First off, the theme or concept of your shoot should guide your choices. If the shoot aims for something edgy and modern, something loose and abstract might fit—maybe not a classic formal piece, even if you love it. But sometimes, blending styles can work too, like a vintage jacket with contemporary cuts. It’s less about rules and more about what speaks to the overall feel.
Color also plays a huge role and it varies depending on your skin tone and how colors appear on camera, which isn’t always what you expect. Brighter colors might pop or clash, while muted tones may soften your look. Think about what you want to highlight. If your skin has warm undertones, earth tones tend to work well. Cooler skin tones might lean toward deeper blues or purples. But, honestly, sometimes a color that’s “wrong” by the usual standards still makes the shot stand out. So, it’s worth experimenting a bit—that’s where creativity comes in.
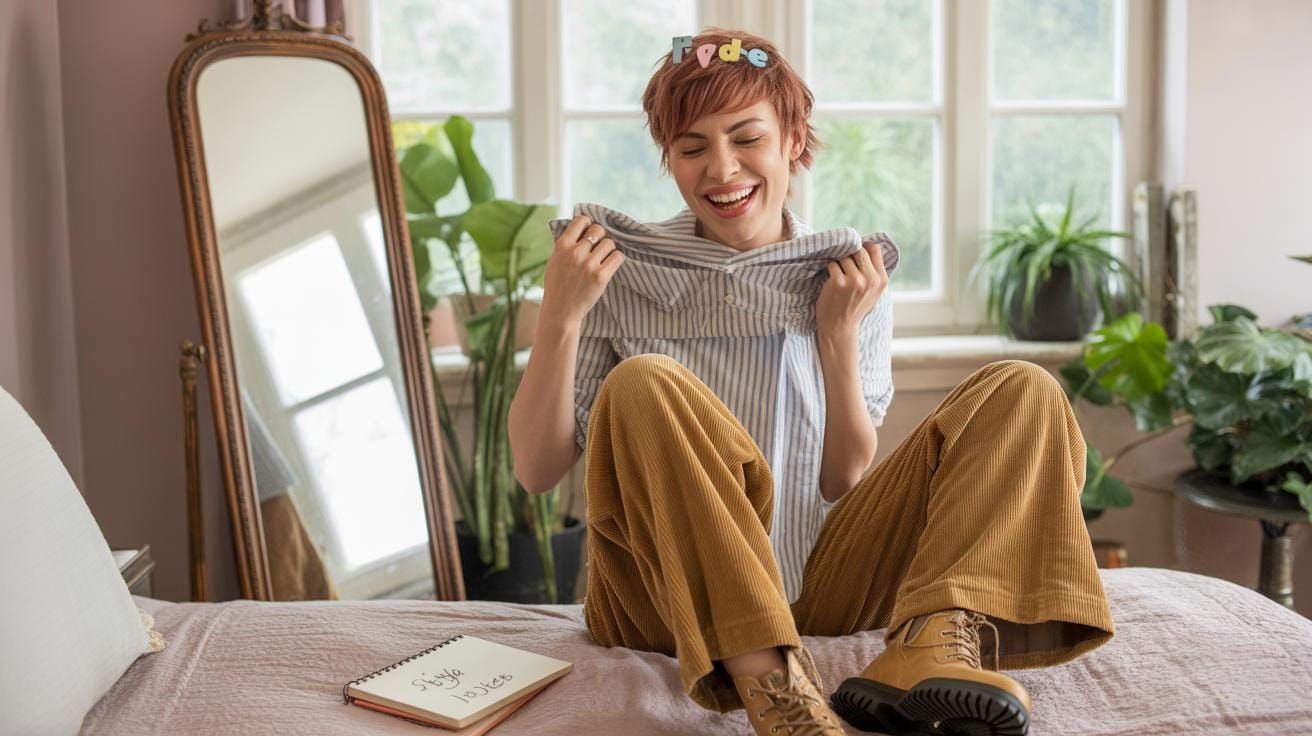
Comfort can’t be entirely sidelined, even if you want to look flawless. Clothes that are too tight or restrictive will show in your posture and expressions. You might think, “I can manage just for a bit,” but trust me, feeling awkward in your outfit seeps into the photos. You want to move and pose naturally, so keep that in mind too. After all, these photos are meant to wait in time, not just freeze an uncomfortable moment.
Plan Your Accessories
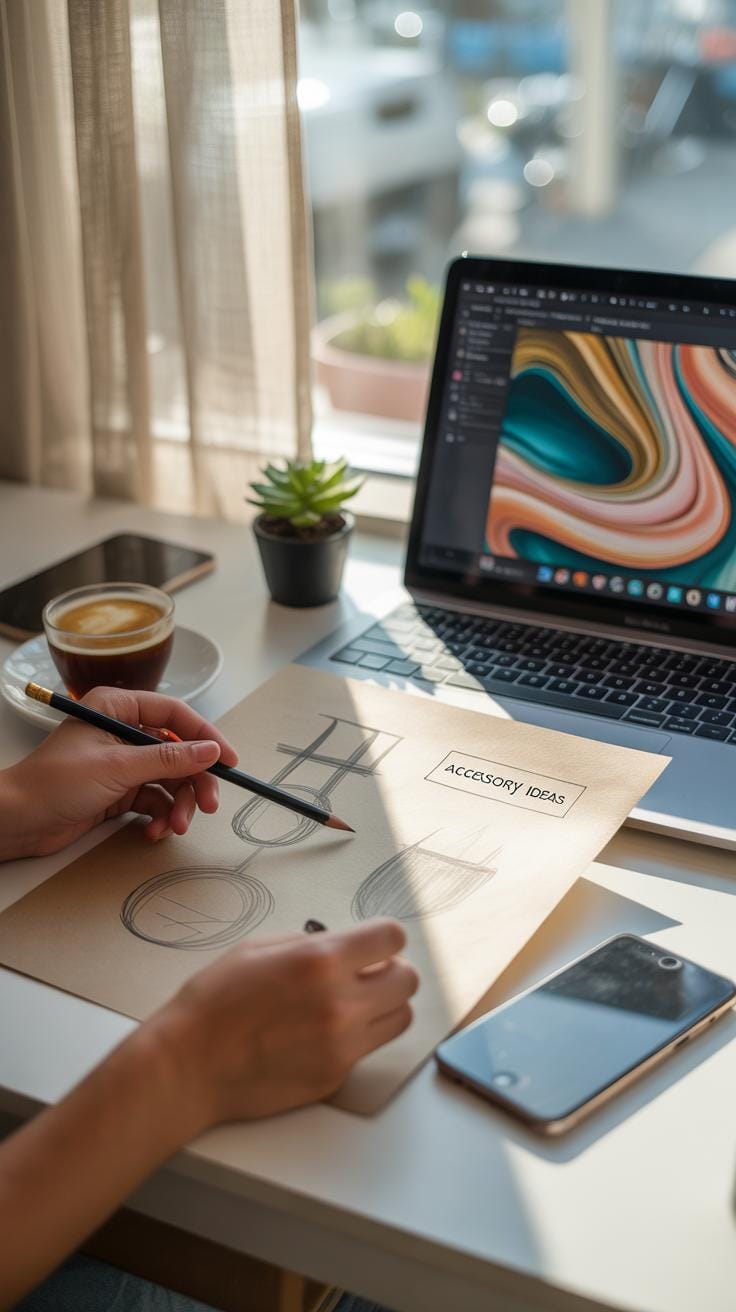
Selecting accessories for your fashion photoshoot is a bit like balancing on a tightrope. You want pieces that highlight your outfit without stealing the spotlight entirely. Accessories should complement the overall look, not fight with it. Think of them as subtle enhancements, the finishing touches that can either pull your style together or confuse the eye.
Simple Jewelry
Simple jewelry often does the trick better than anything loud or flashy. Consider delicate chains, small hoops, or thin bracelets. These can catch the light just enough to add a hint of shine without overwhelming your outfit. Sometimes less really is more, but don’t get stuck thinking simple means boring. A single well-chosen ring or minimalist earrings can create unexpected elegance and sophistication.
It’s tricky though—some outfits might call for a little extra sparkle, while others do better with none at all. For example, if your clothes are richly textured or patterned, I’d usually avoid chunky necklaces that clash. Instead, go for quiet pieces that draw the eye softly.
Complementary Items
Hats, bags, and scarves are more than just extras; they can define the vibe of your shoot. When choosing these, pay attention to their shapes, colors, and materials. A wide-brim hat might add drama to a simple dress but could look out of place with a very structured outfit. Bags don’t always have to match perfectly; sometimes a contrasting color can make the whole look pop, but it’s a fine line—too bold and it feels off.
Scarves are interesting because they offer flexibility: wrap one around your neck or tie it to your bag to create variety without changing outfits. But be careful. A busy scarf pattern might compete with your clothing if not chosen wisely. So think about the mood you’re aiming for—is it relaxed, formal, edgy? Your accessories should whisper that, not shout.
Prepare Your Outfit

Iron and Fit
One thing that can quietly ruin a shoot is wrinkles. You might overlook ironing, thinking the camera won’t pick up minor creases, but trust me, it does. A carefully ironed outfit looks sharper, cleaner, and more polished, which always helps your photos. Think about how fabric catches the light—wrinkles create unwanted shadows or draws attention where you don’t want it.
Fitting is another step you shouldn’t skip. Clothes that are too loose or tight can throw off your entire look. I once saw a great outfit lose its charm because the jacket was just a bit too big—nothing dramatic, but it made the person look sloppy. Try everything on before the shoot. Move around. Does it hug your shape? Does the fabric pull awkwardly? Make small adjustments, maybe pin or tailor if you can. The way a garment sits on your body impacts how confident you feel—and confidence shows in photos.
Organize Your Look
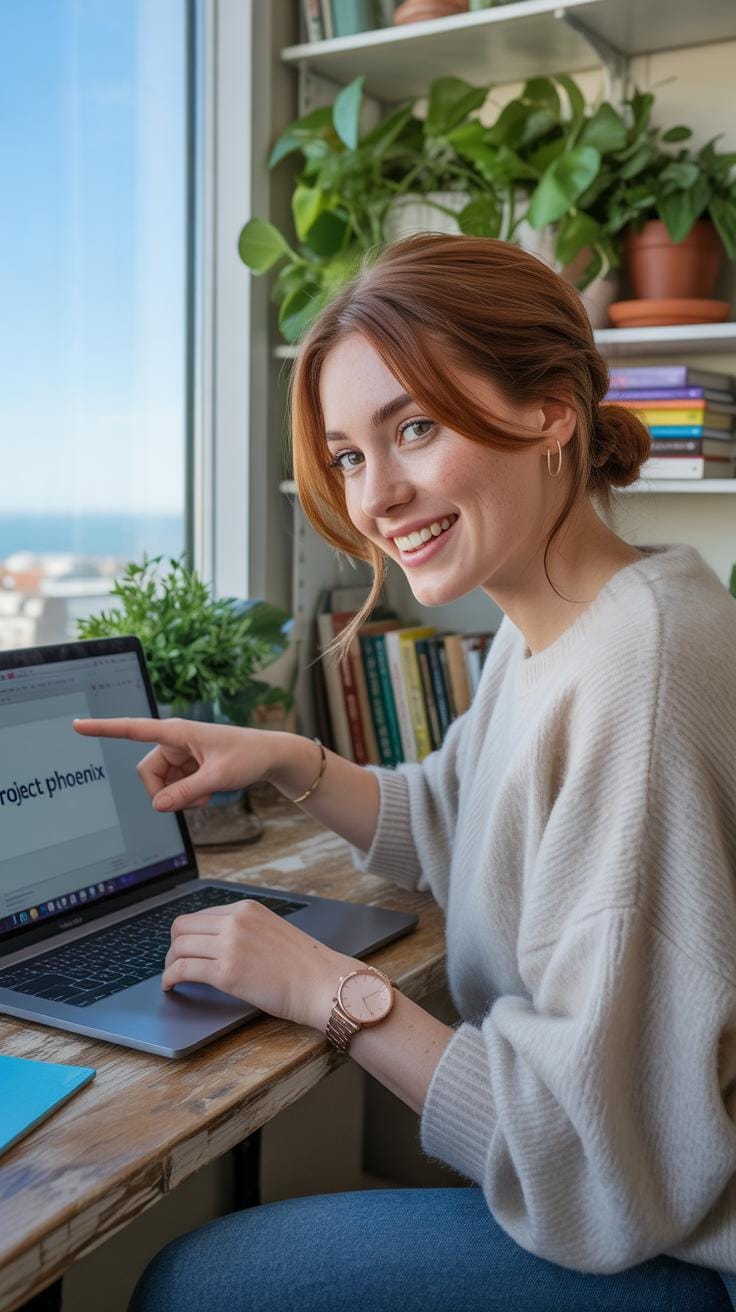
During a shoot, time is limited. Getting your outfits and accessories tangled wastes more minutes than you think. You want your look to be at your fingertips, easy to swap or adjust. I like to lay out my clothes on a clean surface, grouping outfits with matching accessories. Use hangers where possible to keep everything wrinkle-free and visible.
Simple labels, even just sticky notes, can help you remember which pieces belong together, especially if you have several outfit changes. Think about how you’ll get dressed quickly between shots. It’s not just about convenience—it makes the process smoother and less stressful. Imagine standing there, struggling to find earrings because they’re mixed up with bracelets. That’s lost focus—and the camera always senses when you’re off your game.
Understand Your Best Angles
Face Angles
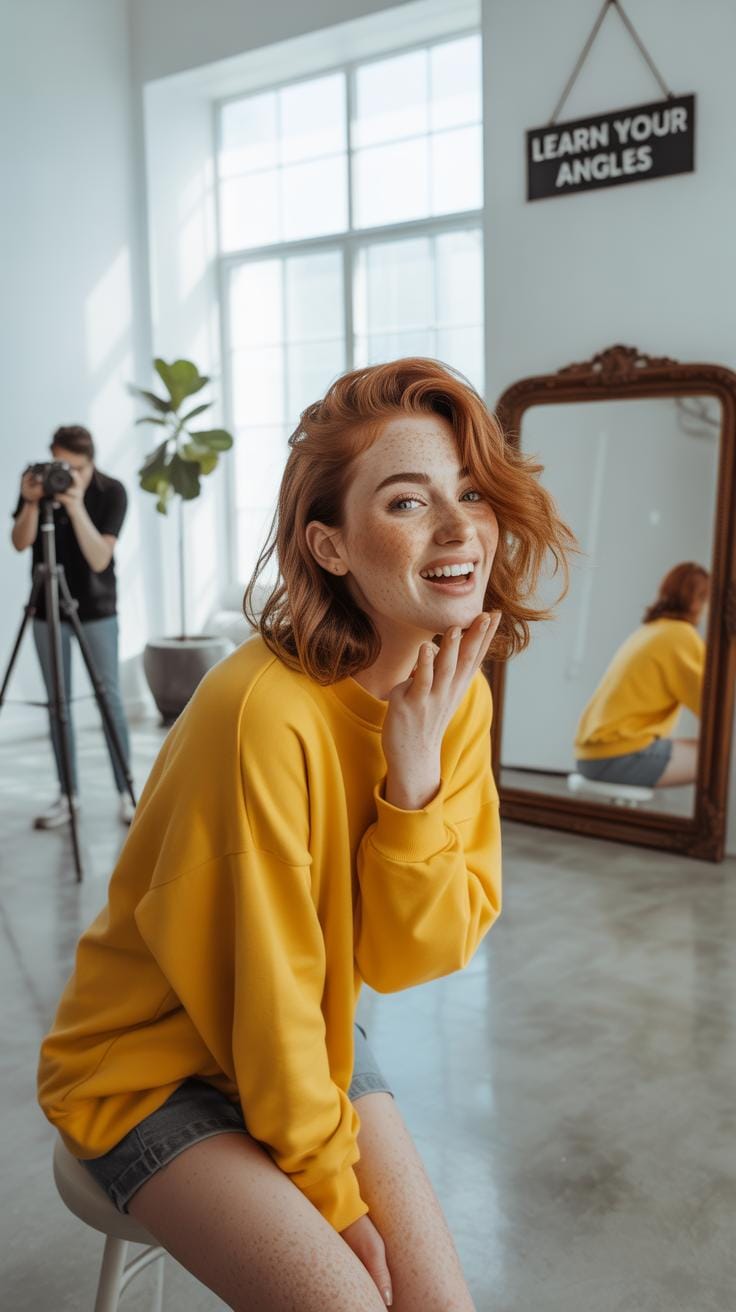
Finding your most flattering face angles often starts with simple experimentation. Stand in front of a mirror and slowly tilt your head in different directions—left, right, slightly up or down. You might notice that one side feels more natural or your features align better. Don’t just rely on what looks “normal,” try exaggerating those movements a bit to see what feels good on camera versus just in person.
Take selfies from various angles to compare. Sometimes, a slight turn of your chin or raising your eyebrows can change everything. For example, a slight lean forward may highlight your cheekbones more, but turning your face too sharply could hide your eyes. Pay attention to the light reflecting on your skin and how shadows fall. What works under natural daylight might differ under studio lighting. It’s worth asking yourself, which angles make you feel more like yourself, and which look stiff or forced?
Body Positioning
Your body tells a story in photos, so positioning matters. Standing straight with shoulders back looks confident, but if it feels stiff, it shows. Try shifting your weight to one leg to create a gentle curve in your posture. This often looks relaxed and natural. Arms are tricky; crossing them might feel comfortable but can appear closed off. Placing hands on hips or gently hanging by your sides can open up your presence.
Think about how your torso turns. Facing the camera head-on is bold but can flatten your shape. Slightly angling your torso—around 30 to 45 degrees—often adds depth without feeling too posed. Don’t forget your neck: lengthening it by dropping your chin slightly or jutting it forward can help avoid a double chin without seeming tense.
One piece of advice I found helpful is to practice these positions in front of friends or take test shots. Sometimes you feel great, but the camera sees otherwise. What angles make you appear confident? Which ones feel more “you”? The key is balancing comfort with presence, so your photos don’t just capture a pose but your personality too.
Learn Posing Basics
Standing Poses
Standing poses can make a big difference in how you appear in photos. Try shifting your weight onto one leg rather than standing flat-footed; it adds a natural curve to your body and prevents stiffness. Keep your shoulders relaxed but pulled back slightly to open up your posture. It’s not about being perfect or rigid—sometimes a slight tilt of your head or a little bend in the knee gives the pose personality.
Don’t hesitate to experiment with arm placement. Crossing your arms can look closed off, but placing one hand on your hip or letting your arms hang loosely creates different vibes. You might find that angling your body slightly to the side instead of facing the camera head-on feels more comfortable and looks more flattering. Often, less is more when it comes to standing—small adjustments can bring out the best in your stance.
Sitting Poses
Sitting poses offer a chance to look both relaxed and graceful, but they can be tricky. Think about elongating your spine even while seated. Slouching often ruins the shot, so keeping a gentle lift through your chest helps maintain an elegant look. Crossing your legs at the ankle instead of the knee tends to look more natural and avoid awkward angles.
Your hands don’t have to stay idle either. Rest them softly on your lap or let them play with an accessory—sometimes a slight movement brings life to the image. You may want to lean slightly forward or tilt your head to engage the camera better. Comfort matters here; if you seem tense, it shows. Finding the right balance between ease and posture takes practice, but it’s usually worth the effort in the final photos.
Practice Facial Expressions
Natural Smile
A relaxed, genuine smile can completely change the vibe of your photo. But, it’s trickier than it looks, right? You want to avoid that forced grin that feels stiff or awkward. One way to get there is to think of a moment or memory that truly makes you happy—something simple, like a kind compliment or a funny joke you heard recently.
When you remember that, let your lips part slightly and relax your cheeks. Don’t push your smile too wide; let it grow naturally. Sometimes blinking slowly or gently biting your lower lip before smiling helps loosen tension in your face.
Practice in front of a mirror or record yourself—seeing what looks sincere and comfortable is key. Also, try to connect with the camera as if you’re sharing something personal with a friend. It might feel strange at first, but this subtle mental shift does wonders.
Serious Looks
A serious or neutral expression doesn’t mean being stern or cold. In fashion shots, these looks can convey strength, elegance, or mystery—depending on how you carry them. The challenge? Keeping your face relaxed while holding a controlled intensity that draws the eye.
Start by softening your jaw and throat muscles, so you don’t look tense or upset. Then, focus your gaze softly but purposefully, as if you’re thinking about something meaningful but not distracting.
Try narrowing your eyes just a little but avoid squinting fully—there’s a fine line between intense and tired. You might also experiment with slightly parted lips or keeping them closed. It’s subtle but changes the mood.
Practicing these expressions might feel awkward out of context. Sometimes switching between a serious look and a natural smile in one session helps you find a comfortable middle ground. But don’t overthink it; often the best expressions come from small, genuine shifts in how you feel.
Use Your Hands Well

Your hands can make or break a pose in a fashion shoot. If they look stiff or awkward, it throws off the entire image. But moving hands naturally isn’t always as simple as it sounds. You might find yourself unsure where to put them or feeling that they just don’t cooperate. That’s pretty normal, and I’ve seen plenty of people, myself included at some point, struggle with it.
Hand Placement
Try to keep your hand placement relaxed and avoid clenching or pressing too hard against your body. You can:
- Let your hands rest gently on your hips or thighs.
- Place fingertips lightly on your waist or collarbone.
- Use pockets, if your outfit has them, to casually tuck a thumb or whole hand in.
- Brush your hair back softly with your fingers, but don’t overdo it.
One thing I’ve noticed is that flat, rigid hands rarely photograph well. Instead, imagine your fingers as if they’re softly alive—curved just enough to feel natural but not clenched. Sometimes resting your hands just behind your back or loosely clasped in front can give a neat look without tension.
Hand Movement
Adding subtle movement to your hands can boost energy in the shot. Here are a few ideas you could try:
- Splash your fingers through fabric—like adjusting a sleeve or holding a jacket lapel.
- Slowly raise a hand near your face, as if mid-gesture.
- Gently rub or tap your wrist or forearm while looking away.
- Play with accessories—slide a ring, twist a bracelet.
The key is to avoid freezes or stiff poses. Sometimes a slight, slow movement during the shoot can create multiple options for the photographer, and you might discover a favored look accidentally. I’ve caught myself surprised by how a small hand gesture completely changed the vibe of a photo. So, if you feel stuck, just try moving your hands as if you’re naturally interacting with your environment—think less posed, more spontaneous. Can your hands tell a story here? It’s worth considering.
Coordinate with the Photographer

Getting the best from a photoshoot isn’t just about your outfit or pose—it’s how well you connect with the photographer. Think of them as your partner in creating the image you want. You need to sync up, and sometimes that means a bit of trial and error to find a rhythm.
Start by sharing your ideas. Be clear about what kind of mood or style you’re aiming for. Show them inspiration photos or explain the story behind your outfit. Don’t hold back on specifics; if you want a certain angle or vibe, say it. On the other hand, stay open—photographers often have creative perspectives you may not have considered yet.
During the shoot, listen carefully to their advice. If they suggest changing your posture or adjusting your gaze, try it out—even if it feels a bit strange at first. Their feedback is usually based on what works best through the lens. Sometimes, you’ll find that small tweaks make a big difference. Don’t hesitate to ask why they want you to do something if you’re unsure; understanding the reason helps you adapt more naturally.
Remember, this collaboration is a two-way street. It’s okay if you disagree about a pose or lighting. You can suggest alternatives. The photographer’s goal is to capture you at your best, but your input matters just as much. How often do you get to direct your own image? Use that chance wisely.
Choose the Right Location

Outdoor Settings
Outdoor shoots often bring a natural energy that’s hard to capture indoors. The open air, sunlight, and varied backdrops add layers to your photos. Think city streets, parks, or even rustic fields—each can dramatically change how your outfit reads on camera. Sunlight can be your best friend or your worst enemy, so considering the time of day matters.
When picking an outdoor location, match it to your outfit’s style. If you’re wearing something flowy and soft, a garden or beach might work. But for sharp, tailored looks, urban environments or industrial areas offer contrast. Sometimes the mood you want—romantic, edgy, casual—emerges from how the surroundings interact with your clothes.
One thing I’ve noticed is that sometimes a location that seems perfect in theory doesn’t translate well on camera. So, scouting ahead, maybe even visiting the spot at the same time of day as your shoot, helps avoid surprises.
Indoor Studios
Indoor studios provide control and consistency. You can focus on your outfit without worrying about weather or lighting changes. Studio backdrops come in many forms—plain colors, textured walls, or artistic sets. This flexibility allows you to highlight details in your clothing that might get lost outdoors.
Lighting indoors can be arranged to sculpt your look. For example, if you have an intricate fabric or shiny material, lighting angles can emphasize those features. It’s easier to experiment without interruptions or shifting sunlight.
Still, studios can feel a bit sterile at times. You might wonder if the environment complements your outfit or if it’s too generic. To avoid that, bring in props or choose a backdrop that tells part of your story. I recall a shoot where a simple black wall made a colorful jacket pop in ways a busy street couldn’t.
Choosing between outdoor or indoor depends on your outfit and the vibe you want. Are you looking for adventure or a clean, polished look? Sometimes, mixing both in one session creates a richer narrative. What location do you think will help your clothes speak best?
Stay Calm and Enjoy
It’s normal to feel a bit nervous right before your shoot. Maybe your mind races through a million “what ifs.” You might think about every little detail—from how your hair looks to whether your pose feels natural. Truth is, calming those jitters can help your photos feel more genuine, and that’s what really counts.
Relaxation Techniques
Try these simple ways to relax both before and during the shoot:
- Take deep, slow breaths. It sounds basic, but focusing on your breath can lower tension fast.
- Stretch your neck and shoulders. It loosens your body and stops stiffness from showing in photos.
- Listen to music that soothes or pumps you up, depending on your mood. I once found that a bit of classical music helped me focus better.
- Visualize positive outcomes—imagine yourself laughing, moving freely, looking confident. It’s like a mini rehearsal in your head.
- Chat with the photographer or team. A short, friendly conversation can break the ice and ease anxiety.
Does your heart still race a little? That’s okay, it shows you care. Sometimes you just have to move forward despite the butterflies.
Have Fun
Try to enjoy what’s happening. When you let go even a tiny bit, your photos often look sharper and less posed. Think of it less as a performance and more like a moment you’re sharing. It’s fine if you make mistakes or try odd poses—that’s how you discover what works.
Find moments that make you smile or laugh during the shoot. Even a quiet pause can bring out something real if you’re present.
What feels most natural to you? Maybe it’s twirling slightly, or fixing your jacket, or just walking slowly. Don’t worry so much about perfection. After all, relaxed energy translates better on camera than stiff precision.
Conclusions
When you prepare well for your fashion photoshoot, you create a strong foundation for great photos. Choosing the right outfit and practicing your poses will help you feel confident and ready to express yourself. Keep your clothing simple and fitting for the theme, and remember that your pose should reflect your comfort and style.
Every photoshoot is a chance to practice and improve. With patience and attention to details, you can make your photos pop and reveal your fashion sense beautifully. Use these tips to turn your photoshoot into a fun and rewarding experience that showcases your unique style.